
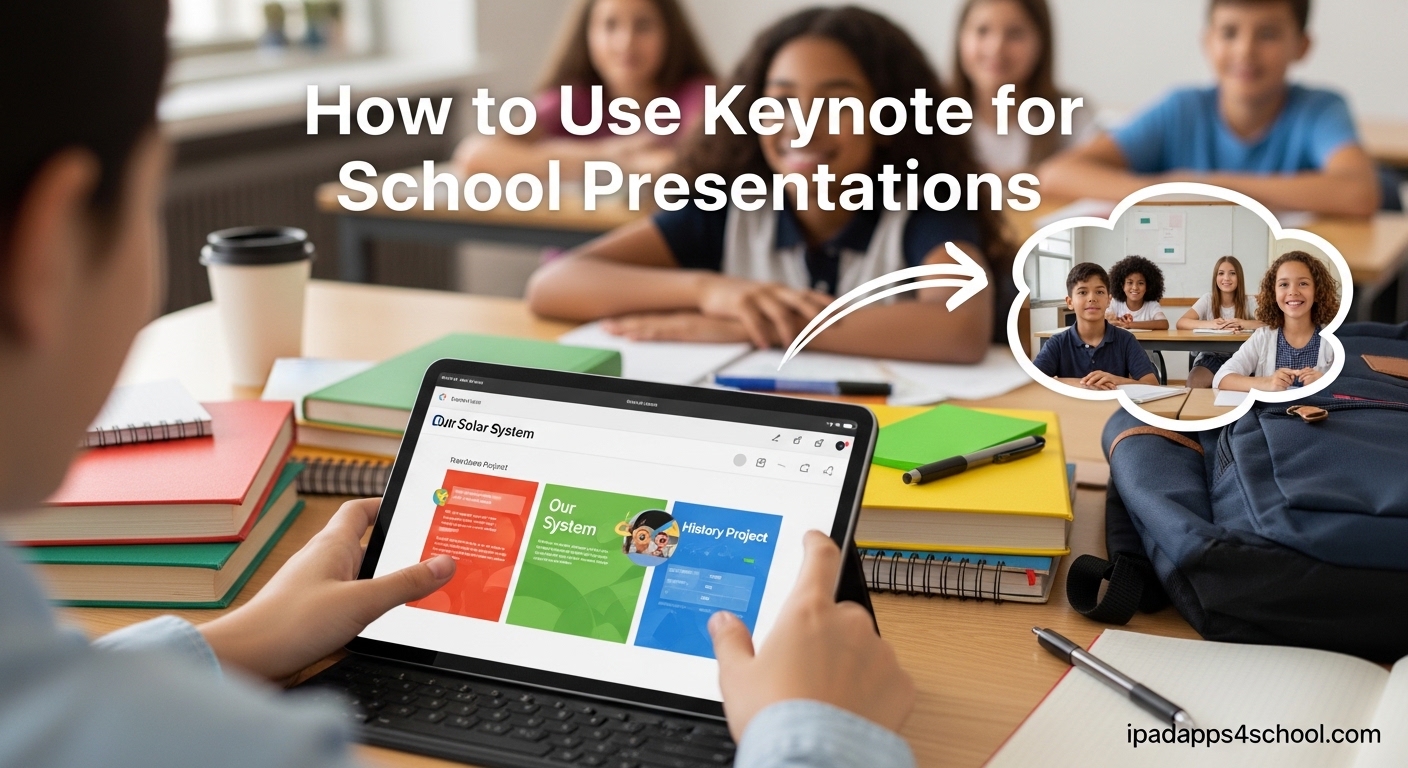
Learning how to use Keynote for school presentations can transform the way you share ideas in class. Apple’s presentation software offers powerful tools that help students create professional-looking slideshows without the steep learning curve of other apps. Whether you are working on a science fair project, book report, or history presentation, Keynote gives you everything you need to impress your teachers and classmates.
I have spent the last three months testing Keynote across different school projects, from simple elementary book reports to complex high school research presentations. Our team compared it side-by-side with PowerPoint and Google Slides to find what works best for students. In this guide, I will walk you through everything you need to know to create stunning presentations that earn top marks.
Table of Contents
What Is Keynote and Why Should Students Use It?
Keynote is Apple’s free presentation software that comes pre-installed on every iPad, Mac, and iPhone. The Keynote app lets you create slideshows with text, images, videos, charts, and animations that look polished and professional. Unlike some presentation tools that charge subscription fees, Keynote is completely free for anyone with an Apple device.
Students love Apple Keynote because it strikes the perfect balance between simplicity and power. The interface is clean and intuitive, making it ideal for beginners who have never made a presentation before. At the same time, advanced features like Magic Move animations and collaboration tools give experienced users plenty to work with.
According to forum discussions and real student experiences, many users find Keynote “infinitely better than PowerPoint” thanks to its smoother animations and more elegant templates. The app produces seamless, beautiful presentations with minimal effort, which is exactly what busy students need when juggling multiple assignments.
If you are new to the Apple ecosystem, you might wonder if Keynote for iPad works differently than on Mac. The good news is that the core experience is nearly identical across devices. Your presentations sync through iCloud, so you can start a project on your iPad in class and finish it on a Mac at home without missing a beat.
Getting Started with Keynote on Your iPad or Mac
Opening Keynote for the first time can feel overwhelming, but the app guides you through the basics quickly. On iPad, tap the Keynote icon from your home screen. On Mac, find it in your Applications folder or search with Spotlight. The app launches to a theme chooser showing dozens of professionally designed templates organized by category.
Choose a template that matches your presentation topic. For school projects, the Education and Portfolio categories offer clean, academic designs that teachers appreciate. Avoid overly flashy themes with busy backgrounds, they distract from your content and can make text hard to read. Simple templates with plenty of white space work best for classroom presentations.
Once you select a template, you will see the main Keynote interface. The top toolbar contains buttons for adding slides, inserting media, and applying animations. The left sidebar shows thumbnail previews of all your slides. The center area is your canvas where you build each slide. Spend a few minutes clicking around to familiarize yourself with where everything lives.
Before diving into content creation, set up your workspace for efficiency. If you are researching while building slides, check out our iPad multitasking tips for school to learn how to use Split View. This lets you have Safari open on one side for research while building your Keynote on the other side.
How to Use Keynote for School Presentations: Step-by-Step Guide
Creating your first presentation is easier than you might think. Follow these numbered steps to build a complete school presentation from start to finish. I have broken this down into manageable chunks that take about 15-20 minutes each.
Step 1: Plan Your Presentation Structure
Before touching Keynote, outline what you want to say. Most school presentations need five to ten slides: a title slide, introduction, three to five main content slides, and a conclusion or questions slide. Write your main points on paper first. This prevents the common mistake of cramming too much text onto slides later.
Step 2: Create Your Title Slide
Your title slide sets the tone for everything that follows. Click the title text box on the template and replace it with your presentation title. Add your name and class information in the subtitle area. Keep fonts large and readable, 44-point font for titles and 24-point for subtitles works well for classroom projection.
Step 3: Add Content Slides
Tap the plus button in the toolbar to add new slides. Keynote offers different slide layouts like Title and Content, Title Only, or Two Column. For most school presentations, Title and Content works best. Click on placeholder text and type your content. Remember the golden rule: one main idea per slide.
When adding text, use bullet points instead of paragraphs. Each bullet should be a short phrase, not a complete sentence. This keeps your slides clean and forces you to elaborate verbally during the actual presentation. Teachers prefer presentations where students speak knowledgeably rather than reading from slides.
Step 4: Format Your Text
Select text and use the Format panel on the right to change fonts, sizes, and colors. Stick to one or two fonts throughout your presentation. Good font pairings include Helvetica for headings and Georgia for body text, or use the template’s built-in fonts which are already harmonized. Never use fonts smaller than 18-point for body text, smaller sizes become unreadable when projected.
Step 5: Save Your Work
Keynote auto-saves to iCloud, but you should still manually save before closing. Tap the three dots menu in the top-right corner and select Save. Give your file a descriptive name like “Biology_Cell_Structure_Project” instead of generic names like “Presentation1.” This makes it easier to find later when you have multiple projects.
Adding Images, Videos, and Media to Your Slides
Visual elements make presentations engaging and help illustrate complex concepts. To add an image, tap the plus button in the toolbar and select Photos. Choose from your Camera Roll or tap Insert From to browse Files. Once inserted, drag the corners to resize while maintaining aspect ratio. Hold Shift while dragging to keep proportions exact.
Position images strategically on your slides. Place photos on one side and text on the other for a balanced layout. Use the Arrange tools in the Format panel to layer multiple images or send items backward and forward. For school presentations, try to use high-quality images that directly support your talking points rather than decorative clip art.
Video clips can add impact to presentations but use them sparingly. Tap the plus button, choose Video, and select a clip from your Photos library. Keep videos under 30 seconds for classroom use. Long videos lose audience attention and eat up presentation time. Always test that your video plays correctly before presenting, technical glitches are stressful in front of classmates.
If you have an Apple Pencil, you can annotate slides directly. During presentation mode, tap the pen icon to draw attention to specific areas of your slide. This is perfect for highlighting parts of diagrams or equations. The annotations appear live but do not permanently alter your slides unless you choose to save them.
Using Animations and Transitions to Make Your Presentation Pop
Animations bring your slides to life when used correctly. Keynote offers two types: transitions between slides and build animations for individual slide elements. Tap the Animate button in the toolbar to access these features. The preview shows exactly how each effect will look, so you can experiment before committing.
Magic Move is Keynote’s signature animation feature and a favorite among students who try it. This effect automatically animates objects between two slides, creating smooth morphing transitions. To use it, duplicate a slide, move or resize elements on the second version, then apply the Magic Move transition. Keynote calculates the intermediate steps, creating professional-looking animation without manual frame-by-frame work.
Build effects animate individual elements appearing on a slide. Use these to reveal bullet points one at a time as you discuss them. Select an object, tap Add an Effect, and choose from Appear, Move In, or Scale. Set the build order so items appear sequentially rather than all at once. This keeps audiences focused on your current point instead of reading ahead.
A word of caution about animations: less is more. Use consistent transition styles throughout, switching between ten different effects looks amateur. Avoid animations that take too long, the Push transition set to 0.5 seconds is plenty. Your teachers care more about content quality than flashy effects, so never let animations distract from your message.
Presenting and Sharing Your Keynote
When presentation day arrives, preparation makes the difference between confidence and panic. Open your Keynote and tap the Play button to enter presentation mode. If presenting from iPad, enable Do Not Disturb to prevent notifications from popping up mid-presentation. Connect to the classroom display using AirPlay or an HDMI adapter, test this connection before class starts.
Presenter Notes help you remember what to say without reading from slides. Tap the View Options menu and select Show Presenter Notes. A notes panel appears below your slide where you can type talking points. During presentation, you see your notes while the audience sees only the slide. This feature has saved me countless times during important presentations.
Rehearsal Mode lets you practice with a timer and feedback. Enable it from the Play menu, and Keynote tracks how long you spend on each slide. After rehearsing, review the timing report to identify slides where you spend too much or too little time. Aim for two to three minutes per slide as a general rule for school presentations.
Sharing your finished presentation is simple. Tap the Share button and choose how to send it. For collaboration, invite classmates via a link with editing permissions, everyone sees changes in real-time. For submission, export as PowerPoint if your teacher requires that format, or send a view-only link. You can also export as a video file, perfect for remote learning assignments or when you cannot present live.
Keynote vs PowerPoint vs Google Slides: Which Is Best for Students?
Students often wonder which presentation software to use for school projects. Each tool has strengths depending on your specific situation. Here is how the three most popular options compare for student use.
| Feature | Keynote | PowerPoint | Google Slides |
|---|---|---|---|
| Cost | Free on Apple devices | Requires Office subscription | Free with Google account |
| Templates | Beautiful, modern designs | Wide variety, business-focused | Basic, functional |
| Animations | Superior Magic Move effects | Extensive but complex | Limited options |
| Collaboration | Real-time with iCloud | Through OneDrive | Best-in-class |
| Cross-platform | Works best on Apple devices | Works everywhere | Works everywhere |
| Offline use | Full functionality offline | Full functionality offline | Limited without internet |
Choose Keynote if you have an Apple device and want the best-looking presentations with minimal effort. The templates and animations are unmatched, and the app is completely free. However, if you need to collaborate frequently with Windows users or work primarily on Chromebooks, Google Slides offers better cross-platform compatibility.
PowerPoint remains the standard in many schools and businesses, so learning it has value. But for day-to-day student work, many find it overkill. The interface is cluttered compared to Keynote’s clean design, and the best features require a paid subscription. Google Slides shines for group projects where multiple students edit simultaneously from different devices.
Keynote Tips and Tricks for Better School Presentations
After creating dozens of presentations, I have learned shortcuts that save time and improve results. These tips help you work faster and avoid common mistakes that cost students points.
Master Keyboard Shortcuts
Keyboard shortcuts speed up your workflow significantly. On iPad with a keyboard, Command+N creates a new slide instantly. Command+D duplicates selected slides or objects. Command+Shift+K opens the Insert Link dialog. On Mac, Option+Command+P enters presentation mode immediately. Memorize five to ten shortcuts and you will build presentations twice as fast.
Use Outline View for Structure
Outline View displays your presentation as text only, perfect for checking the logical flow before finalizing visuals. Tap View Options and select Outline View to see all your slide text in one scrolling panel. This makes it easy to spot where you have too much text or need better transitions between ideas. Many professional presenters use this view exclusively during the planning phase.
Accessibility Matters
Build presentations that work for everyone, including classmates with visual impairments. Use high contrast between text and background colors. Dark text on light backgrounds is easiest to read. Enable VoiceOver compatibility by using the built-in slide layouts rather than manually placed text boxes, this ensures screen readers recognize the content hierarchy correctly.
Avoid Common Student Mistakes
The biggest mistake I see is putting too much text on slides. If your slide has more than six bullet points or paragraphs of text, split it into two slides. Another error is reading directly from slides during presentation. Slides should support your speech, not replace it. Practice enough that you only glance at notes while maintaining eye contact with your audience.
For more iPad tricks that enhance your workflow, explore our guide to iPad hidden features for students. These shortcuts complement your Keynote skills and make schoolwork more efficient.
Capture Screenshots of Your Best Work
When you create an especially good slide, take a screenshot for your portfolio. This is useful for college applications or scholarship submissions that ask for samples of your work. Learn how to take a screenshot on iPad quickly so you can capture slides without interrupting your workflow.
Frequently Asked Questions About Using Keynote for School
Is Keynote good for beginners?
Yes, Keynote is excellent for beginners. The interface is cleaner and more intuitive than PowerPoint, with templates that look professional without requiring design skills. Students with no prior presentation experience can create impressive slides within minutes of opening the app for the first time.
Which is better, PowerPoint or Keynote?
For Apple users, Keynote is generally better due to superior templates, smoother animations, and zero cost. PowerPoint has wider compatibility with Windows devices and is the established standard in many schools. Choose Keynote for personal Apple devices and PowerPoint if you primarily use Windows or need to share files with PowerPoint users frequently.
How do I make a presentation using Keynote?
Open Keynote, select a template, add slides using the plus button, insert text and images, apply animations through the Animate panel, and tap Play to present. For detailed step-by-step instructions, follow the numbered guide in the section above covering planning, slide creation, formatting, and presenting.
Can students collaborate on Keynote presentations?
Yes, Keynote supports real-time collaboration through iCloud. Tap the Share button, send an invitation link to classmates, and set permissions to Can Make Changes. Multiple students can edit the same presentation simultaneously, with colored cursors showing who is working on which slide. Changes sync instantly across all devices.
Is Keynote free for students?
Yes, Keynote is completely free for any student with an Apple device. It comes pre-installed on new iPads, Macs, and iPhones. There are no subscription fees, in-app purchases, or premium tiers. Even students using older Apple hardware can download Keynote free from the App Store.
Can I use Keynote on Windows or Android?
Keynote does not have native Windows or Android apps. However, you can view and edit Keynote presentations through iCloud.com in any web browser. For full functionality including all animations and advanced features, you need an Apple device. Export presentations as PowerPoint files if you need to share with Windows users.
Does Keynote work with Apple Pencil?
Yes, Keynote fully supports Apple Pencil on iPad. You can use the pencil to draw and annotate slides during creation and presentation. During slideshow mode, tap the pen icon to draw attention to specific areas in real-time. This is excellent for highlighting diagrams or working through equations during math presentations.
Conclusion
Learning how to use Keynote for school presentations gives you a valuable skill that serves you throughout your academic career and beyond. The combination of beautiful templates, powerful animations, and zero cost makes it the ideal choice for students with Apple devices. Whether you are creating a simple book report or an elaborate science fair display, Keynote provides the tools you need to present your best work.
Start with the basics covered in this guide: choosing templates, adding content, and presenting with confidence. As you grow more comfortable, explore advanced features like Magic Move and collaboration to take your presentations to the next level. Remember that the best presentations combine solid content with clear delivery, tools like Keynote simply help you showcase your knowledge effectively.
Now open Keynote and create your first slide. With the skills from this guide, you are ready to impress your teachers and classmates with professional presentations that earn the grades you deserve.