
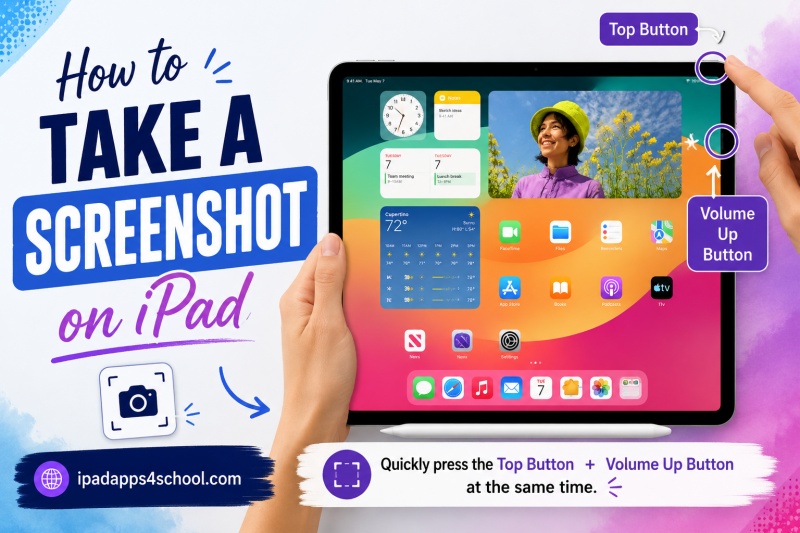
A screenshot is simply a photo of whatever appears on your iPad screen at that moment. I use screenshots almost daily to save receipts, capture important information, share funny conversations, or keep a record of something I might need later. Whether you are a student taking notes from a lecture slide or a parent saving your child’s high score, knowing how to take a screenshot on iPad is an essential skill.
In this guide, I will walk you through every method available in 2026. You will learn the button combinations for different iPad models, keyboard shortcuts, Apple Pencil tricks, and even what to do if your buttons do not work properly. Let us get started.
Table of Contents
How to Take a Screenshot on iPad with Home Button
Older iPad models including the iPad (5th through 9th generation), iPad mini 5, and earlier versions have a physical Home button at the bottom of the screen. Taking a screenshot on these devices is straightforward.
Press the Home button and the Top button (power button) at the same time. You will see the screen flash white briefly and hear a camera shutter sound if your volume is on. The screenshot thumbnail appears in the bottom-left corner for a few seconds.
Your screenshot is now saved to your Photos app. This method works on any iPad with a physical Home button, including Touch ID models. The timing matters here. Press both buttons simultaneously and release quickly. If you hold them too long, you might activate Siri or trigger the power-off screen instead.
How to Take a Screenshot on iPad Without Home Button
Newer iPad models like the iPad Pro (all generations), iPad Air (4th generation and later), iPad mini 6, and iPad (10th generation) do not have a Home button. These Face ID models use a different button combination.
Quickly press and release the Top button and either Volume button at the same time. It does not matter whether you use the Volume Up or Volume Down button. Both work identically for screenshots.
You will see the same flash and hear the shutter sound. The thumbnail appears in the corner, allowing you to tap it for immediate editing. This button placement makes it easy to screenshot with one hand if you position your fingers correctly. I find it most comfortable to use my thumb on the Top button and index finger on a Volume button.
How to Take a Screenshot Using AssistiveTouch
What happens if your physical buttons stop working? Or maybe pressing two buttons simultaneously is difficult for you. AssistiveTouch provides a perfect alternative.
First, enable AssistiveTouch by going to Settings, then Accessibility, then Touch, and turning on AssistiveTouch. A small circular button appears on your screen. You can drag it to any edge to keep it out of the way.
Tap the AssistiveTouch button, then Device, then More, and finally Screenshot. Your screen captures immediately without pressing any physical buttons. You can also customize the AssistiveTouch menu to make Screenshot a top-level option for faster access. I recommend this method for anyone with motor control challenges or broken buttons.
How to Take a Screenshot on iPad with Keyboard
If you use an external keyboard with your iPad, whether it is Apple’s Magic Keyboard or a third-party Bluetooth keyboard, there is a handy shortcut you should know.
Press Command, Shift, and 3 simultaneously. This mirrors the Mac screenshot shortcut and works identically on iPadOS. The screen flashes and your screenshot saves to Photos just like the button methods.
For a partial screenshot of just a portion of your screen, press Command, Shift, and 4 instead. This activates screenshot mode where you can drag to select the area you want to capture. This keyboard method is significantly faster when you are already typing and need to grab something quickly without reaching for the iPad.
How to Take a Screenshot with Apple Pencil
iPad Pro and iPad Air users with an Apple Pencil have access to one of the most elegant screenshot methods available. This feature turns your Pencil into a quick capture tool.
Swipe up from either bottom corner of the screen with your Apple Pencil. The screen captures instantly. You can use the bottom-left or bottom-right corner, whichever feels more natural.
This works especially well when you are already using your Pencil for note-taking or drawing. No need to set it down and fumble for buttons. The gesture is quick and intentional, so you will not trigger it accidentally while writing normally. Make sure your Apple Pencil is charged and paired with your iPad for this to work.
How to Take a Screenshot Using iPadOS Corner Swipe
Starting with iPadOS 15, Apple introduced a corner swipe gesture that works with your finger, no Pencil required. This is perfect for quickly capturing screens without buttons.
Swipe inward from either bottom corner of the screen using your finger. A small screenshot preview animates outward from the corner, confirming your capture. This gesture requires a deliberate swipe motion, not just a tap, so normal app navigation will not trigger it accidentally.
If corner swipe is not working, check that it is enabled. Go to Settings, then Multitasking and Gestures, and ensure the screenshot gesture is turned on. Some older iPad models do not support this feature, so verify your iPadOS version is current.
Where Do Screenshots Go on iPad
After capturing a screenshot, you might wonder where it went. All screenshots automatically save to your Photos app. Open the Photos app and look in the Recents album.
Apple also creates a dedicated Screenshots album for easy access. Tap Albums at the bottom, scroll down to Media Types, and select Screenshots. This collects every screenshot you have ever taken in one place.
Screenshots sync across your devices if you have iCloud Photos enabled. The screenshot you take on your iPad appears on your iPhone and Mac within moments. This makes organizing and finding your captures simple no matter which device you are using.
How to Edit and Share Screenshots on iPad
The thumbnail that appears briefly after taking a screenshot is more than just a confirmation. Tap it immediately to enter Markup mode. Here you can crop, draw, add text, highlight, magnify, or add signatures.
Tools appear at the bottom of the screen. The plus button reveals additional options like text boxes, shapes, and signatures. When finished editing, tap Done to save your changes or discard to keep the original.
Sharing is just as easy. Tap the Share button in Markup mode, or find any screenshot in Photos and tap the Share icon. You can send via Messages, Mail, AirDrop, or any compatible app. I often mark up screenshots with arrows and circles before sending them to colleagues to make my point clearer.
Troubleshooting Screenshot Issues on iPad
Sometimes screenshots do not work as expected. If pressing the buttons produces no result, check that you are pressing them simultaneously and releasing quickly. Holding too long activates other features.
If your Side button or Home button is unresponsive, clean around the edges with a soft cloth. Debris can interfere with button function. Restart your iPad by holding the Top button and a Volume button until the slide to power off appears, then power back on.
When screenshots save but you cannot find them, check your Recently Deleted album in Photos. Screenshots deleted within the last 30 days sit there before permanent removal. Also verify that iCloud Photos has space available if syncing seems delayed.
Frequently Asked Questions
How do I get a screen shot on my iPad?
To get a screenshot on iPad, press the Top button and Volume Up button simultaneously on newer models, or press the Home button and Top button together on older models. The screen flashes white and a thumbnail appears in the corner.
How do you take a screenshot on an iPad with your fingers?
Swipe inward from either bottom corner of the screen with your finger to take a screenshot. This gesture works on iPads running iPadOS 15 or later. You can also use AssistiveTouch by enabling it in Settings > Accessibility > Touch, then tapping the on-screen button and selecting Screenshot.
How to take a screenshot without pressing buttons on iPad?
Enable AssistiveTouch in Settings > Accessibility > Touch, then tap the floating AssistiveTouch button, select Device > More > Screenshot. Alternatively, use the corner swipe gesture by swiping inward from a bottom corner with your finger, or use Apple Pencil to swipe from a corner.
How to screenshot faster on iPad?
The fastest methods are using an external keyboard shortcut (Cmd+Shift+3), swiping from a corner with Apple Pencil, or using the finger corner swipe gesture. These are quicker than finding and pressing physical buttons, especially when your hands are already positioned for typing or writing.
Where do screenshots go on iPad?
Screenshots save automatically to the Photos app in the Screenshots album and the Recents album. If you use iCloud Photos, they sync to your other Apple devices as well.
Why won’t my iPad take a screenshot?
If your iPad won’t take a screenshot, ensure you’re pressing the buttons simultaneously and releasing quickly. Check that your buttons aren’t stuck or damaged. Restart your iPad, and verify AssistiveTouch or the corner swipe gesture is enabled in Settings if using alternative methods.
Conclusion
Learning how to take a screenshot on iPad opens up countless possibilities for capturing and sharing information. Whether you prefer the traditional button combinations, the elegance of an Apple Pencil swipe, the speed of keyboard shortcuts, or the accessibility of AssistiveTouch, your iPad offers multiple ways to get the job done.
I recommend practicing each method to find what works best for your specific situation. With these techniques in your toolkit, you will never miss capturing important moments, useful information, or memorable content on your iPad in 2026.