
Picture this: you are holding your iPad, ready to transform a regular lesson into an interactive experience that keeps every student engaged. That is exactly what Nearpod does. In this guide, I will walk you through everything you need to know about using Nearpod on iPad, whether you are a teacher launching your first lesson or a student joining a class session.
I have spent time testing Nearpod across different classroom scenarios, and the iPad version stands out for its touch-friendly interface and portability. You will learn how to set up your account, launch lessons, and make the most of interactive features that turn passive listeners into active participants.
Table of Contents
What Is Nearpod?
Nearpod is a student engagement platform designed to make teaching with technology simple and effective. Think of it as a way to turn traditional presentations into interactive experiences where students respond, draw, vote, and collaborate in real time.
Teachers create or select lessons, share a session code with students, and every iPad in the room displays the same slide simultaneously. While students follow along on their screens, they can answer questions, submit drawings, or participate in polls that appear instantly on the teacher dashboard.
What makes Nearpod work so well on iPad is the touch interface. Students can draw responses with Apple Pencil or their finger, drag and drop matching items, and tap answers quickly. The app is free to download, works on iOS devices running iOS 14 or later, and syncs across iPad, iPhone, and web browsers.
How to Use Nearpod on iPad: Getting Started
Before you can launch your first lesson, you need the app and an account. Here is exactly how to get set up in under five minutes.
Step 1: Download the Nearpod App
Open the App Store on your iPad and search for Nearpod. The app is published by Nearpod Inc and has a blue icon with a white play symbol. Tap Get to download it for free. The app requires about 150 MB of storage space and works on any iPad running iOS 14 or newer.
Step 2: Create Your Account
Once installed, open the app and tap Sign Up. You have three options for creating an account: use your school email address, sign in with Google, or sign in with Microsoft. I recommend using your school Google account if your district uses Google Workspace, as this makes integration seamless later.
Teachers should select Teacher when prompted. Students can choose Student, though many will simply use Nearpod without creating an account at all (more on that below).
Step 3: Verify Device Compatibility
Nearpod works on all iPad models from iPad Air 2 and newer, including iPad Pro, iPad mini 4 and later, and standard iPad 5th generation and newer. The app also works on iPhone and iPod touch, though the larger iPad screen provides the best experience for interactive activities.
How to Use Nearpod as a Teacher on iPad
Once your account is ready, you will see the Teacher Mode interface. This is your command center for creating, organizing, and launching lessons. Let me walk you through the key functions.
Accessing and Navigating Teacher Mode
After signing in, you land on the My Library screen. Here you will find any lessons you have created or imported. The bottom navigation bar has four icons: My Library, Explore (for finding premade lessons), Reports (for viewing student data), and Account settings.
Tap Explore to browse thousands of ready-made lessons. You can filter by subject, grade level, or standard. When you find a lesson you like, tap it to preview the slides. If it fits your needs, tap Add to My Library to save it.
Launching a Live Lesson
To start teaching, go to My Library and tap the lesson you want to use. At the bottom of the screen, you will see two options: Live Participation and Student-Paced. Tap Live Participation to control the pace of the lesson yourself.
The app generates a five-digit session code displayed at the top of your screen. Students enter this code to join. As they join, you will see their names appear in the participants list. Tap the arrow at the bottom right to advance slides, and every student iPad advances with you.
Using Student-Paced Mode
Student-Paced mode lets students move through the lesson at their own speed. This works well for homework assignments, review activities, or stations-based learning. When you launch in this mode, students still enter the session code, but they control when to advance slides.
You can monitor progress from your iPad by tapping Reports while the session is active. Green checkmarks appear next to student names as they complete activities.
How to Use Nearpod as a Student on iPad
For students, Nearpod is refreshingly simple. The interface is clean, with large buttons and clear instructions that work well for all age groups.
Student Mode Interface
When a student opens the Nearpod app, they see two options: Join Session and Sign In. Most students will tap Join Session to enter the lesson immediately without creating an account.
Students enter the five-digit code their teacher provides. Once connected, they see the current slide on their screen. The teacher controls advancement in Live Participation mode, so students simply follow along and respond when activities appear.
Participating in Activities
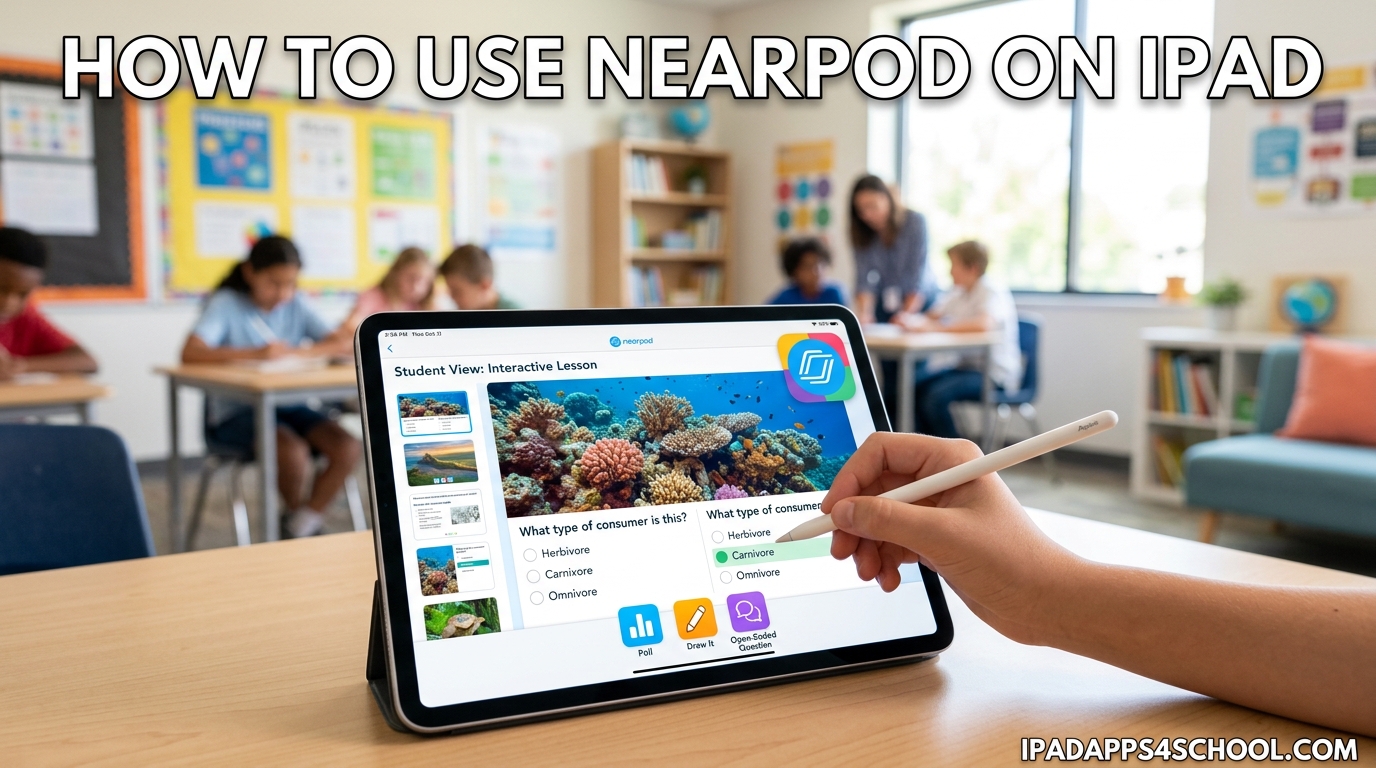
When a quiz appears, students tap their answer and submit. For Draw It activities, they use their finger or Apple Pencil to draw directly on the screen. Polls show multiple choice options that students tap to vote. Open-ended questions display a text box where students type responses.
Students can see their own responses but not classmates answers until the teacher shares results. This keeps everyone focused on their own work while building anticipation for group results.
How to Join a Nearpod Session on iPad
Joining a session is the most common action students take, and Nearpod has made it as simple as possible. Here is the exact process.
Step-by-Step Joining Process
First, open the Nearpod app. On the welcome screen, tap Join Session. A box appears asking for the session code. Type the five-digit code your teacher displays or announces. Tap Join to connect.
If the code is correct and the session is active, you will see a loading screen followed by the first slide. Type your name when prompted so your teacher can identify you in the participant list.
No Account Required
Students do not need to create an account or sign in to join a lesson. The session code is the only credential required. This makes Nearpod ideal for quick activities, substitute teacher days, or one-time presentations where managing student accounts would slow things down.
Troubleshooting Connection Issues
If a student cannot join, first check the code for typos. Session codes expire when the teacher ends the session, so make sure the lesson is still active. If the app freezes, force-close it and reopen. For persistent issues, students can join via web browser at nearpod.com by entering the same code.
Interactive Features Overview
Nearpods interactive features are where the platform truly shines. Here is what you can do on iPad.
Quizzes and Polls
Multiple choice quizzes give instant feedback to students and show teachers exactly who understands the material. Polls collect opinions or check prior knowledge without right or wrong answers. Both display results as bar charts that spark great class discussions.
Draw It
The Draw It feature turns iPad into a digital whiteboard for each student. Math teachers use it for showing work. Science teachers ask students to label diagrams. Art teachers have students sketch concepts. The Apple Pencil makes this especially natural, though a finger works fine too.
Collaborate Board
This digital corkboard lets every student add sticky notes to a shared canvas. Use it for brainstorming, exit tickets, or collecting questions. Students tap Add Post-it, type their response, and drag it anywhere on the board. The teacher can view all responses and share the completed board with the class.
Time to Climb
Time to Climb turns quiz questions into a game. Students answer correctly to make their avatar climb a mountain faster. Wrong answers send them sliding back down. It is competitive, fun, and keeps students focused on the content.
Open-Ended Questions and Matching Pairs
Open-ended questions let students write short responses or paragraphs. These appear in the teacher dashboard for review, and you can share exemplary answers anonymously with the class. Matching Pairs works like a digital memory game where students drag items to connect related concepts.
Live Participation vs Student-Paced Mode
Understanding when to use each mode helps you get the most from Nearpod.
Live Participation puts you in control. You advance slides when the class is ready. This works best for direct instruction, whole-class discussions, and activities where you want everyone on the same page at the same time. Students cannot skip ahead or go back without you.
Student-Paced mode turns Nearpod into an independent learning tool. Students control their own progress, which supports differentiation, homework assignments, and review stations. You can still see completion data in real time, but you are not advancing slides for the group.
Many teachers use both modes in the same unit. Start with Live Participation for the initial lesson, then assign Student-Paced mode for review before the test. The choice depends on your learning objective and classroom structure.
Tips for First-Time Users
After talking with teachers who use Nearpod daily, here are their top recommendations for getting started.
Start with premade lessons from the Explore section. Nearpod has thousands of lessons aligned to standards that you can use immediately while learning the platform. Once comfortable, import your existing PowerPoints or Google Slides and add interactive elements.
Test your first lesson with a small group or colleague before going live with students. This helps you understand timing, check that activities work as expected, and build confidence with the interface.
If your school uses Google Classroom, connect your accounts. Nearpod integrates directly, letting you assign lessons through Classroom and import rosters automatically. This saves setup time and keeps everything organized in one place.
Practice the Draw It activity yourself before asking students to use it. Understanding how pinch-to-zoom and the undo button work helps you guide students who get stuck.
Frequently Asked Questions
Does Nearpod work on iPads?
Yes, Nearpod works excellently on iPads. The app is available free on the App Store and is optimized for touch interaction, Apple Pencil support, and the iPad screen size. It works on iPad Air 2 and newer, iPad Pro, iPad mini 4 and later, and standard iPad 5th generation and newer.
How to use Nearpod step by step?
1) Download the Nearpod app from the App Store. 2) Create a free teacher account or sign in with Google/Microsoft. 3) Select or create a lesson from My Library. 4) Tap Live Participation or Student-Paced to launch. 5) Share the session code with students. 6) Students enter the code to join. 7) Advance through slides and interact with activities together.
What devices work with Nearpod?
Nearpod works on iPads, iPhones, Android devices, Chromebooks, Windows PCs, and Mac computers. Students can also participate using any web browser at nearpod.com without downloading an app. The platform is designed to work across all these devices simultaneously in the same session.
Can students use Nearpod without an account?
Yes, students can join Nearpod sessions without creating an account. They simply open the app or visit nearpod.com, enter the session code provided by their teacher, and type their name. No email address, password, or personal information is required to participate in lessons.
Conclusion
Learning how to use Nearpod on iPad opens up new possibilities for engaging your students and gathering real-time feedback. The touch interface makes interaction natural, the session codes keep access simple, and the variety of activities supports any subject or grade level.
Start with one premade lesson this week. Get comfortable launching Live Participation sessions and watching student responses appear on your screen. Once you see the engagement that Nearpod creates, you will find yourself coming back to it again and again. Your iPad becomes more than a presentation tool. It becomes a window into student understanding.