
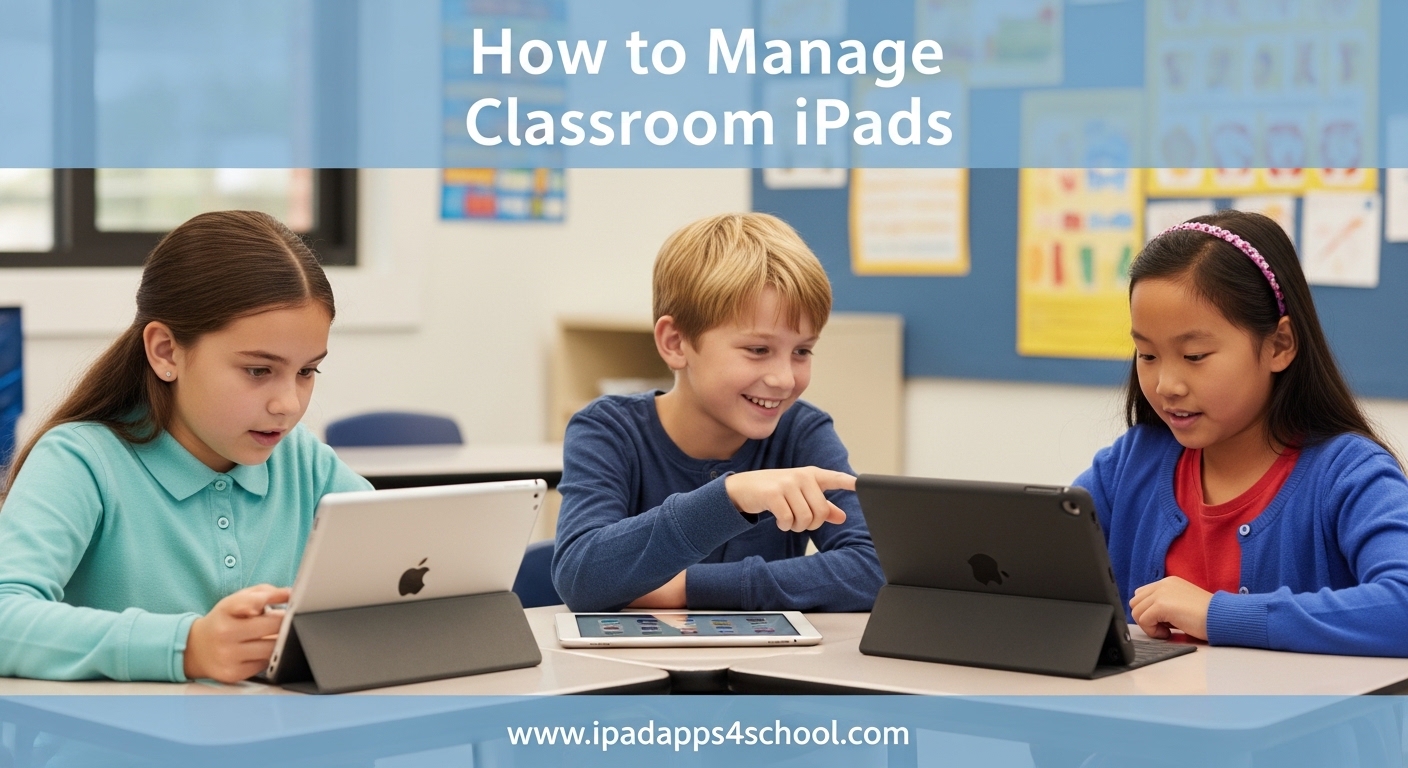
Managing a classroom set of iPads can feel overwhelming at first. Whether you have a shared cart for the whole school or a 1:1 program where every student has their own device, knowing how to manage classroom iPads effectively makes the difference between chaos and productive learning. I have worked with teachers across grade levels, and the ones who succeed follow a clear system that combines the right tools with consistent routines.
In this guide, I will walk you through everything you need to know about classroom iPad management. We will cover Apple Classroom setup, iPad restrictions, tracking lost devices, MDM solutions, and grade-specific strategies that actually work. By the end, you will have a complete system you can implement immediately.
If you are also looking for ways to help students use their iPads more effectively, check out these iPad multitasking tips for school that can boost productivity in your classroom.
Table of Contents
Quick Overview: How to Manage Classroom iPads?
Here are the five core strategies every teacher should implement for effective iPad management:
- Set up Apple Classroom for real-time screen monitoring and app control
- Configure restrictions using Screen Time to limit distractions
- Enable Find My iPad on every device to track lost or misplaced units
- Label and organize iPads with numbered stickers and assigned storage spots
- Establish an Acceptable Usage Policy with clear rules and consequences
Implement these five steps and you will eliminate 90% of common iPad management headaches. Let us dive into each strategy in detail.
How to Organize Classroom iPads: Physical Setup
Before you touch a single setting, get your physical organization right. I have seen too many teachers skip this step and then waste precious instructional time hunting for missing devices or untangling charging cables.
Start with a numbered labeling system. Assign each iPad a number (1-30, for example) and place a durable sticker on both the device and its assigned slot in your charging station. This creates immediate accountability, students know exactly which iPad is theirs for the day.
Invest in a quality charging cart or station with individual slots. Look for models with cable management built in. The best stations allow you to charge all devices overnight while keeping them secure. Position your charging station near your desk if possible, this lets you monitor device check-in and check-out.
Consider your classroom layout for visibility. Arrange desks so you can see most iPad screens from your teaching position. Some teachers use a U-shape or clusters that face the center of the room. The goal is simple: students should know you can see their screens at any moment.
Setting Up Apple Classroom for Real-Time Management
Apple Classroom is the single most powerful tool for classroom iPad management. This free app from Apple lets you see every student screen in real time, lock devices into specific apps, and even blank out screens when you need full attention.
Getting started takes about 15 minutes. First, download Apple Classroom from the App Store on your teacher iPad. Create a new class and give it a name your students will recognize. The app generates a unique invitation code, share this with students so they can join your class from their devices.
Once students join, you will see thumbnail views of every connected iPad. Tap any screen to view it full size. You can open apps remotely on student devices, lock everyone into a specific app during a lesson, or mute audio across all iPads instantly. If you need eyes up front, tap “Screens Sleep” and every device goes dark.
One feature teachers love is group management. Create groups within your class for differentiated instruction. Send one group to a math app while another works on reading, all from your teacher iPad.
Apple Classroom works best when combined with good device organization. Learn how to organize your iPad home screen for school to help students find the apps you push out more quickly.
Pro tip from my classroom: If Apple Classroom shows devices as offline even when students are present, check that Bluetooth and WiFi are enabled on both your iPad and student devices. This is the most common connectivity issue teachers face.
Configuring iPad Restrictions for Student Focus
Even the best monitoring tools work better when you set up proper iPad restrictions beforehand. Screen Time settings let you control exactly what students can and cannot do on their devices.
To set restrictions, go to Settings > Screen Time > Content & Privacy Restrictions on each iPad. Enable the restrictions and set a passcode that students cannot guess. This prevents them from disabling your settings.
Start with these essential restrictions for classroom use:
- App limits: Disable the App Store entirely to prevent unauthorized downloads
- Content restrictions: Set web content to “Limit Adult Websites” or “Allowed Websites Only”
- Privacy settings: Prevent changes to Location Services, Contacts, and Calendars
- Game Center: Turn off multiplayer gaming and adding friends
- Siri: Disable explicit language and web search suggestions
For younger students, consider enabling Guided Access for specific activities. This locks the iPad into a single app until you enter your passcode. It is perfect for assessment situations or when you want zero distractions.
You can also disable Safari completely and use a filtered browser app instead. Many schools use apps like Lightspeed or Securly that provide safer browsing with teacher oversight.
Using Find My iPad to Track Lost or Misplaced Devices
iPads go missing. It happens in every school. The difference between a quick recovery and a frantic search is whether you enabled Find My iPad before the device disappeared.
Set up Find My on every classroom iPad by going to Settings > [Student Name] > Find My. Enable “Find My iPad” and “Send Last Location.” This sends the device’s location to iCloud when the battery is critically low, giving you one last chance to locate it.
When an iPad goes missing, use the Find My app on your teacher device or log into iCloud.com from any browser. You will see the device’s location on a map if it is online. For nearby searches, tap “Play Sound” and the iPad will emit a pinging noise even if it is on silent mode.
If a device is lost outside school, enable Lost Mode remotely. This locks the iPad and displays a message with your contact information. Anyone who finds it can call you directly from the lock screen.
Teach your check-out routine carefully. Students should verify they have the correct numbered iPad before leaving class. A simple 30-second check at the door prevents hours of searching later.
Managing Updates and Syncing Across Multiple iPads
Keeping 30 iPads updated with the latest iOS version and current apps feels like a full-time job. Doing it one device at a time is not realistic. You need a system for batch management.
For small sets (under 10 iPads), tethered syncing with Apple Configurator on a Mac still works. Connect multiple iPads via USB hubs and update them simultaneously. This requires physical connection but gives you full control.
For larger deployments, wireless management is essential. If your school uses Apple School Manager with an MDM solution, you can push updates and app installations over the air. Students do not need to bring you their devices, you manage everything remotely from your admin console.
Schedule updates strategically. Run them overnight via your charging cart so devices are ready in the morning. Never update during class time unless absolutely necessary, the process can take 20-30 minutes per device.
App management deserves its own strategy. Use your MDM or Apple School Manager to create “app assignments” that push specific apps to specific classes or grade levels. Remove apps students no longer need to free up storage space. Nothing slows down an iPad faster than a full hard drive.
MDM Solutions for School iPad Management
When you are managing more than 15-20 iPads, a Mobile Device Management (MDM) system becomes essential. MDM lets you control settings, deploy apps, and enforce policies across hundreds of devices from a single dashboard.
What exactly is MDM? Think of it as a remote control for all your school iPads. You configure policies once, and they apply to every supervised device automatically. Restrictions, WiFi settings, app installations, and wallpaper images can all be managed centrally.
Several MDM solutions work well for schools:
- JAMF School: The industry standard, robust but can be complex for small schools
- Mosyle Manager: Popular free tier for education, excellent Apple integration
- Jamf Teacher: Companion app that gives classroom-level control to teachers
- Apple School Manager: Free baseline system for device enrollment and app purchasing
For schools without dedicated IT staff, Mosyle offers the best entry point. Their free education plan handles up to 10,000 devices with core MDM features. You can always upgrade later if you need advanced capabilities.
Getting started with MDM requires enrolling devices in “supervised” mode. This gives your school deeper control than standard restrictions. New iPads purchased through Apple School Manager automatically enter supervised mode during setup. Existing iPads need to be wiped and enrolled using Apple Configurator.
The upfront time investment pays off immediately. Once enrolled, pushing a new app to 200 iPads takes three clicks instead of three days.
Creating an Acceptable Usage Policy for iPads
Technology rules only work when everyone knows them upfront. An Acceptable Usage Policy (AUP) sets clear expectations for how students use classroom iPads.
Your AUP should cover these key areas:
- Device care: Proper handling, no food or drinks nearby, reporting damage immediately
- Appropriate use: Schoolwork only during class, no games unless approved
- Digital citizenship: Respectful online behavior, no cyberbullying, proper citation of sources
- Consequences: Clear steps for violations, loss of iPad privileges, parent notification
Have students and parents sign the AUP before iPads are assigned. This creates accountability on both sides. Keep signed copies on file for reference if issues arise.
Review the AUP quarterly with students. Technology habits slip over time, and regular reminders keep everyone on track. Consider creating a video version of your rules using your iPad, learn how to record the screen on iPad to make tutorials students can reference anytime.
Communicate with parents proactively. Send home a one-page summary of your iPad policies and invite questions. Parents who understand your management approach are more likely to support consequences when needed.
Grade-Level Specific iPad Management Strategies
Kindergarteners and eighth graders need completely different approaches to classroom iPad management. Here is what works at each level based on my experience and feedback from dozens of teachers.
K-2: Maximum Structure, Minimal Choices
Young learners need heavy guidance. Use Guided Access to lock iPads into a single app for the entire lesson. Set up identical home screens on every device so students cannot get lost looking for apps.
Assign iPads by student number or seating position, not by choice. Check out and check in devices as a whole class procedure. Teach students to carry iPads with two hands and walk slowly when moving with devices.
Limit session length to 15-20 minutes. Young attention spans fade quickly, and short rotations prevent frustration.
Grades 3-5: Building Independence
Upper elementary students can handle more responsibility. Introduce iPad hidden features for students like Split View for research projects. Let them choose from a curated set of apps for assignments.
Start using student tech helpers. Train 2-3 responsible students to assist peers with basic troubleshooting and charging procedures. This builds leadership while reducing the “teacher, help” calls.
Implement a simple ticketing system for problems. When an iPad has an issue, students fill out a card with the device number and problem description. This creates a paper trail and prevents verbal reports from getting forgotten.
Grades 6-8: Self-Management with Monitoring
Middle schoolers want autonomy. Give it to them, with oversight. Let students personalize their home screens within guidelines. Teach them how to use Stage Manager on iPad for advanced multitasking.
Use Apple Classroom’s monitoring features more heavily at this level, not less. Middle school students test boundaries, and visible oversight keeps them honest. Check screen thumbnails regularly during independent work time.
Create a student repair team. Train interested students to handle basic fixes like force-restarting frozen apps or reconnecting to WiFi. They gain technology skills while supporting classroom management.
Troubleshooting Common Classroom iPad Issues
Even with perfect setup, problems arise. Here are quick fixes for the most common issues teachers face.
Apple Classroom shows devices as offline: Check that Bluetooth is enabled on your teacher iPad and student devices. Verify all devices are on the same WiFi network. Restart the Classroom app if needed. If problems persist, restart both teacher and student iPads.
Apps crash or freeze: Force-close the app by swiping up from the bottom and swiping the app card away. If that fails, restart the iPad. For chronic issues, delete and reinstall the app.
Students bypass restrictions: This usually means the Screen Time passcode was guessed or shared. Change your passcode immediately and avoid obvious number patterns. Check restriction settings weekly to ensure they remain active.
iPad won’t charge: Check for debris in the charging port. Try a different cable and adapter. If the battery icon shows but percentage does not increase, the cable may be damaged.
Cannot connect to WiFi: Forget the network in Settings > WiFi, then reconnect with the password. For school networks requiring certificates, contact your IT department rather than troubleshooting alone.
Document recurring issues and their solutions. Create a simple FAQ sheet for substitute teachers so they can handle basic problems without disrupting your lessons.
Frequently Asked Questions
How do I manage classroom iPads?
Manage classroom iPads by setting up Apple Classroom for real-time monitoring, configuring Screen Time restrictions to limit distractions, enabling Find My iPad for tracking, organizing devices with numbered labels and assigned storage, and establishing clear acceptable usage policies with student and parent signatures.
What is the classroom app for iPads?
Apple Classroom is the official classroom management app for iPad. It is a free app from Apple that lets teachers view student screens in real time, lock devices into specific apps, blank screens for attention, and push apps remotely to student devices.
How to organize classroom iPads?
Organize classroom iPads by assigning each device a number with durable stickers, using a quality charging station with individual slots, positioning the station for teacher visibility, and establishing a consistent check-out and check-in routine that students follow every class period.
Which iPad will stop working in 2026?
The original iPad Air (2013), iPad mini 2, and iPad mini 3 will lose support for iOS updates in 2026. These devices cannot run iOS 16 or later, making them incompatible with many current educational apps and security features. Schools should replace these models for safe classroom use.
How do I keep students focused on iPads?
Keep students focused by using Apple Classroom to monitor screens and lock apps during lessons, setting up restrictions that block games and social media, arranging classroom seating for teacher visibility, establishing clear usage rules with consequences, and using Guided Access to lock younger students into specific learning apps.
What is the best MDM for school iPads?
Mosyle Manager offers the best free MDM solution for schools with its robust education tier supporting up to 10,000 devices. For schools needing enterprise features, JAMF School is the industry standard. Apple School Manager provides free baseline device enrollment and should be used alongside any MDM for app purchasing and deployment.
Conclusion
Learning how to manage classroom iPads effectively takes time, but the payoff is worth every minute invested. Start with physical organization and Apple Classroom setup. Add restrictions and tracking features. Consider an MDM solution as your program grows.
Remember that consistency matters more than perfection. Students respond to predictable routines. Check out iPads the same way every day. Enforce your acceptable usage policy fairly. Troubleshoot problems calmly.
You do not need to implement everything at once. Pick two or three strategies from this guide and start there. Add more systems as you get comfortable. Within a month, you will have a classroom iPad program that runs smoothly and supports real learning instead of creating distractions.
The teachers I know who succeed with classroom technology share one trait: they treat iPad management as a skill worth developing. You are building that skill right now. Your future self, and your students, will thank you for the effort.