
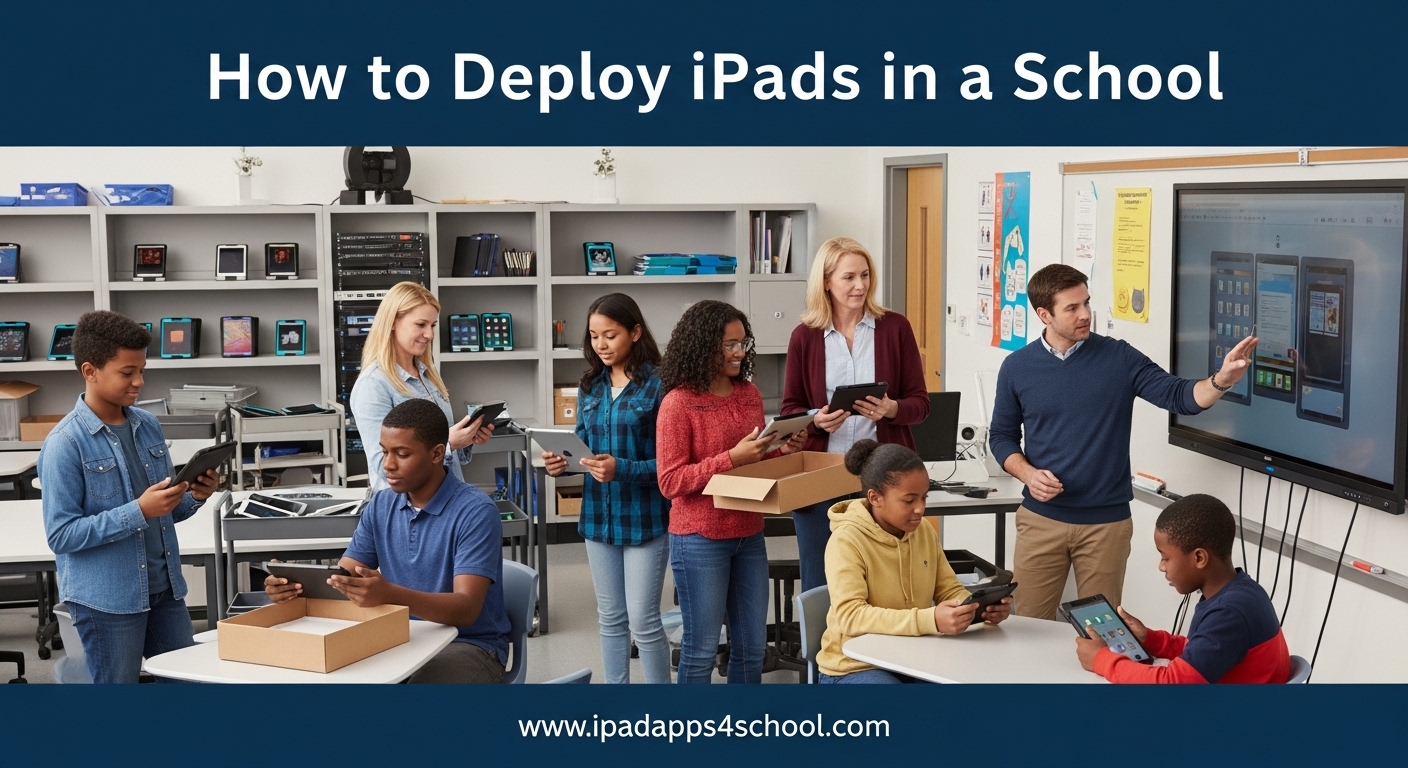
Deploying iPads in a school requires careful planning, the right tools, and a systematic approach to device management. This complete guide walks you through every step of setting up and managing iPads in educational environments, from initial planning to daily student use.
Our team has worked with schools ranging from small private institutions with 50 devices to large public districts managing thousands of iPads. We have learned what works, what fails, and how to avoid common pitfalls that waste time and budget.
Whether you are implementing a 1:1 program where each student gets their own device or setting up shared iPads for classroom use, this guide covers the essential tools and processes you need to succeed.
Table of Contents
Planning Your iPad Deployment
Successful iPad deployment starts with clear goals and realistic planning. Before purchasing devices or setting up any software, you need to define what success looks like for your school.
Start by deciding between two primary deployment models. In a 1:1 deployment, each student receives a dedicated iPad they keep throughout the school year. This model works best for schools with sufficient budget and infrastructure. Shared iPad deployments allow multiple students to use the same device during different class periods, which is ideal for budget-constrained schools or younger students who do not need full-time access.
Your timeline should include at least three months for planning and setup before devices reach students. One month for Apple School Manager and MDM configuration. One month for network testing and teacher training. One month for device enrollment and final testing. Rush deployments almost always result in frustrated teachers and unused devices.
Budget planning must account for more than just device costs. Include MDM subscription fees, app purchases through the Volume Purchase Program, protective cases, charging stations, and potential network upgrades. Small schools often overlook these additional costs and find themselves scrambling mid-year.
How to Deploy iPads in a School: The Core Process
The actual deployment process follows a clear sequence that builds from account setup to device management. Understanding this workflow helps prevent the confusion many IT administrators face when tools overlap or seem redundant.
Apple School Manager serves as your central hub for managing devices, users, and content. It is a free web-based portal from Apple designed specifically for educational institutions. Think of it as the foundation everything else connects to.
Your MDM solution connects to Apple School Manager and provides the actual remote management capabilities. This is where you configure restrictions, deploy apps, and monitor devices. Without an MDM, you would need to configure each iPad manually.
Device enrollment links your physical iPads to both systems, enabling remote management and automatic configuration when devices are powered on. The enrollment method you choose depends on your deployment size and whether devices were purchased directly from Apple or through a reseller.
Setting Up Apple School Manager
Apple School Manager is the foundation of education deployment. This free Apple portal lets you manage devices, create Apple IDs for students and staff, purchase apps and books, and configure your MDM connection.
To get started, visit school.apple.com and click “Get Started.” You will need to provide your institution’s D-U-N-S number, which identifies your organization in Apple’s system. If you do not have one, you can request it free from Dun & Bradstreet. The verification process typically takes 3-5 business days.
Once verified, set up your first location. This represents your school or district in the system. Add your institution’s details including address, phone number, and primary contact information. You can create multiple locations if you are managing several schools under one account.
Next, create Managed Apple IDs for your users. These are special Apple IDs that your institution controls, unlike personal Apple IDs. Students can use these to access iCloud, collaborate on documents, and sign into educational apps. The key difference is you can reset passwords, disable accounts, and manage permissions centrally.
To create Managed Apple IDs in bulk, prepare a CSV file with student information including first name, last name, student ID, and grade level. Upload this through the “People” section of Apple School Manager. The system automatically generates unique Apple IDs based on your chosen format.
Finally, link your MDM server in the “Settings” section under “MDM Servers.” This connection allows automatic device enrollment when you purchase iPads through Apple or an authorized reseller. You will need the MDM server URL and an enrollment token from your MDM provider, which we cover in the next section.
Choosing and Configuring an MDM Solution
Mobile Device Management is essential for school iPad deployment. An MDM solution lets you remotely configure devices, enforce restrictions, deploy apps, and monitor compliance without physically touching each iPad.
For schools with limited budgets, several free MDM options exist. Mosyle offers a free tier for up to 30 devices with basic management features. This works well for small pilot programs or private schools starting with limited deployments. Cisco Meraki Systems Manager provides free device management for up to 100 devices, though it has fewer education-specific features than paid alternatives.
If your budget allows, paid MDM solutions offer significant advantages. Jamf School starts at approximately $4 per device annually and includes education-focused features like classroom management tools and parent communication portals. Jamf Pro offers enterprise-grade management for larger districts but requires more technical expertise. Mosyle’s paid plans add content filtering and advanced security features at competitive prices.
Once you select an MDM, connect it to Apple School Manager. In your MDM dashboard, look for “Apple School Manager integration” or “DEP setup.” The system will generate a server token you upload to Apple School Manager. This one-time connection enables automatic device enrollment.
Configure your basic MDM settings before enrolling devices. Set restrictions appropriate for your student population. For elementary students, disable Safari and restrict app installations. For high school students, you might allow more freedom while maintaining content filtering. Create WiFi profiles with your school network credentials so devices connect automatically. Configure restrictions on camera use, AirDrop, and Screen Time limits based on your school’s policies.
Device Enrollment Options
Getting your physical iPads into management is called enrollment. Apple provides several methods depending on how you purchased devices and how many you need to configure.
The Device Enrollment Program, now called Automated Device Enrollment, works for iPads purchased directly from Apple or authorized Apple resellers. When you buy devices this way, they automatically appear in Apple School Manager. Students or staff simply power on the device, connect to WiFi, and the enrollment process completes automatically. This is the preferred method for new device deployments.
Apple Configurator 2 provides an alternative for devices not purchased through Apple channels or for small deployments. You will need a Mac computer running macOS to use Configurator. Connect iPads via USB, and Configurator applies your enrollment profile directly. While this requires physical handling of each device, it works for donated iPads, refurbished purchases, or adding devices to existing deployments.
Supervised mode is essential for school deployments. This elevated management level lets you enforce stricter restrictions, silently install apps, and prevent students from removing the MDM profile. Devices enrolled through Automated Device Enrollment automatically enter supervised mode. With Configurator, you select “Supervise” during the preparation phase.
To manually enroll a device, open Settings, go to General, then VPN & Device Management. Tap “Sign in to Work or School Account” and follow the prompts. However, manual enrollment does not provide supervised mode and allows students to remove management, so only use this method for teacher devices or special cases.
Network Infrastructure Requirements
Your network infrastructure directly impacts iPad deployment success. Nothing frustrates teachers and students more than slow WiFi or devices that cannot connect consistently.
Bandwidth planning starts with estimating concurrent users. A typical school should plan for 70% of devices being online simultaneously during peak usage. Each iPad needs approximately 1-2 Mbps for smooth app usage and content streaming. For 500 iPads, budget 350-700 Mbps of available bandwidth during school hours.
WiFi coverage requires strategic access point placement. iPads have smaller antennas than laptops, so they are more sensitive to weak signals. Plan for one access point per 30-40 devices in classrooms. High-density areas like cafeterias and auditoriums need additional coverage. Use a WiFi analyzer tool to identify dead zones before deployment.
Apple recommends enabling specific network settings for optimal iPad performance. Disable WiFi sleep modes that disconnect idle devices. Enable multicast support for AirPlay and classroom management features. Open ports 5223, 443, and 80 for Apple push notifications and content delivery.
Consider implementing a Content Caching server if you have more than 50 iPads. This macOS feature stores app downloads and software updates locally, reducing internet bandwidth usage by up to 80%. When 500 students download the same app, it comes from your local server instead of Apple’s servers 500 times.
Teacher Device Setup and Training
Teachers need proper setup and training before student devices arrive. Well-prepared teachers become your greatest advocates. Unprepared teachers become your biggest support burden.
Start by configuring teacher iPads with administrative access to classroom management features. Install the Classroom app, which lets teachers view student screens, launch apps on student devices, and guide learning activities. Set up the Schoolwork app for distributing assignments and tracking progress. Ensure teachers can access your school’s Learning Management System.
Create teacher-specific configuration profiles with fewer restrictions than student devices. Teachers need Safari access to research lessons, camera access to document student work, and the ability to install apps for testing. However, maintain basic security requirements like device passcodes and automatic screen locking.
Training should happen at least two weeks before student deployment. Cover basic device operation, classroom management app usage, troubleshooting common issues, and who to contact for technical support. Hands-on practice time matters more than presentation slides.
Provide quick reference guides teachers can keep at their desks. One-page cheat sheets for common tasks save countless help desk tickets. Create a shared digital folder with lesson ideas, app recommendations, and success stories from early adopters.
Student iPad Management
Managing student iPads requires balancing educational access with appropriate restrictions. Your approach differs significantly between shared iPad and 1:1 deployment models.
Shared iPad configuration lets multiple students use the same device while maintaining individual data separation. When a student signs in with their Managed Apple ID, they see their own apps, documents, and settings. When they sign out, their data remains securely stored on the device or in iCloud until their next session.
To configure Shared iPad mode, enable it in your MDM configuration profile. Specify the minimum storage reserved for each user, typically 1-2 GB. Set the maximum number of cached users per device based on your class sizes. The iPad automatically manages storage by removing older user data when space runs low, keeping only account information for quick sign-in.
For 1:1 deployments, assign specific devices to individual students in Apple School Manager. This permanent assignment tracks device responsibility and simplifies inventory management. Configure stricter restrictions since students have exclusive access, including preventing app store access and limiting social media.
User restrictions should match student age and maturity level. Elementary students need locked-down environments with pre-approved apps only. Middle school students can handle slightly more freedom with guided access to research tools. High school students need preparation for college and workplace technology use with moderated restrictions.
App Deployment and Content Filtering
Getting educational apps onto student iPads efficiently requires understanding Apple’s Volume Purchase Program and your MDM’s distribution methods.
The Volume Purchase Program, accessible through Apple School Manager, lets schools purchase apps in bulk at educational pricing. Many educational apps offer volume discounts starting at 20 licenses. Some popular apps like Pages, Keynote, and Numbers are free for education. Purchase apps centrally, then assign them to specific devices or users through your MDM.
Deploy apps using device-based assignment for shared iPads. The app installs directly on the device and is available to any user. For 1:1 deployments, user-based assignment works better. The app licenses follows the student if they get a different device, and removes from old devices automatically.
Content filtering keeps students safe and focused. Your MDM likely includes basic website filtering options. For stronger protection, consider dedicated content filtering solutions like Lightspeed Relay or GoGuardian. These integrate with iPads and provide detailed reporting on student browsing activity.
Deploy educational content beyond apps using Apple School Manager. Purchase iBooks for your curriculum and distribute them to student devices. Configure restrictions to prevent students from deleting required apps or books. Set up Managed Open In to control which apps can open documents from other apps, preventing workarounds around content filtering.
Common Mistakes to Avoid
After helping dozens of schools deploy iPads, we have seen the same mistakes repeatedly. Learning from these errors saves you time, money, and frustration.
Rushing the planning phase tops the list of deployment failures. Schools that skip proper network assessment discover WiFi cannot handle the load on day one. Schools that deploy before teacher training end up with expensive paperweights in classrooms. Take the full recommended planning time. Your patience pays off in smooth daily operations.
Skipping network assessment causes widespread connectivity issues. Test your WiFi under realistic load before deployment. Connect 30 iPads in one classroom and stream video simultaneously. If performance drops, upgrade infrastructure before adding hundreds of devices.
Inadequate teacher training wastes your technology investment. Teachers need more than a two-hour overview. They need hands-on practice, ongoing support, and time to integrate iPads into lesson plans. Plan for monthly training sessions throughout the first year.
Poor device labeling and tracking creates inventory nightmares. Label every iPad with asset tags before distribution. Record serial numbers, assigned users, and deployment dates in your asset management system. Conduct regular audits to account for missing devices before the numbers grow.
Choosing the wrong deployment model for your environment causes daily friction. Shared iPads frustrate high school students who need constant access. 1:1 programs overwhelm elementary schools with storage and charging logistics. Match your model to actual classroom needs, not just budget constraints.
Frequently Asked Questions
How do I unrestrict a school iPad?
How to set up multiple iPads for a school?
What are the best school MDM solutions?
How to add iPad to MDM with Apple Configurator?
How to manage shared iPads in schools?
Conclusion
Deploying iPads in a school successfully requires following a systematic process from planning through daily management. Start with clear goals and realistic timelines. Set up Apple School Manager as your foundation. Choose an MDM solution matching your budget and needs. Enroll devices properly for supervised management. Prepare your network infrastructure and train teachers thoroughly.
The schools we see succeeding with iPad deployments share common traits. They invest time in planning before purchasing devices. They prioritize teacher training alongside technical setup. They choose deployment models appropriate for their students’ ages and learning goals. They maintain consistent policies while remaining flexible enough to adapt as needs change.
Your next steps depend on where you are in the deployment process. If you are just beginning, start with Apple School Manager setup this week. If you have devices ready, focus on MDM configuration and enrollment. If you are already deployed, audit your current setup against the practices in this guide and identify improvement opportunities.
iPad deployment in schools transforms learning when done right. The investment in proper setup pays dividends in engaged students, empowered teachers, and technology that enhances rather than hinders education.