
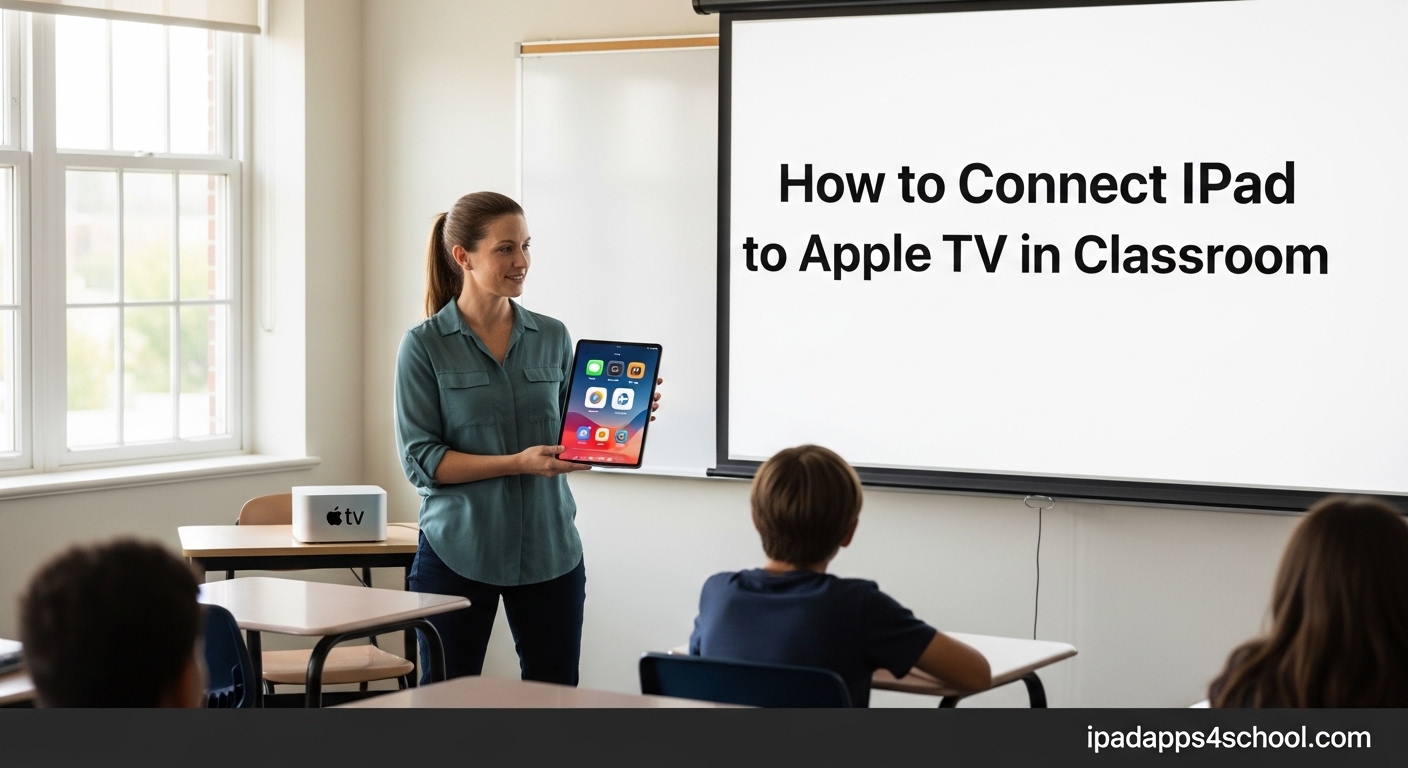
Standing at the front of the classroom, tethered to your desk by an HDMI cable, limits your ability to engage with students. I remember the first time I tried wireless mirroring with my iPad and Apple TV. The freedom to walk around while teaching transformed my classroom. In this guide, I will show you exactly how to connect iPad to Apple TV in classroom settings so you can enjoy that same mobility.
AirPlay screen mirroring lets you display your iPad on a projector or TV wirelessly. This means you can annotate documents, solve math problems, and demonstrate apps while moving among your students. The setup is straightforward once you know the steps, and I have included troubleshooting tips from my own experience and discussions with other teachers.
By the end of this article, you will know how to connect your iPad to Apple TV, configure security settings to prevent student interruptions, and solve common connection problems.
Table of Contents
What You Need Before Starting
Before attempting to connect your iPad to Apple TV, confirm you have the necessary equipment and settings. Proper preparation prevents most connection headaches.
Required Equipment
You will need an iPad running iOS 11 or later and an Apple TV HD (4th generation) or Apple TV 4K. The Apple TV must be connected to your classroom display or projector via HDMI. Both devices need to be on the same Wi-Fi network.
Most modern iPads support AirPlay, including iPad Pro models, iPad Air (3rd generation and newer), iPad (5th generation and newer), and iPad mini (5th generation and newer). If you are unsure about your iPad hidden features for classroom use, check your device settings under General > About.
Network Requirements
The most common reason teachers cannot connect is network-related. Both devices must be on the same Wi-Fi network. Many schools have separate networks for staff and students, so verify your iPad and Apple TV are connected to the same SSID.
If your IT department has restrictions on device discovery, you may need to contact them about enabling AirPlay or Bonjour services on the network.
Software Updates
Ensure both devices are running the latest software. On iPad, go to Settings > General > Software Update. On Apple TV, go to Settings > System > Software Update. Keeping devices updated prevents compatibility issues and gives you access to the latest AirPlay features.
How to Connect iPad to Apple TV in Classroom
Follow these steps to wirelessly mirror your iPad screen to your classroom Apple TV. The process takes less than a minute once you are familiar with it.
Step 1: Access Control Center
On iPads with Face ID, swipe down from the top-right corner of the screen. On iPads with a Home button, swipe up from the bottom edge. This opens Control Center where you will find the Screen Mirroring button.
Step 2: Tap Screen Mirroring
Look for the rectangle icon with two overlapping squares labeled “Screen Mirroring.” Tap it to see a list of available AirPlay devices on your network. Your Apple TV should appear with the name you assigned it during setup, such as “Classroom Apple TV” or “Room 204 Display.”
Step 3: Select Your Apple TV
Tap the name of your Apple TV from the list. If you have multiple Apple TVs in your building, make sure you select the correct one to avoid displaying your screen in the wrong classroom.
Step 4: Enter the 4-Digit Code
Your classroom display will show a 4-digit code. Enter this code on your iPad when prompted. This security feature ensures only authorized users can connect to the Apple TV. The code changes each time someone connects, preventing students from memorizing it.
Once you enter the code, your iPad screen will appear on the classroom display within a few seconds. A blue bar appears at the top of your iPad screen indicating that AirPlay is active.
Tips for First-Time Setup
If this is your first time connecting, practice the steps before class starts. I recommend doing a test run during a prep period so you are comfortable with the process. Keep the Apple TV remote nearby in case you need to adjust volume or settings.
If your iPad does not show the 4-digit code prompt, look at the Apple TV screen. The code displays there. Some teachers write down the steps and tape them near their desk for reference until muscle memory develops.
Understanding Screen Mirroring vs AirPlay Streaming
Many teachers confuse screen mirroring with AirPlay streaming, but they serve different purposes in the classroom.
Screen Mirroring displays your entire iPad screen on the TV or projector. Everything you see on your iPad, including your home screen, apps, and notifications, appears on the big screen. This is ideal for teaching because you can demonstrate apps, annotate documents, and switch between resources seamlessly.
AirPlay Streaming sends only video or audio content to the Apple TV while your iPad shows different content or controls. For example, you can stream a video to the classroom display while viewing lesson notes on your iPad. To stream, look for the AirPlay icon within video apps like YouTube or Safari video players.
For interactive teaching, Screen Mirroring is usually the better choice because it gives you full control and visibility.
How to Stop Mirroring and Disconnect
Ending your AirPlay session is simple. Open Control Center again by swiping down from the top-right corner (or up from the bottom on older iPads). Tap the Screen Mirroring button, then tap “Stop Mirroring.” Your iPad will disconnect immediately.
Alternatively, you can press the Home button or gesture to return to the home screen, then access Control Center to stop mirroring. The blue bar at the top of your screen also provides a quick way to access mirroring controls while connected.
Always disconnect when your lesson ends to prevent accidental content sharing and to free the Apple TV for the next teacher.
Apple TV Security Settings for Classrooms
One of the biggest concerns teachers have is students hijacking the Apple TV during class. I have heard stories of students connecting their devices and displaying inappropriate content. Fortunately, Apple provides several security settings specifically for this scenario.
Configure AirPlay Access Settings
On your Apple TV, go to Settings > AirPlay. Here you will find options to control who can connect:
Require Password: Set a permanent password that must be entered before connecting. Unlike the temporary 4-digit code, this password stays the same. While more convenient for teachers, determined students could discover and share it.
Require Device Verification: This requires the one-time 4-digit code for first-time connections, then remembers authorized devices. This is the best balance of security and convenience for teachers who use the same iPad regularly.
Allow Access: Choose “Anyone on the Same Network” for open access, or “Only People Sharing This Home” for restricted access. In school environments, I recommend coordinating with your IT department to enable “Require Password” or “Onscreen Code” settings.
Preventing Student Interruptions
Beyond the basic settings, consider these classroom management strategies:
Ask your IT department to put staff Apple TVs on a separate VLAN or network from student devices. This prevents students from even seeing the Apple TV in their device list.
Change your Apple TV name to something generic that students cannot easily identify. Instead of “Mr. Johnson’s Room,” use “Display-A204” or similar.
Enable Conference Room Display mode if available on your Apple TV model. This shows connection instructions on screen but can be configured with additional restrictions.
Remember that no security setting replaces good classroom monitoring. Keep an eye on the display and disconnect immediately if unauthorized content appears.
Troubleshooting Common Connection Issues
Even with proper setup, connection problems occur. Here are solutions to the most common issues teachers encounter.
Issue: iPad Cannot Find Apple TV
First, verify both devices are on the same Wi-Fi network. Check Settings > Wi-Fi on your iPad and Settings > Network on Apple TV. If your school has multiple access points, ensure you are not connected to a guest network or different SSID.
Restart both devices if the network is correct. Power off the Apple TV completely and unplug it for 10 seconds. Restart your iPad by powering it off and back on. This resolves most discovery issues.
Check if AirPlay is enabled on the Apple TV. Go to Settings > AirPlay and ensure it is set to allow connections. Some IT departments disable AirPlay by default.
Issue: Connection Drops Randomly
Intermittent disconnections usually indicate network instability. Check your Wi-Fi signal strength in Settings > Wi-Fi on your iPad. Weak signals cause dropped connections.
Ask your IT department if the network has client isolation enabled. This security feature blocks device-to-device communication and prevents AirPlay from working properly. They may need to whitelist your Apple TV or create an exception for AirPlay traffic.
Reduce network congestion by disconnecting unnecessary devices. In classrooms with many connected devices, bandwidth competition can disrupt AirPlay.
Issue: Lag or Delay When Writing
Wireless mirroring has inherent latency compared to wired connections. Expect a slight delay of 100-300 milliseconds between your iPad action and display response. This is usually manageable for most teaching but can frustrate teachers doing detailed handwriting or drawing.
To minimize lag, ensure strong Wi-Fi signal strength. Move closer to the access point if possible. Close unnecessary apps on your iPad to free up processing power.
For zero-latency requirements, consider a wired HDMI connection as a backup option. I keep an adapter in my desk for days when I need to annotate precisely.
Issue: Audio Does Not Play Through Display
Check the volume on both your iPad and the Apple TV. When mirroring, audio should route through the Apple TV automatically, but sometimes the iPad tries to use its own speakers.
While mirroring, open Control Center and tap the audio output selector (the small triangle with circles). Choose your Apple TV from the list. If using an app, look for an AirPlay audio button within the app interface.
Issue: 4-Digit Code Does Not Appear
If the code does not display on your Apple TV screen, check that your TV or projector is on the correct input. The code appears on the Apple TV output, not on your iPad.
On the Apple TV, go to Settings > AirPlay > Conference Room Display and toggle this setting. Sometimes refreshing this setting prompts the code to display properly.
If you have connected before and the code prompt does not appear, your iPad may have been remembered. Try forgetting the device in your iPad’s AirPlay settings or restarting both devices.
Tips for Teaching While Mirroring
Once connected, maximize your teaching effectiveness with these strategies I have developed over years of wireless classroom instruction.
Move Around the Classroom
The biggest advantage of AirPlay mirroring is mobility. Walk among your students while demonstrating concepts. This improves classroom management and student engagement. You can check individual work while keeping the whole class focused on the displayed content.
Use Annotation Apps Effectively
Apps like Notability, GoodNotes, and Explain Everything work beautifully with AirPlay. These apps let you write, draw, and annotate in real-time while your students watch on the big screen. I use Notability for math lessons because the writing feels natural and the zoom feature helps with visibility.
With iPad multitasking tips for teachers, you can run your annotation app alongside reference materials using Split View.
Manage Battery Life
AirPlay drains your iPad battery faster than normal use. Keep your iPad plugged in during long teaching sessions. If that is not possible, dim your iPad screen brightness since you will be looking at the projected display rather than the device itself.
Consider using Low Power Mode if you are mirroring for extended periods without access to a charger. You can enable this in Settings > Battery.
Prepare Backup Plans
Technology fails at the worst moments. Always have a backup plan. Keep an HDMI adapter in your classroom for wired connections. Have lesson materials available in printed form or accessible via another device.
I learned this lesson the hard way when my network went down during an observation. Now I keep a Lightning to HDMI adapter in my desk drawer as insurance.
Alternative: Wired Connection Methods
While AirPlay offers unmatched convenience, wired connections provide reliability and zero latency for specific situations.
The simplest wired option is an HDMI adapter. For iPads with Lightning connectors, use Apple’s Lightning Digital AV Adapter. For USB-C iPads (newer Pro and Air models), use a USB-C to HDMI adapter. Connect the adapter to your iPad, then run an HDMI cable to your projector or display.
Wired connections work without Wi-Fi, making them ideal for substitute teachers who may not have network credentials or for classrooms with unreliable wireless. The trade-off is loss of mobility since you remain tethered by the cable length.
For teachers exploring external display options for iPad, Stage Manager on newer iPads offers additional multi-window capabilities when connected to displays.
Consider keeping an adapter as a backup even if you primarily use AirPlay. After years of teaching, I have found that having both options available provides peace of mind.
FAQ
How to use an Apple TV in the classroom?
Connect the Apple TV to your classroom projector or display via HDMI, ensure it is on the same Wi-Fi network as your iPad, then use AirPlay Screen Mirroring from your iPad’s Control Center to wirelessly display your screen. Configure security settings to prevent unauthorized student connections.
How do I get my iPad to connect to my Apple TV?
Open Control Center on your iPad, tap Screen Mirroring, select your Apple TV from the list, and enter the 4-digit code displayed on the TV screen. Both devices must be on the same Wi-Fi network for the connection to work.
How do I add my iPad to my Apple Classroom?
Apple Classroom is a separate app for managing student devices. Download the Apple Classroom app, create or join a class, then invite students using a code or manually add their devices. This is different from AirPlay screen mirroring and requires student iPads to be enrolled in your school’s device management system.
Does Apple TV block screen mirroring?
Apple TV does not block screen mirroring, but certain content may be restricted due to DRM (Digital Rights Management). Streaming services like Netflix and Disney+ often prevent screen mirroring to avoid piracy. For educational content you create or apps designed for classroom use, screen mirroring works normally.
Conclusion
Learning how to connect iPad to Apple TV in classroom settings gives you the freedom to teach without being tied to your desk. The wireless connection through AirPlay Screen Mirroring transforms how you interact with students, allowing for more dynamic and engaging lessons.
Start with the prerequisites: ensure compatible devices, same Wi-Fi network, and updated software. Follow the step-by-step connection process, configure your security settings to prevent interruptions, and keep troubleshooting tips handy for those occasional connection hiccups.
The investment in learning this technology pays dividends in classroom engagement. Once you experience the freedom of wireless teaching, you will wonder how you ever taught tethered to a cable. Give it a try during your next prep period, and enjoy moving among your students while delivering your lessons.