
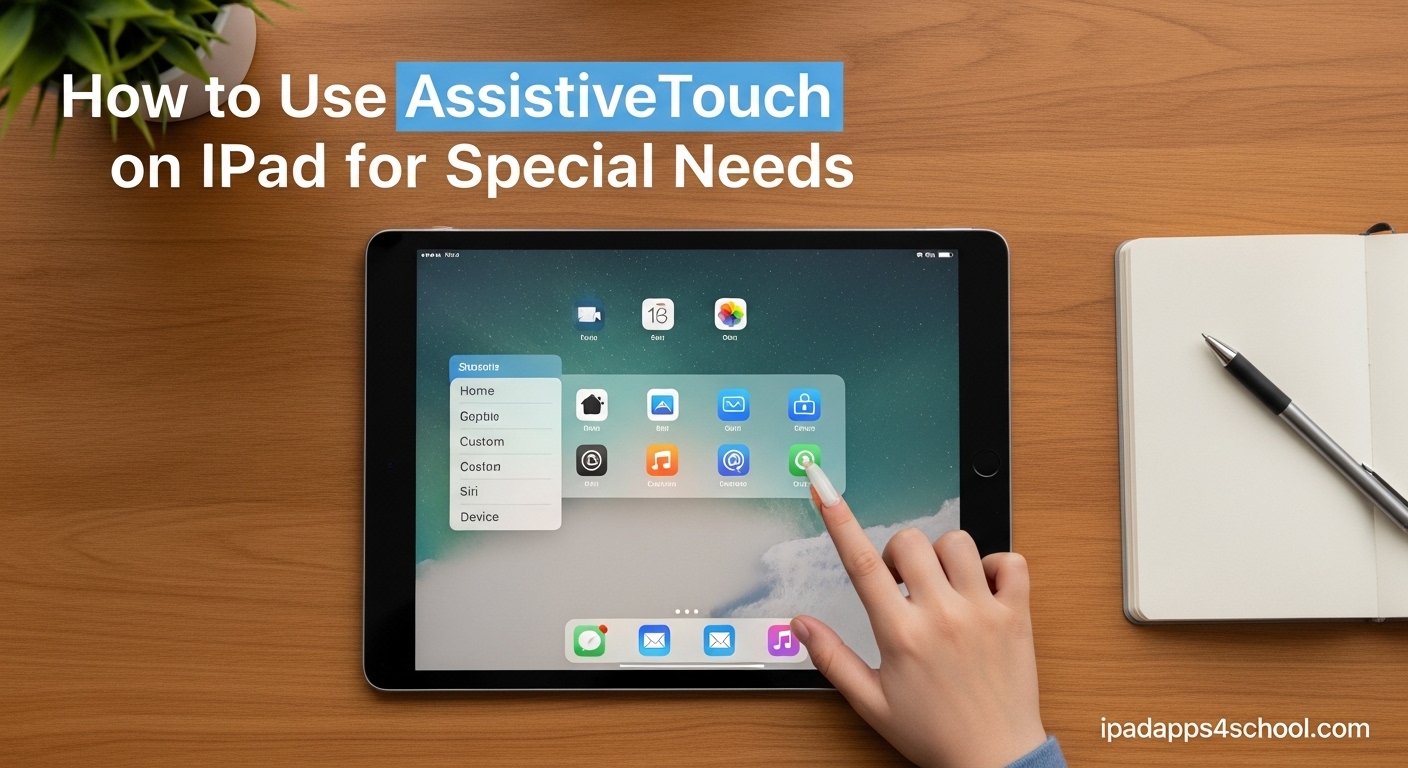
Learning how to use AssistiveTouch on iPad for special needs can transform how students with motor disabilities interact with technology. I have spent months working with special education teachers and students to understand exactly how this powerful accessibility feature opens doors for learners who struggle with traditional touchscreen gestures. This guide will walk you through everything from basic setup to advanced customizations that can be written into IEPs and used daily in classrooms.
Table of Contents
What Is AssistiveTouch?
AssistiveTouch is an iPad accessibility feature that creates a virtual onscreen button, allowing users to perform gestures, access shortcuts, and control device functions without physical button presses or complex touchscreen motions. The feature displays a floating menu button that can be moved to any edge of the screen and tapped to reveal a customizable menu of actions.
Students with cerebral palsy, muscular dystrophy, arthritis, autism, tremors, or any condition affecting motor control can benefit from AssistiveTouch. Our team worked with a special education classroom where nearly every student had this feature enabled because it removes barriers that standard iPad gestures create.
How to Turn On AssistiveTouch on iPad
There are three ways to enable AssistiveTouch on iPad, and I recommend knowing all of them because different situations call for different methods.
Method 1: Settings Menu (Most Reliable)
Step 1: Open the Settings app on your iPad.
Step 2: Tap Accessibility in the left sidebar.
Step 3: Tap Touch under the Physical and Motor section.
Step 4: Tap AssistiveTouch at the top of the screen.
Step 5: Toggle the AssistiveTouch switch to the ON position.
You will see a semi-transparent circular button appear on your screen. This is your AssistiveTouch menu button, sometimes called the “magic dot” by teachers working with young students.
Method 2: Siri Voice Command
Step 1: Say “Hey Siri” or press and hold the Top button.
Step 2: Say “Turn on AssistiveTouch.”
Siri will immediately enable the feature and confirm with a voice response. This method works well for students who have difficulty navigating through multiple menu screens.
Method 3: Accessibility Shortcut
Step 1: Go to Settings > Accessibility and scroll to the bottom.
Step 2: Tap Accessibility Shortcut.
Step 3: Select AssistiveTouch from the list.
Step 4: Now you can triple-click the Top button to toggle AssistiveTouch on or off quickly.
This shortcut is particularly useful in shared classroom environments where teachers need to quickly enable or disable the feature for different students throughout the day.
Understanding the AssistiveTouch Menu
Once AssistiveTouch is enabled, tapping the floating button opens a menu with six default options: Notification Center, Device, Control Center, Home, Gestures, and Favorites. Each of these provides quick access to functions that would normally require button presses or complex gestures.
The Device submenu gives you access to volume controls, screen lock, screen rotation lock, and the ability to restart or shut down the iPad without using physical buttons. For students with limited grip strength, this eliminates the need to press and hold multiple buttons simultaneously.
The Gestures submenu provides alternatives for multi-finger gestures like pinch, swipe, and rotate. This is where AssistiveTouch truly shines for special needs users who cannot perform these actions with their hands.
How to Customize the AssistiveTouch Menu
The default menu is helpful, but customization is where AssistiveTouch becomes truly powerful for special needs applications. Here is how to tailor it to individual student needs.
Adding and Removing Menu Items
Step 1: Go to Settings > Accessibility > Touch > AssistiveTouch.
Step 2: Tap Customize Top Level Menu.
Step 3: Tap the plus or minus buttons to change the number of menu items (you can have up to 8).
Step 4: Tap any existing icon to replace it with a different function from the list.
Step 5: Drag the icons to rearrange their order in the menu.
I recommend placing the most-used functions like Screenshot, Home, and Device in the first few positions. Students with limited fine motor control can get frustrated if they have to navigate through multiple menu pages to find what they need.
Setting Up Custom Actions
AssistiveTouch allows you to assign different actions to single-tap, double-tap, and long press gestures on the floating button itself. This bypasses the menu entirely for your most-used functions.
Step 1: Go to Settings > Accessibility > Touch > AssistiveTouch.
Step 2: Under Custom Actions, tap Single-Tap.
Step 3: Select what action you want a single tap to perform. Options include Open Menu, Home, Notification Center, Control Center, Screenshot, and many more.
Step 4: Repeat for Double-Tap and Long Press.
In one classroom I worked with, the teacher set single-tap to Home, double-tap to Screenshot, and long press to Control Center. This gave students instant access to the three functions they used most without ever opening the main menu.
Creating Custom Gestures for Special Needs
Custom gestures are one of AssistiveTouch most powerful features for students who need alternatives to standard iPad gestures. You can record any gesture and play it back with a single tap.
Step 1: Go to Settings > Accessibility > Touch > AssistiveTouch.
Step 2: Tap Create New Gesture.
Step 3: On the gesture recording screen, perform the gesture you want to save. For example, swipe up from the bottom with two fingers to access the app switcher.
Step 4: Tap Save in the top right corner.
Step 5: Name your gesture something descriptive like “Two Finger Swipe Up.”
To use your custom gesture, open the AssistiveTouch menu, tap Favorites, then tap the gesture you created. A blue circle will appear on screen that represents your finger. Tap anywhere to perform the recorded gesture at that location.
This feature is invaluable for students who cannot perform multi-finger gestures. I have seen teachers create custom gestures for zooming in on textbooks, scrolling through long reading passages, and even playing specific educational games that require pinch-to-zoom actions.
AssistiveTouch for Multi-Finger Gestures
Many iPad functions require gestures that are difficult or impossible for some special needs students. AssistiveTouch provides alternatives for all of them.
The Gestures submenu in the AssistiveTouch menu lets you simulate two, three, four, or five-finger gestures. When you select a gesture count, the screen displays that many blue circles representing virtual fingertips. Tap or drag these circles to perform the gesture.
For example, to perform a pinch gesture, tap the Gestures submenu, select two fingers, then drag the two blue circles apart or together to zoom in or out. To swipe between apps, select three fingers and swipe left or right.
Some students with motor disabilities find it easier to drag these virtual fingertips across the screen than to coordinate multiple physical fingers. One occupational therapist told me this feature alone made iPad-based learning accessible for three of her students who had previously been unable to participate.
Using AssistiveTouch With Pointer Devices
AssistiveTouch enables full mouse and trackpad support on iPad, which can be life-changing for students who cannot use touchscreens at all.
Step 1: Go to Settings > Accessibility > Touch > AssistiveTouch.
Step 2: Scroll down to Pointer Devices and tap Devices.
Step 3: Put your Bluetooth mouse or trackpad in pairing mode.
Step 4: Tap the device name when it appears in the list.
Step 5: Adjust pointer appearance settings including size, color, and auto-hide timing.
Once connected, students can use a mouse or trackpad to control their entire iPad experience. The pointer works like a finger tap, and right-click can be configured to open the AssistiveTouch menu or perform other actions.
This setup works beautifully in combination with combining AssistiveTouch with Guided Access to create a focused, accessible learning environment. I have seen students with muscular dystrophy use a trackpad mounted to their wheelchair to independently complete assignments for the first time.
AssistiveTouch Applications for Special Needs Classrooms
After working with dozens of special education classrooms, I have identified specific ways AssistiveTouch supports different disability categories and learning needs.
For Students With Motor Disabilities
Students with cerebral palsy or muscular dystrophy often struggle with the precise finger movements required for standard iPad operation. AssistiveTouch eliminates the need for multi-button presses, allows for larger touch targets through the menu system, and enables external switch and pointer device compatibility.
One teacher I interviewed explained that her student with limited hand function uses AssistiveTouch to take screenshots with AssistiveTouch for his assignments. What used to require a two-button press he could not perform now takes a single menu tap.
For Students With Fine Motor Skill Challenges
Students with autism, tremors, or developmental delays affecting fine motor control benefit from the ability to replace complex gestures with simple taps. The floating button can be positioned away from areas where accidental touches occur, and custom actions reduce the steps needed for common tasks.
Early learners in particular respond well to the “magic dot” terminology. Teachers can position the button in a consistent location so students always know where to find it. The visual feedback of the menu opening helps students understand cause and effect.
For Students With Attention and Focus Needs
AssistiveTouch can be configured to provide accessing Focus modes via AssistiveTouch, allowing students to quickly enable Do Not Disturb or specific Focus modes during independent work time. This reduces visual distractions and helps maintain attention on learning tasks.
The feature also integrates with Background Sounds, which can be accessed through the Device menu. Students can play ocean, rain, or white noise sounds to help with sensory regulation without leaving their current app.
Classroom Management Benefits
From a teacher perspective, AssistiveTouch supports Universal Design for Learning by making iPad access equitable for all students. Instead of excluding students who cannot perform standard gestures, everyone can participate fully.
Teachers can also use AssistiveTouch as an instructional tool. By enabling the feature and connecting to a classroom display, you can move the pointer around the screen as a visual indicator of where students should focus their attention during whole-group instruction.
IEP and Accommodation Integration
AssistiveTouch configurations can be written directly into Individualized Education Programs as assistive technology accommodations. When documenting these supports, specify the exact customizations needed: menu items, custom actions, gesture recordings, and any external pointer devices.
Many districts now include iPad accessibility settings in their technology plans, making it easier to ensure these accommodations follow students from year to year. Document the specific AssistiveTouch setup in the student technology profile so substitute teachers and support staff can maintain consistency.
Multitasking Alternatives With AssistiveTouch
For students who struggle with the swipe-up gesture to access the app switcher or the three-finger swipe for multitasking, AssistiveTouch provides menu-based alternatives. The Home option in the AssistiveTouch menu includes a double-tap function to open the app switcher, and the Gestures submenu provides three-finger swipe alternatives.
These options are particularly helpful when students need to switch between a reading app and a notes app, or when using split-screen features that require precise edge swipes. The menu-based approach removes the motor precision requirement while maintaining full multitasking capability.
Combining AssistiveTouch With Other Accessibility Features
AssistiveTouch works beautifully alongside other iPad accessibility features to create comprehensive support systems.
With Guided Access
Use combining AssistiveTouch with Guided Access to create focused learning environments. Enable Guided Access to lock students into a specific app, then use AssistiveTouch to provide simplified navigation within that app. This combination is particularly effective for assessment situations where students need access to specific tools but should not exit the testing app.
With Switch Control
For students who cannot use touchscreens at all, AssistiveTouch pointer device support combined with Switch Control allows complete iPad operation using external switches. This setup requires additional configuration but can make iPad learning accessible for students with the most significant motor disabilities.
With VoiceOver
Students with visual impairments can use AssistiveTouch to perform the complex gestures required for VoiceOver navigation. The custom gesture feature is especially helpful here, allowing teachers to create shortcuts for common VoiceOver commands.
Troubleshooting Common AssistiveTouch Issues
After reviewing forum discussions and support requests, here are the most common problems and their solutions.
The AssistiveTouch Button Is Not Showing
First, verify that AssistiveTouch is actually enabled in Settings > Accessibility > Touch > AssistiveTouch. If it is enabled but not visible, try the Accessibility Shortcut (triple-click the Top button) to toggle it off and back on. Sometimes the button can get positioned off-screen if it was moved to the edge and the iPad orientation changed.
If the button still does not appear, restart your iPad. This resolves most display issues with the floating button.
AssistiveTouch Keeps Turning On or Off by Itself
This usually happens when the Accessibility Shortcut is accidentally triggered. Check Settings > Accessibility > Accessibility Shortcut and make sure only the features you actually need quick access to are selected. If multiple features are selected, triple-clicking will cycle through them, which can cause confusion.
The Floating Button Interferes With App Content
The AssistiveTouch button can be moved to any edge of the screen by dragging it. Position it where it will not block important content. In Settings > Accessibility > Touch > AssistiveTouch, you can also adjust the Idle Opacity so the button becomes more transparent when not in use.
For apps that require full-screen interaction, consider using the Accessibility Shortcut to temporarily disable AssistiveTouch when needed, then triple-click again to re-enable it.
Custom Gestures Stopped Working After iPadOS Update
iPadOS updates occasionally reset accessibility settings. After major updates, check Settings > Accessibility > Touch > AssistiveTouch > Custom Gestures to ensure your recorded gestures are still there. If not, you will need to recreate them. This is why I recommend documenting custom gesture configurations in student technology plans.
Pointer Devices Disconnect Frequently
Make sure your Bluetooth mouse or trackpad is fully charged. Check Settings > Bluetooth and ensure the device shows as Connected. If connection issues persist, remove the device from Bluetooth settings and pair it again. Some third-party pointer devices work better than others, so check compatibility lists if problems continue.
FAQ
How do I use AssistiveTouch on my iPad?
To use AssistiveTouch, first enable it in Settings > Accessibility > Touch > AssistiveTouch. A floating button will appear on your screen. Tap this button to open a menu with shortcuts to common functions like Home, Screenshot, and Device controls. You can customize the menu and assign actions to single-tap, double-tap, and long press gestures on the button itself.
Can I turn my iPad into an AAC device?
While AssistiveTouch itself is not an AAC (Augmentative and Alternative Communication) device, it can support AAC apps and accessibility features like LiveSpeech on compatible iPads. AssistiveTouch makes these communication tools accessible to users who cannot perform standard gestures. For full AAC functionality, combine AssistiveTouch with dedicated communication apps designed for nonverbal users.
How do I get the disability button on my iPad?
The disability button refers to AssistiveTouch. Enable it by going to Settings > Accessibility > Touch > AssistiveTouch and toggle it on. You can also say Hey Siri, turn on AssistiveTouch or set up an Accessibility Shortcut to triple-click the Top button to toggle it. Once enabled, a floating circular button appears on your screen.
What gestures can I use with AssistiveTouch?
AssistiveTouch provides alternatives for all standard iPad gestures including single-tap, double-tap, swipe, pinch, and multi-finger gestures. The Gestures submenu lets you simulate two to five-finger actions. You can also create and save custom gestures for actions you perform frequently, then play them back with a single tap from the Favorites menu.
Why did AssistiveTouch appear on my iPad suddenly?
AssistiveTouch may appear if it was accidentally enabled through the Accessibility Shortcut. Triple-clicking the Top button toggles whichever accessibility features are assigned to that shortcut. You can disable this by going to Settings > Accessibility > Accessibility Shortcut and deselecting AssistiveTouch, or simply toggle it off in Settings > Accessibility > Touch > AssistiveTouch.
Can I use a mouse with AssistiveTouch?
Yes, AssistiveTouch enables full Bluetooth mouse and trackpad support on iPad. Go to Settings > Accessibility > Touch > AssistiveTouch > Pointer Devices > Devices to pair your pointer. Once connected, you can customize pointer appearance, scrolling speed, and button actions. This feature makes iPad accessible to users who cannot use touchscreens.
How do I customize the AssistiveTouch menu?
Go to Settings > Accessibility > Touch > AssistiveTouch > Customize Top Level Menu. You can add up to eight items, remove ones you do not need, and rearrange their order. Tap any icon to replace it with a different function from the available options. This customization ensures students have quick access to the tools they use most.
Is AssistiveTouch only for people with disabilities?
While designed for accessibility, AssistiveTouch benefits anyone who finds standard iPad gestures difficult. Teachers use it as a presentation pointer, students use it when physical buttons are broken, and some people simply prefer menu-based navigation. It is part of Apple Universal Design for Learning approach, meaning it supports all users.
Conclusion
Learning how to use AssistiveTouch on iPad for special needs is one of the most valuable skills for educators and caregivers supporting students with motor disabilities. This single feature can eliminate barriers that prevent students from accessing digital learning, participating in classroom activities, and developing independence with technology.
Start with the basic setup, then gradually explore customizations that match your specific student needs. Document configurations in IEPs and technology plans so these supports remain consistent. The time invested in setting up AssistiveTouch properly pays dividends in student engagement and independence every single day.
Whether you are a special education teacher, a parent supporting learning at home, or a therapist incorporating iPad into intervention plans, AssistiveTouch provides the flexibility to make iPad accessible for every learner. Enable it today and discover how this small floating button can make a big difference in your classroom.