
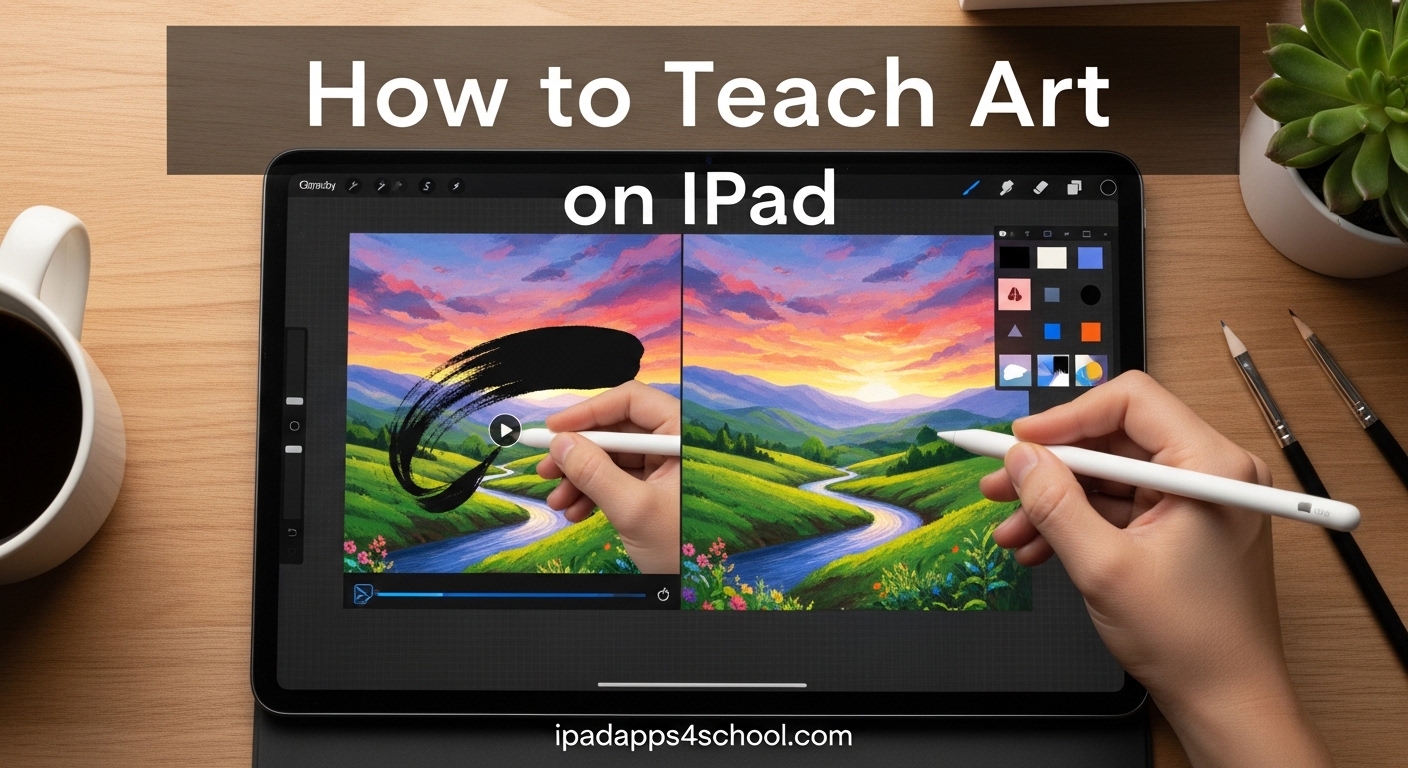
Teaching art has transformed dramatically over the past decade, and the iPad has emerged as one of the most powerful tools for art education. Whether you’re a classroom teacher, homeschool parent, or after-school program coordinator, learning how to teach art on iPad can open up creative possibilities for your students that traditional media simply can’t match.
I’ve spent years working with educators to integrate digital art into their curricula, and I’ve seen firsthand how the right approach can turn even the most reluctant students into passionate digital creators. This guide will walk you through everything you need to know to start teaching art on iPad effectively.
Table of Contents
Why Teach Art on iPad?
Digital art education offers unique advantages that traditional methods can’t provide. The most immediate benefit is cost-effectiveness. Once you have the devices, you’re not constantly restocking paints, paper, charcoal, or other consumable materials. Students can experiment freely without fear of “wasting” supplies.
Another significant advantage is the undo button. In traditional art, a mistake can mean starting over. On iPad, students can take risks, try new techniques, and learn from mistakes without the anxiety of permanent failure. I’ve watched students who were terrified of making mistakes in traditional art blossom when they realized they could simply undo and try again.
The iPad also prepares students for modern creative careers. Graphic design, illustration, animation, and digital marketing all rely on digital art skills. By introducing these tools early, you’re giving students a head start on potential career paths they might never have considered.
Finally, digital art is inherently more accessible for many students. Those with fine motor difficulties, visual impairments, or other physical challenges can often create more easily on a touchscreen than with traditional media. The ability to zoom, adjust brush sensitivity, and use adaptive tools makes art more inclusive.
iPad features for art students can enhance accessibility even further, with tools like AssistiveTouch and Voice Control opening up creative possibilities for all learners.
Essential Tools and Setup
Before diving into teaching strategies, let’s cover what you’ll need to get started. The good news is that you don’t need the most expensive setup to teach art effectively on iPad.
iPad Hardware Options
Any iPad released in the last 5-6 years can handle basic digital art creation. The iPad Pro models offer the best performance with ProMotion displays that make drawing feel incredibly responsive, but the standard iPad (9th generation or newer) works perfectly fine for most classroom needs.
Screen size matters for detailed work. A 12.9-inch iPad provides more canvas space, but 11-inch models are more portable and budget-friendly. For younger students, smaller screens are often sufficient.
Stylus Options
The Apple Pencil is the gold standard for iPad art education. Its pressure sensitivity and palm rejection make it feel remarkably like traditional drawing tools. The first-generation Apple Pencil works with older iPads, while the second generation charges magnetically and pairs automatically with newer iPad Pro models.
If you’re working with a tight budget, third-party styluses like the Logitech Crayon offer pressure-free drawing at a lower price point. While not as precise as Apple Pencil, they’re perfectly adequate for basic art instruction and younger students who are still developing fine motor control.
Core Drawing Apps
Procreate is the industry standard for iPad art and costs around $10-15 as a one-time purchase. It offers a complete suite of professional tools including layers, brushes, filters, and animation features. The interface can be overwhelming for absolute beginners, but the learning curve is manageable with proper instruction.
For younger students or those new to digital art, consider simpler alternatives. Tayasui Sketches offers a clean, intuitive interface with beautiful brushes. Adobe Fresco provides free access with basic features and integrates well with other Adobe products your students might encounter later.
Free options exist too. Autodesk SketchBook is completely free and offers a solid set of tools for beginners. While not as feature-rich as Procreate, it’s perfect for introducing basic concepts without requiring app purchases.
Classroom Setup Tips
If you’re working with limited devices, consider station rotation. Small groups can work on iPads while others use traditional media, then rotate. This approach works well for classes of 20-30 students with 5-10 devices.
For 1:1 iPad programs, ensure students understand basic care and handling. Create clear procedures for checking out and returning devices. Using protective cases is essential, especially with younger students.
How to document iPad artwork is a fundamental skill students need to learn. Screenshots allow them to save progress, share work with teachers, and build portfolios of their creations.
How to Teach Art on iPad: Getting Started
Starting your iPad art journey doesn’t have to be overwhelming. Follow this step-by-step approach to build a strong foundation for your students.
Step 1: Begin with gestures and navigation. Before diving into art creation, spend time teaching students how to navigate the iPad and their chosen art app. Practice zooming, panning, undoing, and accessing different tools. This might seem basic, but comfort with these fundamentals prevents frustration later.
Step 2: Start with simple drawing exercises. Have students practice basic lines, shapes, and strokes without worrying about creating finished artwork. Focus on getting comfortable with pressure sensitivity and different brush types. Warm-up exercises like continuous line drawings or shape tracing work well for this stage.
Step 3: Introduce layers conceptually. Layers are often the most confusing aspect of digital art for beginners. Explain them using clear analogies like transparent sheets stacked on top of each other. Have students practice creating, naming, and organizing layers before attempting complex projects.
Step 4: Teach color mixing digitally. Digital color works differently than traditional paint. Show students how to use the color picker, create custom palettes, and understand hue, saturation, and brightness. Simple color theory exercises help bridge the gap between traditional and digital color understanding.
Step 5: Move to simple projects. Once students are comfortable with tools, introduce guided projects that combine multiple skills. A landscape with foreground, middle ground, and background on separate layers is an excellent first project that teaches composition, layers, and color simultaneously.
Age-Appropriate Teaching Strategies
Teaching art on iPad requires different approaches depending on your students’ age and developmental level. What works for kindergarteners won’t engage high schoolers, and vice versa.
Elementary Students (K-5)
For elementary students, focus on exploration and basic skill development. Simple apps with large, intuitive icons work best. Limit the number of tools available initially to prevent overwhelm.
Projects should emphasize process over product. Have students experiment with different brushes and colors without worrying about creating “perfect” artwork. Symmetry drawing tools are particularly engaging for this age group, as they create satisfying results regardless of skill level.
Keep lessons short (15-20 minutes) and incorporate movement. Young students benefit from switching between digital and traditional activities to maintain engagement and reduce screen fatigue.
Middle School Students (6-8)
Middle schoolers are ready for more complex tools and techniques. This is an ideal age to introduce full-featured apps like Procreate, as students have developed enough patience and focus to navigate more complex interfaces.
Projects at this level should balance technical skill development with creative expression. Consider projects that connect to other subjects, like creating digital illustrations for science concepts or historical events. This cross-curricular approach helps students see digital art as a tool for communication, not just creative expression.
Social aspects become important at this age. Incorporate collaborative projects where students work together on shared canvases or provide feedback on each other’s work. Digital galleries where students can view and comment on classmates’ art build classroom community.
High School Students (9-12)
High school students can approach iPad art with near-professional standards. They’re ready for advanced techniques like photo bashing, digital painting, and even basic animation using apps like Procreate or Adobe Fresco.
Portfolio development becomes a key focus at this level. Teach students how to document, organize, and present their digital artwork effectively. Discuss how digital art skills connect to career opportunities in fields like graphic design, illustration, game design, and marketing.
Encourage personal voice and style development. High schoolers should be exploring their own artistic interests rather than following step-by-step tutorials. Provide guidance and technical support while allowing creative freedom.
Practical Lesson Ideas and Projects
Having concrete project ideas makes teaching art on iPad much easier. Here are some tested lessons that work well across different age groups and skill levels.
Beginner Projects
Texture Collages: Have students create digital collages using different brushes to simulate various textures like fur, water, clouds, or wood. This project helps students explore brush capabilities without the pressure of representational drawing.
Character Design Challenges: Provide simple prompts like “design a robot” or “create an alien creature.” Give students specific constraints like “must use only three colors” or “must include one geometric shape.” This approach encourages creativity while providing structure.
Digital Mandalas: Using symmetry tools, have students create radial designs. This project teaches about symmetry, pattern, and color theory while producing satisfying results regardless of drawing ability.
Intermediate Activities
Atmospheric Perspective Landscapes: Teach students to create depth by painting landscapes with distinct foreground, middle ground, and background layers. This project reinforces layer management while teaching fundamental art concepts.
Portrait Studies: Have students work from reference photos to create digital portraits. This teaches observation skills, brush control, and skin tone mixing. Use layer tracing initially for struggling students, then transition to freehand drawing.
Typography Art: Combine text and image by having students create artwork that incorporates their name or a meaningful word. This connects to graphic design skills and teaches about lettering, composition, and visual hierarchy.
Advanced Techniques
Animation Basics: Use Procreate’s animation assist to teach basic animation principles. Even simple bouncing ball or waving hand projects teach concepts like timing, spacing, and motion arcs.
Photo Manipulation: Have students combine multiple reference images to create fantasy scenes or surreal artwork. This teaches composition, color matching, and seamless blending techniques used by professional digital artists.
Time-Lapse Process Documentation: Require students to record their process using the time-lapse feature available in many drawing apps. Then have them present their work alongside the time-lapse, explaining their artistic decisions and techniques used.
Assessment and Feedback Strategies
Evaluating digital art requires different approaches than traditional media. The ability to save multiple versions, undo mistakes, and use reference images changes how we think about artistic growth and skill development.
Focus on process rather than just final product. Have students submit time-lapse recordings or screenshots showing their work at different stages. This provides insight into their problem-solving, technical understanding, and creative decision-making.
Use digital tools for feedback. Many drawing apps allow you to create separate layers for comments and suggestions. This preserves the original artwork while providing specific, actionable feedback directly on the piece.
Consider creating digital portfolios where students curate their best work alongside artist statements reflecting on their learning journey. These portfolios provide a more comprehensive view of growth than single graded assignments.
Rubrics should account for technical skills, creativity, effort, and growth. Digital art’s undo feature can sometimes make finished work appear deceptively easy, so assessing process ensures you’re evaluating actual learning rather than just the final result.
FAQ
What is the best teaching drawing app for iPad?
Procreate is widely considered the best app for teaching art on iPad due to its comprehensive toolset, one-time purchase model, and professional-grade features. However, for younger students or beginners, simpler apps like Tayasui Sketches or free alternatives like Autodesk SketchBook may be more appropriate starting points.
What age should students start using iPad for art?
Students as young as kindergarten can begin using iPad for art with appropriate supervision and simplified apps. The key is matching the app complexity and project expectations to developmental level. Elementary students benefit from exploration-based activities, while middle and high schoolers can handle more complex tools and techniques.
Can you teach art on iPad without Apple Pencil?
Yes, you can teach art on iPad without Apple Pencil using finger drawing or third-party styluses. While Apple Pencil provides the best experience with pressure sensitivity and palm rejection, basic art concepts can be taught effectively with touch input or more affordable stylus options like the Logitech Crayon.
How do I assess digital art projects?
Assess digital art by evaluating both process and final product. Require students to submit time-lapse recordings or work-in-progress screenshots that show their creative process. Use digital tools to provide feedback directly on artwork layers. Create rubrics that account for technical skills, creativity, effort, and growth over time.
What are the benefits of teaching art on iPad?
Teaching art on iPad offers cost savings on materials, the ability to undo mistakes freely, preparation for digital creative careers, and increased accessibility for students with physical challenges. Digital tools also allow for easy experimentation, immediate sharing of work, and integration with other subjects through cross-curricular projects.
Conclusion
Learning how to teach art on iPad opens up incredible possibilities for creative education. The combination of powerful tools, forgiving medium, and professional relevance makes digital art an increasingly essential part of modern art curriculum. Whether you’re working with kindergarteners or high schoolers, the strategies and projects outlined in this guide provide a foundation for successful iPad art instruction.
Start simple, focus on process over product, and don’t be afraid to learn alongside your students. The most successful iPad art teachers I’ve worked with approach digital tools with curiosity and experimentation rather than expecting to master everything before teaching. Your students will benefit more from seeing you model creative problem-solving than from perfect technical demonstrations.
As you implement these approaches, remember that the iPad is just another tool in your artistic toolkit. The most effective art education balances digital and traditional methods, giving students exposure to multiple ways of creating and expressing themselves visually.