
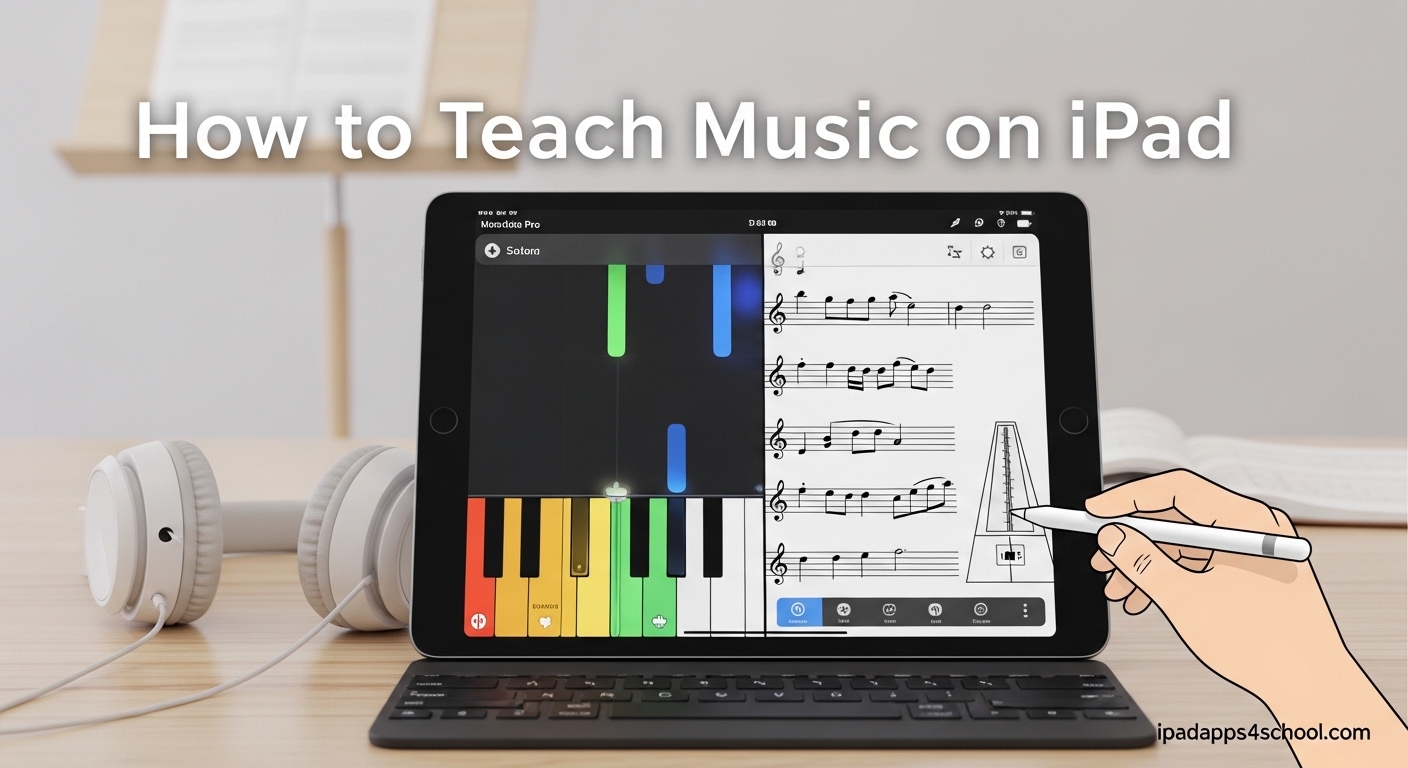
Teaching music on iPad has transformed how I approach both in-person and online lessons. After three years of using Apple’s tablet in my private studio, I can confidently say that an iPad is one of the most versatile tools a music teacher can own. You can carry your entire sheet music library, teach interactive theory lessons, and conduct professional virtual sessions from a single device.
In this guide, I will show you exactly how to teach music on iPad effectively. We will cover the essential apps, hardware setup, teaching strategies for different age groups, and techniques that will make your lessons more engaging. Whether you are a classroom teacher or private instructor, these methods will help you get the most from your device.
Table of Contents
Why the iPad Has Become Essential for Music Teachers
I remember carrying a massive binder of sheet music to every lesson. Those days are over. My iPad Air holds thousands of scores, and I can find any piece in seconds using forScore. This alone saves me 10 to 15 minutes per lesson.
The iPad works exceptionally well for music teaching because of its touch interface. Students can interact directly with notes, instruments, and exercises. The Apple Pencil adds another layer of functionality, allowing me to annotate scores in real-time during lessons.
Another advantage is portability. I teach at three different locations each week. My iPad fits in my bag with a Bluetooth pedal and stand, giving me a complete teaching setup that weighs under 3 pounds. For online lessons, the built-in cameras and microphones work well, though I will share some hardware upgrades that improve audio quality significantly.
Essential Apps for Teaching Music on iPad
The right apps make all the difference when you teach music on iPad. After testing over 30 applications in my studio, these are the ones that consistently deliver results for both me and my students.
GarageBand for Music Teaching
GarageBand is the foundation of my iPad music teaching setup. Apple includes it free with every iPad, which makes it accessible for all students. The app offers built-in lessons for piano and guitar that I regularly assign as practice supplements.
The Smart Instruments feature helps beginners play full chords with one finger. I use this to teach chord progressions without the frustration of complex fingerings. Students can hear how songs should sound immediately, which keeps them motivated.
For composition lessons, the loop recording feature is invaluable. Students build songs layer by layer, understanding how drums, bass, chords, and melody work together. I have seen students who struggled with traditional notation light up when creating music this way.
The touch instruments transform the iPad into a playable instrument. I use the virtual drum kit to teach rhythm, the Smart Keyboard for chord theory, and the string instruments for ear training. These work especially well for young students who need movement and interaction.
forScore for Sheet Music Management
forScore is the gold standard for managing digital sheet music on iPad. At $19.99, it has saved me hundreds of dollars in printing costs and countless hours organizing physical scores. I currently have 2,400 pieces in my library, all searchable by composer, title, or genre.
The annotation tools are where forScore truly shines. With my Apple Pencil, I mark fingerings, bowings, and expression marks directly on the score. These annotations sync across all my devices, so my markings are always available whether I am using my iPad or iPhone.
I pair forScore with a Bluetooth page turner pedal during lessons. This keeps my hands free for my instrument while turning pages wirelessly. The AirTurn Duo 200 has been my reliable companion for two years without a single connectivity issue.
Setlist creation helps me organize repertoire for recitals and teaching sessions. I create themed setlists for each student, grouping their current pieces, scales, and exercises in one place. This keeps lessons flowing smoothly without searching through folders.
Music Theory and Notation Apps
Teaching music theory on iPad becomes interactive with the right applications. Symphony Pro ($14.99) lets me create custom exercises for students. I write out chord progressions, cadences, and analysis assignments that students complete and email back.
Tenuto ($3.99) from musictheory.net provides excellent theory exercises. I assign specific drills for note identification, interval recognition, and chord building. The app tracks student progress, showing me exactly where they need more practice.
For ear training, I recommend Perfect Ear (free with in-app purchases). The interval and chord recognition exercises adapt to each student’s level. My students who use this app consistently show faster progress in transcription skills.
Notion ($14.99) offers professional notation capabilities with handwriting recognition. I can sketch musical ideas with my Apple Pencil and watch them convert to clean notation. This bridges the gap between traditional composition methods and digital workflow.
Free vs Paid Apps: What You Actually Need
You can start teaching music on iPad with entirely free apps. GarageBand costs nothing and handles most creative tasks. MuseScore (free) provides basic notation, though it lacks the polish of paid alternatives.
The paid apps I recommend are worth the investment if you teach regularly. forScore at $19.99 pays for itself within a month when you factor in printing costs. Tenuto at $3.99 is negligible compared to theory book prices. Consider these purchases as business expenses that improve your teaching quality.
My recommendation for new iPad music teachers: start with free apps, then upgrade as you identify specific needs. After one month of teaching, you will know whether you need advanced notation, better sheet music organization, or specific theory tools.
How to Set Up Your iPad for Music Lessons
Proper setup determines how smoothly your lessons run. After troubleshooting countless technical issues in my studio, this configuration process ensures everything works reliably.
Step 1: Organize Your Apps by Teaching Function
Create folders for different teaching activities. I organize mine into Performance (forScore, Metronome), Creation (GarageBand, Logic Pro), Theory (Tenuto, Notion), and Teaching Tools (Camera, Notes, Zoom). This keeps your home screen clean and helps you find apps quickly during lessons.
Place your most-used apps in the dock. I keep forScore, GarageBand, and my metronome there for instant access. When teaching online, add your video conferencing app to the dock as well.
Step 2: Configure Audio Settings
Audio quality matters enormously in music teaching. Open Settings > Sounds and disable keyboard clicks and lock sounds. These interruptions disrupt the musical flow during lessons.
Enable Do Not Disturb during teaching hours. Go to Settings > Do Not Disturb and schedule it for your lesson times. Nothing breaks concentration like a notification ping during a delicate musical passage.
If you use external audio interfaces, connect them before opening music apps. Most applications recognize interfaces automatically, but some require manual selection in their settings. Test your setup before the first lesson each day.
Step 3: Set Up Multitasking for Efficient Lessons
Learning to use Stage Manager on iPad changed how I teach. This feature lets me display sheet music while simultaneously showing annotation apps or reference materials.
To enable Stage Manager, swipe down from the top-right corner to open Control Center, then tap the Stage Manager icon. Now you can resize app windows and position them side by side. I typically keep forScore in a large window with a smaller Notes app beside it for lesson planning.
Split View is another option for older iPads without Stage Manager. Drag an app from the dock to the left or right edge of the screen to create a split screen. This works well for showing sheet music alongside a metronome or tuner.
Step 4: Configure Your Camera for Online Lessons
For virtual teaching, position your iPad at a height that captures both your face and your instrument. A sturdy stand makes this possible. I use the K&M 19752 iPad stand, which adjusts from sitting to standing height.
Test your camera angle before lessons. Open Camera app and check that your instrument position is visible. For piano teachers, position the iPad to the side showing both hands on the keyboard. String teachers need a view of both hands and the bow.
Lighting significantly impacts video quality. Face a window for natural light, or use a ring light positioned behind your iPad. Avoid having bright windows behind you, as this creates silhouette effects that hide your demonstrations.
Essential Hardware Accessories for Music Teaching
The Apple Pencil (2nd generation, $129) transforms how you mark music. I bought mine two years ago and use it daily for annotations, theory demonstrations, and composition sketches. First-generation Pencils work with older iPads and cost less on the used market.
A Bluetooth page turner pedal is non-negotiable if you teach with digital sheet music. The AirTurn Duo 200 ($89) has two pedals that you can configure for page turns or scrolling. Cheaper single-pedal options start around $40 and work fine for basic needs.
An external microphone improves audio quality dramatically for online lessons. The Shure MV7 ($249) connects via USB-C to modern iPads and delivers professional vocal clarity. For a budget option, the Samson Go Mic ($49) provides noticeable improvement over built-in mics.
Consider an audio interface if you teach advanced students or record lessons. The Focusrite Scarlett Solo ($119) connects instruments directly to your iPad with better sound quality than the headphone jack adapter. This matters for recording student performances or creating backing tracks.
Teaching Strategies for Different Age Groups
How you teach music on iPad should adapt to your student’s age and experience level. My approach varies significantly between a 6-year-old beginner and a 16-year-old preparing for auditions.
Young Children (Ages 5-8): Interactive Exploration
Young students respond best to touch-based interaction. I start lessons with GarageBand’s Smart Drums, letting them tap out rhythms while I play melodies. This builds coordination and musical enthusiasm without the frustration of traditional instrument technique.
Keep sessions short and varied. I switch activities every 5 to 7 minutes for this age group. We might do 5 minutes of rhythm games, 5 minutes of pitch matching with the virtual keyboard, then 5 minutes of listening to songs they recognize.
Use visual feedback apps for theory concepts. I display notes on a virtual staff and have students tap the correct letter names. Immediate visual and audio rewards keep them engaged longer than worksheets ever did.
Pre-Teens (Ages 9-12): GarageBand Projects
This age group loves creating their own music. I assign GarageBand projects where they build songs using loops, then add their own instrumental recordings. A typical project takes 3 to 4 weeks, with weekly milestones for different song sections.
Introduce notation gradually. I show them the sheet music for songs they have created in GarageBand, connecting the visual notation to sounds they already know. This makes theory relevant and memorable.
Peer sharing motivates this age group. With parental permission, I share student projects in a private online group. Students hear what their peers create, sparking new ideas and healthy competition.
Teenagers (Ages 13-17): Recording and Production
Teenagers want professional-sounding results. I teach them to use GarageBand’s recording features to capture clean takes of their practice pieces. Hearing themselves recorded provides objective feedback that improves practice efficiency.
Logic Pro for iPad ($4.99/month subscription) offers more advanced features for serious students. I introduce this to students considering music school or professional careers. The step up from GarageBand teaches them industry-standard workflows.
Collaboration projects work well with this age. Two students create a duet where one writes the chord progression and the other adds melody. They share projects via AirDrop or cloud storage, learning musical collaboration digitally.
Adult Students: Traditional Notation Focus
Adult learners often prefer traditional approaches. I use forScore to display their sheet music exactly as it appears in print, maintaining familiar visual references. The iPad simply replaces their music stand with added convenience.
For adults learning theory, I recommend notation apps like Symphony Pro. They write out chord progressions and analysis as they would on paper, but with playback to verify their work. This appeals to adults who want verification before moving forward.
Recording practice sessions helps adult students hear their improvement over weeks. I create a folder for each student where we save weekly recordings. Reviewing month-old recordings demonstrates progress that daily practice obscures.
Music Theory Teaching with iPad
Teaching music theory on iPad offers advantages that paper methods cannot match. Interactive exercises provide immediate feedback, visual representations clarify abstract concepts, and progress tracking shows students exactly where they stand.
I use Tenuto for fundamental skills like note reading and interval identification. The app presents exercises as games with increasing difficulty levels. Students earn scores that they try to beat, gamifying otherwise repetitive drill work.
For harmonic concepts, I write chord progressions in Notion and play them back instantly. Students hear the difference between major and minor, or between authentic and plagal cadences, without waiting for me to demonstrate at the piano.
Ear training improves dramatically with app-based practice. I assign 10 minutes of interval recognition daily using Perfect Ear. The app tracks accuracy percentages, and students can see their improvement over time. This data motivates consistent practice better than my reminders ever could.
Classroom Integration Strategies
Music teachers in school settings face unique challenges when integrating iPads. Managing 30 devices while keeping students engaged requires specific strategies that I have refined through consultation with classroom teachers.
Using iPad as a digital whiteboard works brilliantly for theory instruction. I mirror my iPad to the classroom display using AirPlay, then annotate on blank staff paper or theory worksheets. Every student sees my markings clearly, regardless of their seat position.
Student device management requires clear protocols. I recommend numbered slots or cases so each student uses the same iPad daily. This accountability reduces app deletion and setting changes. Establish a startup routine: students open specific apps in sequence before the lesson begins.
Assignment distribution happens through shared folders or learning management systems. I create GarageBand project templates that students duplicate and modify. This ensures everyone starts with the correct sounds and settings, reducing technical troubleshooting during class time.
Advanced Techniques for Recording and Assessment
Recording Student Progress
Regular recording creates a portfolio that documents student growth. I record a baseline performance during the first lesson of each month, then compare it to previous months. Students hear their improvement objectively, which counters the discouragement that often leads to quitting.
GarageBand’s recording interface is simple enough for students to use independently. I teach them to start recording, perform their piece, then save the file with the date in the filename. These recordings transfer to cloud storage for safekeeping and teacher review.
Creating Practice Assignments
Custom exercises target each student’s weaknesses. I use Symphony Pro to write out technical passages that give them trouble, exporting them as PDFs for forScore import. Students practice these focused exercises alongside their repertoire.
Backing tracks encourage rhythmic accuracy. I create simple drum or metronome tracks in GarageBand at specific tempos for each student. Practicing with these tracks develops internal timing better than metronome clicks alone.
Performance Preparation Tools
Before recitals, I help students create practice backing tracks at performance tempo. We record the piano accompaniment in GarageBand, then students practice their solo part against this track. This simulates performance conditions better than metronome practice.
Video recording reveals performance habits that audio misses. I position the iPad to capture posture, hand position, and facial expression. Students often notice tension or unnecessary movement when watching themselves that they miss during practice.
FAQ
What is the app that teaches you to read music on iPad?
Several apps teach music reading on iPad. Tenuto from musictheory.net offers comprehensive note identification exercises. Simply Piano and Flowkey provide guided reading instruction for piano specifically. For general music literacy, Note Rush gamifies sight-reading practice. Most music teachers recommend starting with Tenuto for fundamental skills, then adding instrument-specific apps based on what you teach.
How to teach music effectively?
Effective music teaching on iPad combines interactive apps with traditional methods. Use GarageBand for creative exploration, forScore for repertoire management, and dedicated theory apps for skill building. Match your approach to student age: young children need touch-based games, teenagers respond to recording and production features, and adults prefer traditional notation with digital convenience. Consistency matters more than any specific app choice.
Can an iPad be used for teaching?
Yes, iPad works excellently for teaching music. The device functions as a sheet music library, recording studio, theory classroom, and video conferencing platform. Thousands of music teachers use iPad daily for both in-person and online instruction. The touch interface engages students interactively, and the portability means your entire teaching toolkit travels with you. Modern iPad models handle all music teaching tasks without performance issues.
Does GarageBand have lessons?
GarageBand includes built-in lessons for piano and guitar. These interactive tutorials guide students through songs with real-time feedback showing which notes they played correctly. The lesson library includes beginner, intermediate, and advanced levels with songs from various genres. While primarily designed for self-study, music teachers often assign these lessons as supplementary practice. Additional artist lessons featuring famous musicians were previously available though Apple has reduced this content in recent updates.
What hardware do I need for online music teaching?
For basic online teaching, you need only an iPad and stable internet connection. Improved setups add an external microphone for better audio, a tablet stand for proper camera angles, and an Apple Pencil for on-screen annotation. Bluetooth page turners help if you teach from digital sheet music. For professional recording, add an audio interface. Most teachers start simple and upgrade components as specific needs emerge.
Which iPad is best for teaching music?
The iPad Air offers the best balance of performance and price for music teachers. It handles GarageBand, forScore, and video conferencing simultaneously without lag. The iPad Pro provides superior audio recording quality and larger screen options, worthwhile if you teach professionally full-time. The base iPad works for beginners though it lacks Stage Manager multitasking. Avoid the iPad mini for teaching; the screen is too small for comfortable sheet music reading.
Conclusion: Start Teaching Music on iPad Today
Learning to teach music on iPad opens possibilities that transform both your teaching and your students’ learning. The combination of GarageBand for creativity, forScore for organization, and theory apps for skill building creates a comprehensive digital studio that fits in your bag.
Start with what you have. Download GarageBand and forScore today, organize your current teaching materials, and experiment with one new technique this week. The teachers who thrive with iPad integration are those who start simply and expand their toolkit gradually as needs arise.
After three years of teaching with iPad, I cannot imagine returning to paper sheet music and separate recording equipment. My students learn faster, practice more consistently, and enjoy lessons more since integrating these tools. The initial learning curve pays dividends in teaching efficiency and student engagement for years to come.