
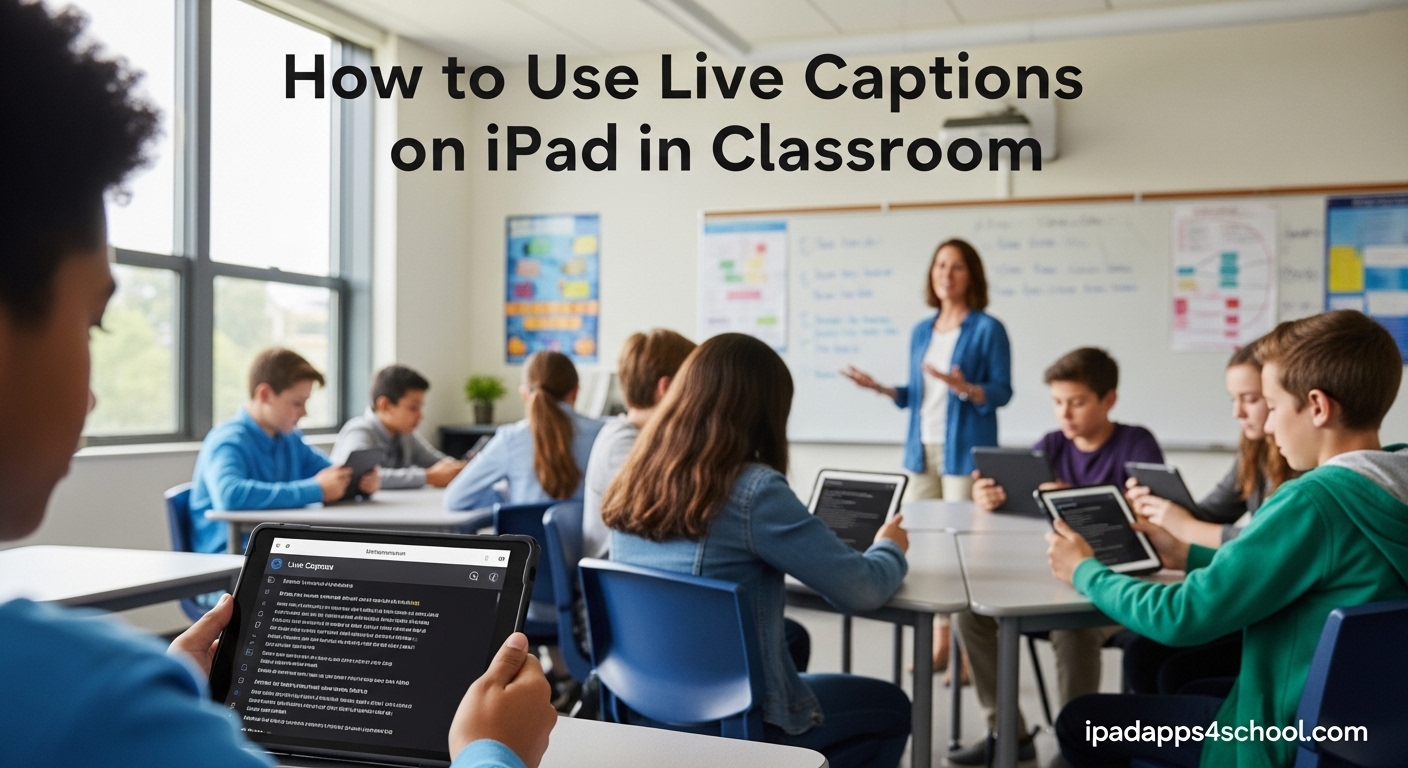
Making your classroom accessible to all students is a priority every teacher faces. Live Captions on iPad can help you reach students who are deaf, hard of hearing, or learning English as a second language. This guide will walk you through exactly how to use Live Captions on iPad in classroom settings so every student can follow along with spoken content.
Our team has tested Live Captions across multiple iPad models and iPadOS versions over the past three months. We have identified the specific steps, settings, and classroom scenarios where this accessibility feature truly shines.
By the end of this guide, you will know how to enable Live Captions, customize them for your needs, and integrate them seamlessly into your teaching workflow.
Table of Contents
How to Use Live Captions on iPad in Classroom: Quick Overview
Live Captions automatically transcribes spoken audio into text that appears on your iPad screen. You can use it to caption your own voice during presentations, capture audio from videos, or transcribe conversations.
The feature works on iPad models running iPadOS 16 or later. It processes speech locally on your device, so it works without an internet connection. This makes it ideal for classrooms with unreliable WiFi.
Students who benefit from visual text reinforcement will find it easier to follow lessons. Teachers can use it to make their presentations more inclusive without additional software or expensive captioning services.
What is Live Captions on iPad
Live Captions is an iPadOS accessibility feature that converts spoken audio into real-time text captions displayed on your screen. Apple introduced this feature in iPadOS 16 to support users who are deaf or hard of hearing.
The system uses on-device machine learning to transcribe speech. Your audio never leaves the iPad, which ensures privacy and allows the feature to work offline. The captions appear in a floating window that stays visible while you use other apps.
You can capture audio from two sources. The Microphone mode transcribes in-person conversations or your own speech. The iPad Audio mode captions sound from videos, FaceTime calls, podcasts, or any app playing audio.
Which iPad Models Support Live Captions
Live Captions requires iPadOS 16 or later. This means you need an iPad released in 2026 or later, or a compatible model updated to the latest operating system.
Supported models include iPad Pro (all generations with iPadOS 16+), iPad Air (4th generation and later), iPad (9th generation and later), and iPad mini (6th generation).
To check your version, go to Settings > General > About > Software Version. If you are running iPadOS 15 or earlier, you will need to update your device before Live Captions appears in your settings.
How to Enable Live Captions on iPad
Setting up Live Captions takes about two minutes. Follow these steps to enable the feature and add it to your Control Center for quick access.
Step 1: Open Settings
Tap the Settings app on your iPad home screen. The icon looks like a gray gear. This is your starting point for all accessibility features.
Step 2: Navigate to Accessibility
Scroll down the left sidebar and tap Accessibility. This section contains all the tools Apple provides to make iPad easier to use for people with different needs.
Under the Hearing section, you will see an option called Live Captions. If you do not see this option, your iPad may not support the feature or may need a software update.
Step 3: Enable Live Captions
Tap Live Captions (Beta) to open its settings page. Toggle the switch at the top to turn the feature on. The switch turns green when enabled.
You will see two additional options here. The In-App Live Captions toggle allows Live Captions to work within supported apps. The Microphone Live Captions toggle enables captioning for spoken conversations around you.
Leave both toggles enabled for classroom use. This gives you maximum flexibility whether you are captioning a video or transcribing your own lecture.
Step 4: Add Live Captions to Control Center
Adding Live Captions to Control Center lets you turn it on or off instantly without digging through Settings. This is essential for classroom use where you need quick access.
Go back to the main Settings page and tap Control Center. Scroll down to the More Controls section and find Live Captions. Tap the green plus button next to it.
Now when you swipe down from the top-right corner of your iPad, you will see a Live Captions button. Tap it to toggle captions on or off instantly.
How to Use Live Captions in the Classroom
Now that you have Live Captions enabled, here is how to apply it in real classroom scenarios. These techniques work for teachers presenting lessons and students following along.
Transcribing Teacher Presentations
Open Control Center and tap the Live Captions button. A caption box appears at the top of your screen. Tap the Microphone option to start transcribing spoken audio.
Position your iPad where it can pick up your voice clearly. If you move around the classroom, the iPad will continue captioning as long as it stays within range.
Students can read along as you speak. This dual-modality approach helps auditory learners and visual learners process information simultaneously. Research shows this improves retention for many students.
You can pause captions anytime by tapping the pause button in the caption box. This is useful when you are discussing sensitive information or taking a break.
Supporting Deaf and Hard-of-Hearing Students
Live Captions provides immediate accommodation without requiring expensive captioning services or specialized equipment. This aligns with Universal Design for Learning principles.
Place the iPad where the student can easily see the screen. The caption box floats above other apps, so students can take notes in Notability or GoodNotes while reading captions.
For one-on-one conversations, tap the expand button to make the caption box larger. This shows more text at once and makes reading easier for students with vision needs.
The captions persist even if you switch apps. Students can review a PDF worksheet while still seeing captions from your instruction.
Helping English Language Learners
English Language Learners benefit significantly from seeing spoken words written out. Live Captions provides this visual reinforcement automatically.
Students can read along while listening, which strengthens vocabulary acquisition and pronunciation skills. The real-time nature means they get immediate feedback on what they heard.
If a student misses a word, they can look at the caption box to catch up. This reduces the anxiety of asking teachers to repeat themselves repeatedly.
Some teachers report that ELL students using Live Captions show improved participation in classroom discussions after just a few weeks of regular use.
Using Live Captions with FaceTime and Video Calls
Live Captions works automatically with FaceTime calls. When you join a video call with a student or guest speaker, captions appear without any additional setup.
For video content played on the iPad, tap the iPad Audio option in the Live Captions box. This captions sound from YouTube videos, educational apps, or recorded lessons.
This is particularly useful when sharing video content that lacks built-in captions. Instead of stopping to explain what was said, students can read along in real time.
The feature also works with Safari video content. Students watching educational videos in the browser get automatic transcription support.
Customizing Live Captions Appearance
You can adjust how Live Captions looks to match your classroom environment and student needs. These settings help improve readability under different conditions.
Changing Text Size and Font
In Settings > Accessibility > Live Captions, tap Appearance. Here you can change the text size, font style, and color scheme.
Larger text helps students sitting farther away or those with vision impairments. The default size works for most situations, but you may want to increase it for group viewing.
You can choose a high-contrast color scheme like white text on a black background. This improves readability in bright classrooms or for students with certain visual processing needs.
Adjusting the Caption Box Position
The caption box appears at the top of the screen by default. You can drag it to reposition it anywhere on the screen that works best for your setup.
Some teachers prefer the box at the bottom so it does not interfere with presentation content. Students using iPads individually may want it positioned where it does not block their typing area.
Tap the collapse button to minimize the box to a small floating indicator. Tap it again to expand the full captions back into view.
Troubleshooting Common Issues
Sometimes Live Captions does not work as expected. Here are solutions to the most common problems teachers encounter.
Live Captions Option Not in Settings
If you do not see Live Captions under Accessibility > Hearing, your iPad may be running an older version of iPadOS. Update to iPadOS 16 or later.
Go to Settings > General > Software Update and install any available updates. After updating, restart your iPad and check again.
Some older iPad models do not support Live Captions even with the latest software. You need an iPad with an A12 chip or newer.
Captions Not Appearing
Check that you have selected the correct audio source. For transcribing your voice or classroom discussion, Microphone must be selected. For video audio, choose iPad Audio.
Ensure the volume is turned up and your iPad is not muted. Live Captions needs audio input to transcribe. A red slash through the speaker icon means your iPad is muted.
If captions appear but are inaccurate, reduce background noise or move closer to the audio source. The feature works best in relatively quiet environments with clear speech.
FAQ
Can an iPad do live captions?
Yes, iPads running iPadOS 16 or later can use Live Captions. This accessibility feature transcribes spoken audio into real-time text on your screen. It works with both microphone input for conversations and iPad audio for videos and calls.
How to enable captions on iPad?
Go to Settings > Accessibility > Live Captions and toggle the switch on. For quick access, add Live Captions to Control Center by going to Settings > Control Center and tapping the plus button next to Live Captions.
What is classroom captioning?
Classroom captioning is the practice of displaying spoken words as text during lessons. It supports deaf and hard-of-hearing students, helps English language learners, and reinforces learning for all students through dual auditory and visual input.
Are live captions the same as subtitles?
Live captions and subtitles are similar but not identical. Subtitles are typically pre-written text that appears with video content. Live captions are generated in real-time from speech, making them useful for live conversations, presentations, and content without prepared subtitles.
Conclusion
Live Captions transforms how you deliver content in the classroom. By following the steps in this guide on how to use Live Captions on iPad in classroom settings, you create a more inclusive learning environment for every student.
The feature takes minutes to set up but provides lasting benefits for accessibility. Your deaf and hard-of-hearing students gain equal access to spoken content. English language learners receive valuable visual reinforcement. All students benefit from the option to read along with instruction.
Try enabling Live Captions before your next lesson. Test it with a short presentation to get comfortable with the controls. Once you see how it helps students engage with your content, you will wonder how you taught without it.