
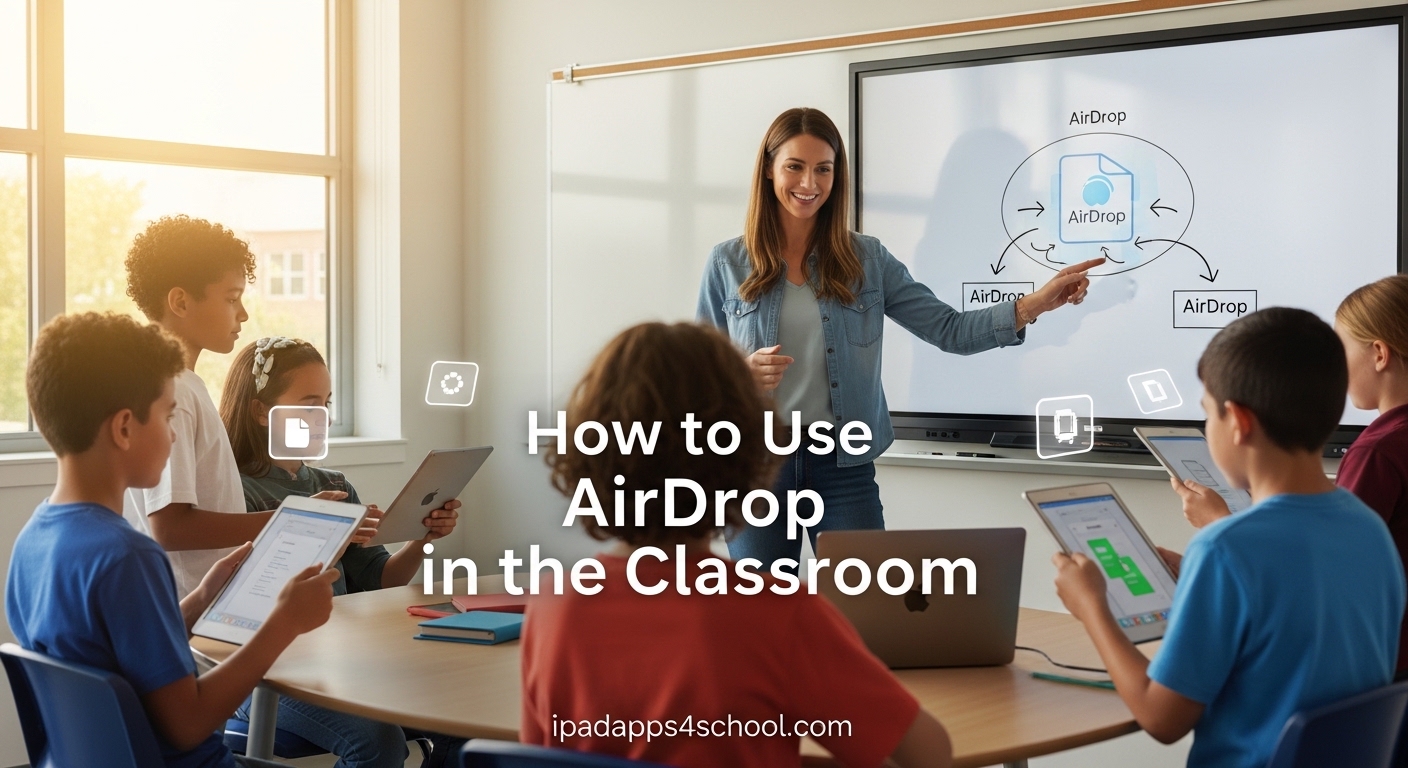
AirDrop transforms how teachers share materials and collect student work in the classroom. I have used this feature daily for three years across different grade levels, and it eliminates the chaos of email attachments, USB drives, and lost assignments.
This guide shows you exactly how to use AirDrop in the classroom, from enabling the feature on your devices to integrating it with Apple Classroom for bulk operations. You will learn step-by-step workflows that work whether you teach with 1:1 iPads, shared devices, or a mix of iPads and iPhones.
Table of Contents
What Is AirDrop and Why It Matters in Classrooms
AirDrop is Apple’s wireless file transfer feature built into iOS, iPadOS, and macOS. It creates a direct ad-hoc network between Apple devices using Bluetooth for discovery and Wi-Fi for the actual transfer. This means you can send photos, documents, videos, and links to nearby devices without needing an internet connection or complicated network setup.
The magic happens within approximately 30 feet of proximity. Students do not need email accounts, cloud storage logins, or special apps. Teachers can distribute a worksheet to 25 students in under 30 seconds.
I remember the first time I used AirDrop in my classroom. Instead of spending 15 minutes helping students navigate to a website or find a file in Google Drive, I simply AirDropped the PDF to everyone simultaneously. The entire class had the assignment open before the bell finished ringing.
Prerequisites: What You Need to Get Started
Before you start using AirDrop in the classroom, confirm your devices meet these requirements. Compatibility issues cause 80% of the problems teachers face when first implementing this workflow.
Device Compatibility
AirDrop works on the following Apple devices:
iPad and iPhone: iOS 7 or later. This includes every iPad released since 2013 and every iPhone since the iPhone 5. If your school uses devices from the last decade, they likely support AirDrop.
Mac computers: OS X Lion (10.7) or later for Mac-to-Mac transfers. Mac to iOS requires OS X Yosemite (10.10) or later.
Network Requirements
Both Bluetooth and Wi-Fi must be enabled on every device. The devices do not need to connect to the same Wi-Fi network, and they do not need any Wi-Fi network at all. AirDrop creates its own direct connection.
Some school networks block peer-to-peer connections. If AirDrop fails to work despite everything being enabled, contact your IT department about MDM restrictions or network policies that might interfere.
Proximity Requirements
Devices must be within approximately 30 feet of each other. Walls and interference can reduce this range. In my classroom, I have found that keeping devices within 20 feet ensures the most reliable connections.
How to Enable AirDrop on iPad and iPhone
Enabling AirDrop takes less than a minute once you know where to look. Here is the exact process I teach my students on day one of our iPad orientation.
Step 1: Open Control Center
Swipe down from the top-right corner of the screen on newer iPads and iPhones. On older devices with a Home button, swipe up from the bottom of the screen.
Step 2: Access Network Settings
Press and hold the network settings card in the top-left corner. This card shows your Wi-Fi and Bluetooth icons. Hold it until the card expands to show more options.
Step 3: Enable AirDrop
Tap the AirDrop icon. You will see three visibility options:
Receiving Off: Disables AirDrop completely. Use this if you want to prevent any transfers.
Contacts Only: Only people in your contacts can see your device. This is the safest option for personal devices but rarely works in classrooms where student devices are not in your contacts list.
Everyone for 10 Minutes: Any nearby Apple device can see and send files to your iPad. This is the setting I recommend for classroom use.
Select “Everyone for 10 Minutes” during class time. The 10-minute limit automatically resets for security, which helps prevent students from sending you memes during lunch.
Sending Files via AirDrop: Step-by-Step
Once AirDrop is enabled, sending files becomes incredibly simple. Here is the workflow I use dozens of times per week.
Step 1: Select the File
Open the file you want to share. This could be in Photos, Files, Safari, or any app that supports sharing. Tap the Share button, which looks like a square with an arrow pointing up.
Step 2: Choose AirDrop
In the Share menu, look for the AirDrop section. It appears near the top with circular icons showing nearby devices. You will see device names like “John’s iPad” or “Room 205 iPad 3.”
Step 3: Select Recipients
Tap the device name you want to send to. For multiple recipients, you can tap several names in succession. With Apple Classroom, you can send to your entire class at once (covered in the next section).
Step 4: Confirm Transfer
A blue ring appears around the recipient’s icon while the file transfers. For small files like PDFs, this takes 1-2 seconds. Videos or large photo batches might take 10-30 seconds depending on file size.
Pro Tip: Using the Share Sheet from Any App
Almost every Apple app supports AirDrop through the Share menu. In Safari, you can AirDrop a webpage link. In Notes, you can send a note as a PDF. In the Camera app, send photos immediately after taking them. This flexibility makes AirDrop the Swiss Army knife of classroom file sharing.
Receiving Files via AirDrop
Receiving files requires just as much attention as sending them. Students need to understand the acceptance process to avoid lost assignments.
How Acceptance Works
When someone sends you a file, a notification appears on your screen with a preview. You have two options: Accept or Decline.
Tap “Accept” to receive the file. Photos and videos save to your Photos app. Documents save to the Files app in your Downloads folder. Links open directly in Safari.
Tap “Decline” to reject the transfer. The sender receives a notification that you declined.
Where Received Files Go
This is the question I get most often from students. Here is the breakdown:
Photos and videos: Photos app, recently added album.
Documents (PDFs, Word, Pages): Files app, Downloads folder.
Website links: Opens immediately in Safari.
Contacts: Contacts app, with option to create new contact or add to existing.
Calendar events: Calendar app, with preview before adding.
Automatic vs. Manual Acceptance
If you are signed in with the same Apple ID on both devices, transfers happen automatically without requiring acceptance. This is useful for teacher-to-teacher sharing but rarely applies in student scenarios. Students will always see the Accept/Decline prompt, which prevents unwanted files from appearing without permission.
Using AirDrop with Apple Classroom
Apple Classroom transforms AirDrop from a one-to-one tool into a one-to-many powerhouse. This is where the real classroom magic happens.
What Is Apple Classroom?
Apple Classroom is a free app for iPad and Mac that helps teachers guide learning, distribute materials, and monitor student progress. When combined with AirDrop, it enables bulk file distribution and automated collection workflows.
AirDropping to the Whole Class at Once
Instead of tapping 25 individual student names, Apple Classroom lets you select your entire class and AirDrop to everyone simultaneously. Here is how:
Open the Classroom app and select your class from the sidebar. Choose “Select All” or tap individual students if you only want to reach specific ones. Tap the Share button and choose your file. The system handles sending to all selected devices at once.
This feature alone saves me 5-10 minutes every day. What used to require individual emails or cloud folder navigation now happens in seconds.
Automatic File Naming with Student Names
Here is a game-changer that most teachers do not know about. When you receive files through Apple Classroom, the app automatically appends the student’s name to the filename.
Instead of receiving 25 files all named “Essay.pages,” you get “Essay – Sarah J.pages,” “Essay – Marcus T.pages,” and so on. This eliminates the guessing game of which student submitted which file.
I learned this the hard way during my first year using iPads. I received 30 files named “Homework” and spent an hour opening each one to figure out who submitted what. Apple Classroom’s auto-naming feature would have saved me that entire afternoon.
Receiving Student Work Automatically
When students AirDrop work to you through the Classroom app, files go directly to your designated inbox within the app. You can review submissions, provide feedback, and return graded work all within the same workflow.
Classroom Use Cases for AirDrop
Understanding the mechanics is only half the battle. Here are specific ways I use AirDrop in my classroom every week.
Distributing Assignments and Handouts
I create worksheets in Pages or Google Docs, export them as PDFs, and AirDrop them to students at the start of class. Everyone has the document open before I finish taking attendance. No more “I couldn’t find the file” excuses.
Collecting Student Work
At the end of a project, students AirDrop their finished work to my iPad. With Apple Classroom, their names automatically attach to the files. I can review everything during my prep period without carrying home a stack of papers.
Sharing Photos and Videos
During science experiments or field trips, students take photos on their iPads. They AirDrop the best shots to my device, and I create a shared album or presentation within minutes. This works especially well for group projects where each student contributes different media.
Quick Website Sharing
Instead of writing a long URL on the board (and watching students mistype it), I visit the website on my iPad and AirDrop the link to everyone. The page opens automatically on their devices, saving 5 minutes of “www dot what was it again?”
Emergency Backup Distribution
When the school Wi-Fi fails (which happens more than IT departments like to admit), AirDrop still works. I can distribute reading passages or assignment instructions even during network outages because it does not require internet access.
File Naming Best Practices for Students
Even with Apple Classroom’s auto-naming feature, teaching students proper file naming conventions prevents chaos. Here is the system I implement during the first week of school.
The Formula: Assignment-LastName-FirstName
I teach students to name every file using this format: “BookReport-Smith-John.” This creates consistency and makes grading infinitely easier.
For group projects, we add a group number: “ScienceProject-Group3-Smith-John.”
Why This Matters
When 25 students AirDrop files to you without naming conventions, you end up with a Downloads folder full of “Document,” “Image,” and “Untitled” files. You will waste hours matching mystery files to student names.
I spend one class period practicing file naming with students. We create fake assignments, rename them properly, and AirDrop them to a test folder. This 45-minute investment saves me dozens of hours over the school year.
Avoiding Special Characters
Teach students to avoid spaces, slashes, and special characters in filenames. Use hyphens or underscores instead. Some school systems and older software have trouble processing files with unusual characters in the names.
Troubleshooting Common AirDrop Issues
AirDrop does not always work perfectly. Here are the problems I encounter most often and how to fix them.
“No Devices Found” Error
This is the most common issue. First, verify both devices have AirDrop set to “Everyone for 10 Minutes.” Contacts Only rarely works in classroom settings.
Next, confirm Bluetooth and Wi-Fi are enabled on both devices. They do not need to be connected to a network, but the radios must be on.
Finally, check proximity. Move devices within 12 inches of each other for the initial connection. Once paired, they can move farther apart.
MDM Restrictions Blocking AirDrop
Many school IT departments disable AirDrop through Mobile Device Management (MDM) policies. They do this to prevent students from sharing inappropriate content or cheating during tests.
If AirDrop options are grayed out or missing from Control Center, contact your IT administrator. Ask specifically about the “allowAirDrop” MDM restriction. You may need administrative approval to enable AirDrop for your classroom.
iOS Updates Breaking Functionality
After major iOS updates, AirDrop sometimes stops working on supervised school devices. I experienced this when iOS 18.4.0 rolled out to our iPads. The devices showed AirDrop as enabled but could not discover each other.
The fix usually involves IT pushing a new configuration profile or resetting network settings on affected devices. Document when the problem started and which iOS version you are running to help your IT team diagnose the issue.
Slow Transfer Speeds
Large video files take time to transfer. If you are sending a 10-minute video to 25 students, expect the process to take several minutes. For faster distribution, upload the video to a shared folder and AirDrop only the link.
Also check for interference. Microwave ovens, cordless phones, and other 2.4 GHz devices can slow down Wi-Fi and Bluetooth connections. Position your classroom setup away from these sources when possible.
Managing Privacy and Safety with AirDrop
AirDrop’s simplicity creates real concerns about inappropriate content sharing. Reddit discussions among teachers reveal constant struggles with students sending memes, distracting images, and occasionally inappropriate material during class.
The Student-to-Student Sharing Problem
When students have AirDrop set to Everyone, they can send files to each other without teacher oversight. This creates opportunities for cheating on tests and sharing content that bypasses school filters.
Some teachers request that IT disable AirDrop entirely to prevent these issues. Others implement classroom management strategies like requiring devices face-down during tests or only enabling AirDrop during specific file-sharing windows.
Setting Age-Appropriate Restrictions
For younger students, consider asking IT to restrict AirDrop to teacher devices only. Older students might handle more freedom with clear expectations and consequences for misuse.
I post classroom AirDrop rules on day one: “AirDrop is for educational purposes only. Misuse results in AirDrop privileges being disabled for your device.” Enforcing this consistently prevents most problems.
Handling Inappropriate Content Incidents
If a student receives unwanted content, teach them to decline the transfer and immediately tell you. Document the incident and contact IT to check AirDrop logs if available. Most MDM systems can track transfers between supervised devices.
For serious incidents involving harassment or illegal content, follow your school’s standard discipline procedures. Treat AirDrop misuse the same way you would handle passing inappropriate notes or using phones inappropriately.
Working with IT on Policy
MDM administrators debate AirDrop policies constantly. Some see it as essential for modern classroom workflows. Others view it as a liability. Approach your IT team with specific use cases showing educational value. Explain how you will manage student behavior and request a trial period to demonstrate responsible usage.
FAQ
How to AirDrop in Apple Classroom?
Open the Classroom app and select your class from the sidebar. Select the students you want to share with, then tap the Share button. Choose your file and it will AirDrop to all selected students simultaneously. Apple Classroom automatically appends student names to received files.
How do you use AirDrop step by step?
First, enable AirDrop by opening Control Center, pressing the network card, and selecting Everyone for 10 Minutes. To send a file, tap the Share button in any app, select the recipient from the AirDrop section, and wait for the transfer to complete. To receive, tap Accept when the notification appears.
How to AirDrop from school iPad to phone?
The process works the same on school iPads as personal devices. Enable AirDrop in Control Center, select Everyone for 10 Minutes, open the file you want to share, tap the Share button, and select the phone from the AirDrop list. Note that some school MDM policies may restrict AirDrop functionality.
How do I send using AirDrop?
Open the file, photo, or link you want to share. Tap the Share button (square with arrow). Look for the AirDrop section showing nearby devices. Tap the name of the person or device you want to send to. A blue ring appears around their icon while the file transfers.
How do I receive something from AirDrop?
When someone sends you a file, a notification appears with a preview and two options: Accept or Decline. Tap Accept to save the file. Photos go to your Photos app, documents go to Files app Downloads folder, and links open in Safari. If you have the same Apple ID on both devices, transfers happen automatically.
Why is my AirDrop not working at school?
Common causes include MDM restrictions blocking AirDrop, network policies interfering with peer-to-peer connections, devices set to Contacts Only instead of Everyone, or Bluetooth and Wi-Fi being disabled. Contact your IT department to check if AirDrop is restricted on school devices.
What is the AirDrop distance limit in classrooms?
AirDrop works within approximately 30 feet between devices. Walls and interference can reduce this range. For best results, keep devices within 20 feet of each other during transfers. Large files may fail if devices move too far apart during the transfer process.
Can students AirDrop to each other during class?
Yes, if AirDrop is enabled and set to Everyone, students can send files to each other. This creates opportunities for collaboration but also potential for misuse. Many teachers establish clear rules about AirDrop use or work with IT to restrict student-to-student transfers while allowing teacher-to-student sharing.
Conclusion
AirDrop simplifies classroom file sharing in ways that email and cloud storage cannot match. Once you master enabling the feature, sending and receiving files, and integrating it with Apple Classroom, you will wonder how you ever taught without it.
Start with the basics: enable AirDrop on your device and practice sending a file to one student. Then expand to Apple Classroom for bulk operations. Teach your students proper file naming conventions on day one to prevent organizational headaches later.
How to use AirDrop in the classroom becomes second nature after a few weeks of practice. The time you save on distributing materials and collecting work can be redirected toward actual teaching and student interaction. That is the real value of mastering this simple but powerful tool.