
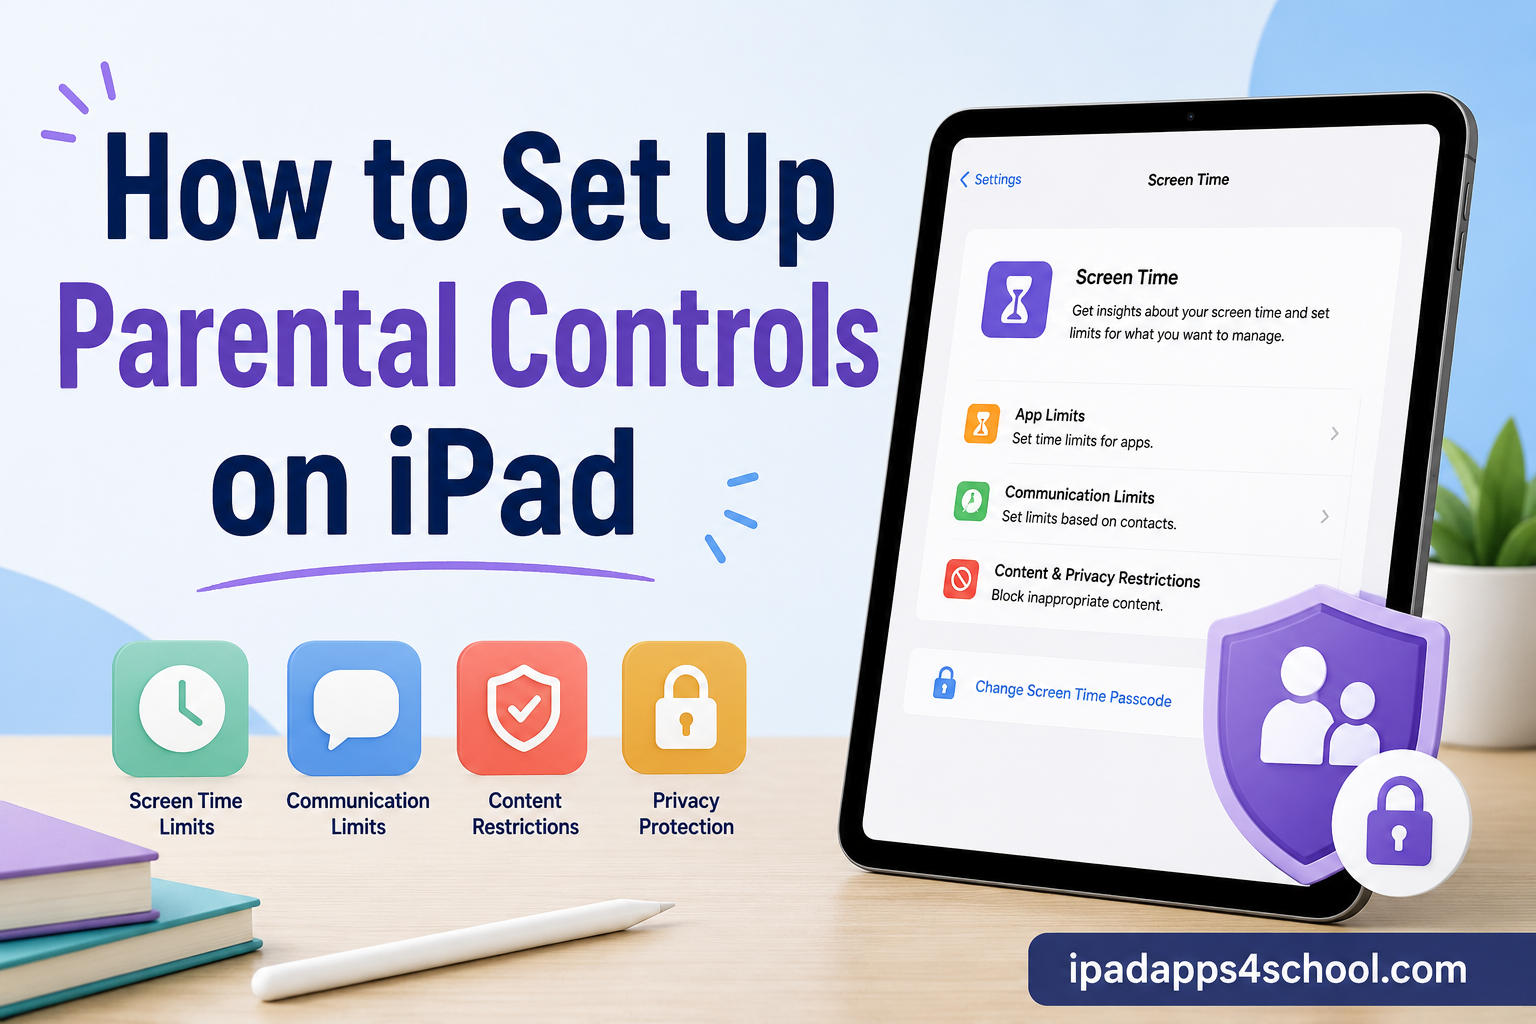
Learning how to set up parental controls on iPad can feel overwhelming when you first dive into the Settings menu. I remember the first time I tried configuring Screen Time for my nephew’s iPad. I spent 20 minutes tapping through menus, unsure which options actually mattered for keeping him safe online.
This guide walks you through every step of setting up iPad parental controls in 2026. You will learn how to configure Screen Time, set content restrictions, block inappropriate websites, manage app purchases, and schedule downtime. By the end, you will have a secure, age-appropriate device setup that grows with your child.
Whether you are setting up a brand new iPad or adding restrictions to an existing device, these steps work on all iPad models running iPadOS 15 or later. Let us start with the foundation of all parental controls on Apple devices.
Table of Contents
How to Set Up Parental Controls on iPad: Getting Started with Screen Time
Screen Time is Apple’s built-in system for monitoring and controlling device usage. It replaced the old “Restrictions” feature and now serves as the central hub for all iPad parental controls. Every other setting we cover builds on this foundation.
What Is Screen Time and Why It Matters
Screen Time tracks how long your child uses their iPad and what they do during that time. More importantly, it gives you tools to set boundaries. You can limit daily usage, block specific apps, filter web content, and prevent unauthorized purchases. The feature is free and included on every iPad, iPhone, and iPod touch.
I recommend setting up Screen Time before handing an iPad to a child. Once the device becomes “theirs,” making changes gets harder. Kids grow attached to their apps, games, and settings. Establishing boundaries early prevents conflicts later.
Opening Screen Time Settings
To begin, open the Settings app on your iPad. Look for the option labeled “Screen Time” in the left sidebar. Tap it to enter the Screen Time menu. If this is your first time opening Screen Time, you will see a brief introduction explaining the feature.
Tap “Turn On Screen Time” to activate the system. You will then choose whether this is your device or your child’s device. Select “This Is My Child’s iPad” to access the full parental control setup. Apple will walk you through several initial questions about your child’s age and your preferences for Downtime and App Limits.
Creating a Screen Time Passcode
The most critical step in this entire process is setting a Screen Time passcode. Without it, your child can simply turn off all restrictions. This four-digit code should be different from the device unlock passcode. Never share it with your child.
In the Screen Time menu, tap “Use Screen Time Passcode.” Enter a four-digit code you will remember. Apple asks you to enter it twice to confirm. You will also need to provide your Apple ID and password. This serves as a backup if you ever forget the Screen Time passcode.
I cannot stress this enough: write down your Screen Time passcode somewhere secure. I have received countless messages from parents who locked themselves out of their own restrictions. The Apple ID recovery works, but it takes time and creates unnecessary stress.
Setting Up Through Family Sharing
If your child has their own Apple ID and you use Family Sharing, you can manage their Screen Time remotely from your device. Go to Settings > [Your Name] > Family Sharing > Screen Time. Select your child’s name to configure their settings without touching their iPad.
This remote management approach works beautifully for busy parents. You can approve app requests, extend time limits, and check activity reports from your iPhone while at work. Your child sees these changes reflected on their device immediately.
Setting Up Content and Privacy Restrictions
Content and Privacy Restrictions form the core protection layer of iPad parental controls. This section controls what your child can access, download, and change on their device. Think of it as the master switch for locking down the iPad experience.
Enabling Content and Privacy Restrictions
Within the Screen Time menu, find “Content and Privacy Restrictions.” Toggle this switch to the ON position. The screen will dim briefly as the system activates. Once enabled, you will see categories for iTunes and App Store Purchases, Content Restrictions, and Store Restrictions.
These restrictions only work when the toggle stays enabled. If your child somehow disables this switch, every other protection we set up becomes inactive. That is why the Screen Time passcode matters so much. It prevents unauthorized changes to this critical setting.
Controlling App Store and iTunes Purchases
Tap on “iTunes and App Store Purchases” to prevent unwanted spending. I recommend setting “Installing Apps” to “Don’t Allow” for younger children. This prevents them from downloading any new applications without your permission.
For “Deleting Apps,” choose “Don’t Allow” if you want to prevent removal of apps you have approved. Some parents allow deleting apps but block installing new ones. Find the balance that works for your family.
The “In-app Purchases” setting deserves special attention. Set this to “Don’t Allow” immediately. Free games often push expensive upgrades, currency packs, and subscriptions. I have heard horror stories of children spending hundreds of dollars in a single weekend. Blocking in-app purchases eliminates this risk entirely.
Setting Up Ask to Buy
Ask to Buy is one of my favorite Family Sharing features. When enabled, any purchase or free download attempt sends a request to your device. You can approve or deny it instantly from your iPhone or iPad.
To activate Ask to Buy, your child must be part of your Family Sharing group and under 18 years old. Go to Settings > [Your Name] > Family Sharing. Select your child’s name, then toggle “Ask to Buy” to ON. Now every app installation, in-app purchase, or subscription requires your approval first.
The approval process takes seconds. Your child taps “Ask,” and you receive a notification. You can see exactly what they want to download and make an informed decision. Approved apps install automatically on their device. Denied requests simply disappear with no drama.
Blocking Inappropriate Content and Websites
The internet contains content no child should see. iPad parental controls include robust web filtering and content rating systems. These settings work across Safari, the App Store, Apple Music, and other Apple services.
Configuring Web Content Filters
Return to Content and Privacy Restrictions, then tap “Content Restrictions.” Find the “Web Content” option. You will see three choices: Unrestricted Access, Limit Adult Websites, and Allowed Websites Only.
“Limit Adult Websites” uses Apple’s database to block known adult sites. This works well for older children who need broader internet access. The system automatically filters inappropriate content while allowing educational and age-appropriate sites.
For younger children, I recommend “Allowed Websites Only.” This creates a whitelist of approved sites. Your child can only visit websites you explicitly add. Start with educational sites like Khan Academy, National Geographic Kids, and PBS Kids. Add sites gradually as needs arise.
Adding Specific Allowed or Blocked Sites
When using “Limit Adult Websites,” you can customize the filter. Tap “Add Website” under “Never Allow” to block specific sites that slip through. Conversely, add sites under “Always Allow” if the filter incorrectly blocks something your child needs.
With “Allowed Websites Only,” tap “Add Website” to expand your child’s access. You will enter a title and the URL. I suggest organizing these by category: School, Games, Entertainment, and Research. This makes managing the list easier as it grows.
Setting Content Ratings for Media
Scroll down in Content Restrictions to find rating settings for Music, Podcasts, News, Books, and TV. Each category offers age-appropriate filtering. For Music and Podcasts, you can block explicit content. Books can be filtered by age ratings.
TV content uses the standard rating system: TV-Y, TV-G, TV-PG, TV-14, and TV-MA. Movies use the familiar G, PG, PG-13, R, and NC-17 ratings. Apps use age ratings from 4+ to 17+. Choose the maximum rating your child can access based on their maturity level and your family values.
Scheduling Downtime and Setting App Limits
Screen time management goes beyond content filtering. Apple gives parents tools to schedule device-free periods and set daily usage caps. These features help build healthy technology habits from an early age.
Understanding Downtime
Downtime schedules periods when only approved apps work on the iPad. During Downtime, most apps display a timeout icon. Your child can request more time, but you control whether to grant it.
This feature works perfectly for bedtime, homework hours, or family dinner time. I know parents who schedule Downtime from 8 PM to 7 AM every day. Others use it during school hours for devices that stay home.
Setting Your Downtime Schedule
From the main Screen Time menu, tap “Downtime.” Toggle it on, then choose “Scheduled” for automatic enforcement. Set your start and end times. You can create different schedules for different days. Many families allow more screen time on weekends while keeping weekday evenings device-free.
During Downtime, your child can still use apps you add to the “Always Allowed” list. Phone calls and emergency functions work normally. I recommend keeping essential communication apps accessible while blocking games and entertainment.
Creating App Limits
App Limits set daily time budgets for specific apps or categories. From Screen Time, tap “App Limits” then “Add Limit.” You will see categories like Social Networking, Games, Entertainment, and Education.
Select a category or specific app, then set the daily time allowance. You can choose different limits for different days. Maybe one hour of games on school days but two hours on weekends. The system tracks usage across all devices signed into your child’s Apple ID.
When your child reaches their limit, the app displays a time limit screen. They can tap “Ask for More Time” to send you a request. You can approve 15 minutes, one hour, or all day. These conversations about time extensions become valuable teaching moments about priorities and responsibilities.
Using One More Minute Gracefully
Apple added a thoughtful feature called “One More Minute” for App Limits and Downtime. When time expires, your child can tap this option once to save their progress or finish a level. It grants exactly 60 seconds to wrap up gracefully.
I appreciate this feature because it respects the child’s experience while maintaining boundaries. Nobody wants to lose game progress or get cut off mid-conversation. One More Minute prevents the frustration that leads kids to seek workarounds.
Managing Allowed Apps and Communication
Beyond restricting content and time, you can control which apps appear on the iPad at all. Communication Limits add another layer of safety by managing who your child can contact.
Controlling Built-in Apps
In Content and Privacy Restrictions, tap “Allowed Apps.” This screen lists every built-in Apple app: Camera, FaceTime, Safari, Siri, AirDrop, and more. Toggle off any app you do not want your child accessing.
For very young children, I often disable Safari entirely and rely on curated educational apps. Some parents turn off FaceTime until the child demonstrates appropriate communication skills. You can always return here and re-enable apps as your child grows.
Disabling an app removes it from the home screen completely. It does not delete the app, just hides it. The toggle acts as an instant on-off switch for app availability.
Setting Communication Limits
Communication Limits control who your child can call, message, or FaceTime during Screen Time. From Screen Time, tap “Communication Limits.” You will see separate settings for Screen Time and Downtime.
During Screen Time, you can allow communication with “Everyone” or “Contacts Only.” I strongly recommend “Contacts Only” for children. This prevents random people from contacting your child and limits outgoing calls to approved numbers.
During Downtime, communication can be limited to “Specific Contacts” only. This is perfect for ensuring your child can always reach parents or emergency contacts while blocking friends and games during sleep hours.
Managing Game Center
Game Center connects your child to Apple’s gaming social network. From Content Restrictions, scroll to Game Center settings. You can disable multiplayer games, prevent adding friends, and block private messaging within games.
These settings matter because many children’s games include chat features. Predators sometimes use gaming platforms to contact minors. Disabling Game Center communication features closes this potential vulnerability without removing the games themselves.
Advanced Features and Safety Settings
Apple continues adding safety features to Screen Time. Two recent additions deserve every parent’s attention: Communication Safety and Screen Distance. These tools address modern concerns about online safety and physical health.
Enabling Communication Safety
Communication Safety scans incoming and outgoing messages for sensitive images. If your child receives or attempts to send explicit content, the system blurs the image and provides safety resources. It works in Messages, AirDrop, and FaceTime video messages.
This feature does not report content to parents or Apple. It empowers children to make safer choices while preserving privacy. The goal is education and protection, not surveillance.
To enable Communication Safety, go to Screen Time > Communication Safety. Toggle on the switch. You can enable it separately for different communication methods. I recommend turning it on for all available options.
Using Screen Distance for Eye Health
Screen Distance uses the iPad’s front camera to detect how close your child holds the device to their face. If they bring it closer than 12 inches for extended periods, a full-screen reminder appears urging them to move back.
This feature addresses the growing concern about myopia in children. Studies link close-up screen time to vision problems. Screen Distance builds healthy viewing habits early.
Find Screen Distance in Screen Time settings. Toggle it on. The system runs automatically once enabled. It will not interrupt brief moments of close viewing, only sustained problematic posture.
Restricting Siri and Search
Siri can access web content and perform actions that bypass other restrictions. In Content Restrictions, find “Siri” settings. You can disable “Web Search Content” to prevent Siri from pulling information from the internet. Turn off “Explicit Language” to filter Siri’s responses.
Also check “Screen Recording” and “Wallet” restrictions based on your child’s needs. These privacy settings prevent accidental sharing of location, photos, or payment information.
Troubleshooting and Common Issues
Even with perfect setup, problems arise. Kids are clever at finding loopholes. Technology occasionally glitches. This section addresses the most common parental control challenges.
Recovering a Forgotten Screen Time Passcode
If you forget your Screen Time passcode, do not panic. Apple built in a recovery method. When you enter the wrong code multiple times, an option appears to reset using your Apple ID. Tap “Forgot Passcode?” and authenticate with your Apple ID credentials.
If you did not set up an Apple ID recovery option, the situation becomes harder. You may need to erase the device and set it up as new. This is why I emphasized recording your passcode earlier. Prevention saves hours of frustration.
For Family Sharing setups, the family organizer can reset a child’s Screen Time passcode from their device. Go to Settings > Screen Time > [Child’s Name] > Change Screen Time Passcode.
Handling Kids’ Workarounds
Children are surprisingly resourceful at bypassing restrictions. Here are common workarounds and how to prevent them.
Airplane Mode Bypass: Some kids enable Airplane Mode to stop Screen Time tracking. The device cannot report usage to Apple’s servers without internet. Prevent this by disabling Control Center access from the lock screen. Go to Settings > Face ID and Passcode > Allow Access When Locked > Toggle off Control Center.
Changing Time Zone: Kids might change the device time zone to manipulate Downtime schedules. In Content and Privacy Restrictions > Location Services, prevent changes to location and time settings. Also disable “Setting Time Zone” under System Services.
Using Safari Reader: Reader mode sometimes bypasses content filters. Keep Safari updated and regularly test that your web restrictions still work. Report any bypasses to Apple through their feedback system.
Third-Party Browsers: Alternative browsers from the App Store may not respect Apple’s content filters. Block installing apps entirely, or manually approve only browsers you have tested and trust.
When to Consider MDM Solutions
For children who consistently bypass restrictions or for parents needing enterprise-level control, Mobile Device Management (MDM) profiles offer stronger protection. MDM is the technology schools use to manage hundreds of iPads.
Setting up MDM requires technical knowledge or third-party services. Companies like Jamf, Kandji, and Mosyle offer family MDM solutions. These systems prevent settings changes at a deeper level than Screen Time allows.
I recommend MDM only for extreme cases or tech-savvy families. For most households, properly configured Screen Time settings provide sufficient protection. Try the built-in tools first before investing in enterprise solutions.
Built-in vs Third-Party Parental Control Apps
Apple’s built-in tools handle most parental control needs beautifully. However, some situations call for additional software. Let us compare capabilities to help you decide.
Apple’s Screen Time excels at device usage management, content filtering within the Apple ecosystem, and purchase controls. It is free, integrated, and receives regular updates. For families fully committed to Apple devices, it often suffices completely.
Third-party apps like Qustodio, Net Nanny, and Bark offer cross-platform monitoring. If your family uses Android tablets, Windows computers, or Chromebooks alongside iPads, these apps provide unified protection across all devices.
Some third-party tools offer social media monitoring, text message scanning, and location tracking beyond Apple’s capabilities. Bark specifically focuses on detecting cyberbullying, self-harm discussions, and online predators through AI analysis.
For pure iPad households, start with Screen Time. Master these built-in tools before considering paid alternatives. Many parents discover Apple’s free features meet their needs perfectly. You can always add third-party solutions later if gaps emerge.
FAQ
How can I remotely control my child’s iPad?
Use Family Sharing and Screen Time to manage your child’s iPad from your device. Go to Settings > [Your Name] > Family Sharing, add your child, then access their Screen Time settings remotely. You can approve apps, extend time limits, and view activity reports without touching their device.
Do parental controls turn off at 13?
Ask to Buy automatically disables when a child turns 18, not 13. Screen Time and other parental controls remain active until manually disabled by someone with the Screen Time passcode. Age 13 does trigger some privacy changes in accordance with COPPA regulations, but parental control settings persist.
Can I set my kids iPad to turn off at a certain time?
Yes, use the Downtime feature in Screen Time. Go to Settings > Screen Time > Downtime and set a scheduled time range. During Downtime, only apps you add to the Always Allowed list will function. All other apps become inaccessible until the scheduled period ends.
How do I put parental controls on my child’s device?
Open Settings > Screen Time on your child’s iPad. Tap Turn On Screen Time, select This Is My Child’s iPad, and follow the setup prompts. Set a Screen Time passcode different from the device unlock code. Then configure Content and Privacy Restrictions to block inappropriate content, limit purchases, and manage app access.
What happens if my child forgets the Screen Time passcode?
You can reset the Screen Time passcode using your Apple ID if you set up recovery during initial configuration. If using Family Sharing, the family organizer can reset it from their device. Without Apple ID recovery or Family Sharing, you may need to erase the device to remove the passcode.
Can my child bypass parental controls?
Children sometimes find workarounds like enabling Airplane Mode or changing time zones. Prevent these by disabling Control Center access from the lock screen and restricting location services settings. For persistent bypass attempts, consider MDM solutions which provide deeper-level restrictions than standard Screen Time.
Conclusion: Your iPad Parental Control Setup Is Complete
You now know how to set up parental controls on iPad using Screen Time, Content and Privacy Restrictions, and all the safety features Apple provides. Start with the Screen Time passcode, enable content restrictions, configure web filtering, and schedule appropriate Downtime. These foundations protect your child while teaching healthy technology habits.
Remember that parental controls work best as part of ongoing conversations. Explain to your child why certain apps or websites are restricted. Talk about online safety, appropriate screen time, and responsible device use. The technical restrictions support your parenting but never replace it.
Review your settings monthly as your child grows. What works for a 7-year-old rarely suits a 12-year-old. Adjust App Limits, expand allowed websites, and grant more independence gradually. The goal is raising tech-savvy kids who make smart choices, not just blocking content forever.
Take a few minutes now to walk through these settings on your child’s iPad. Future you will thank present you when that first accidental App Store purchase attempt gets blocked, or when bedtime happens peacefully because Downtime started automatically.