
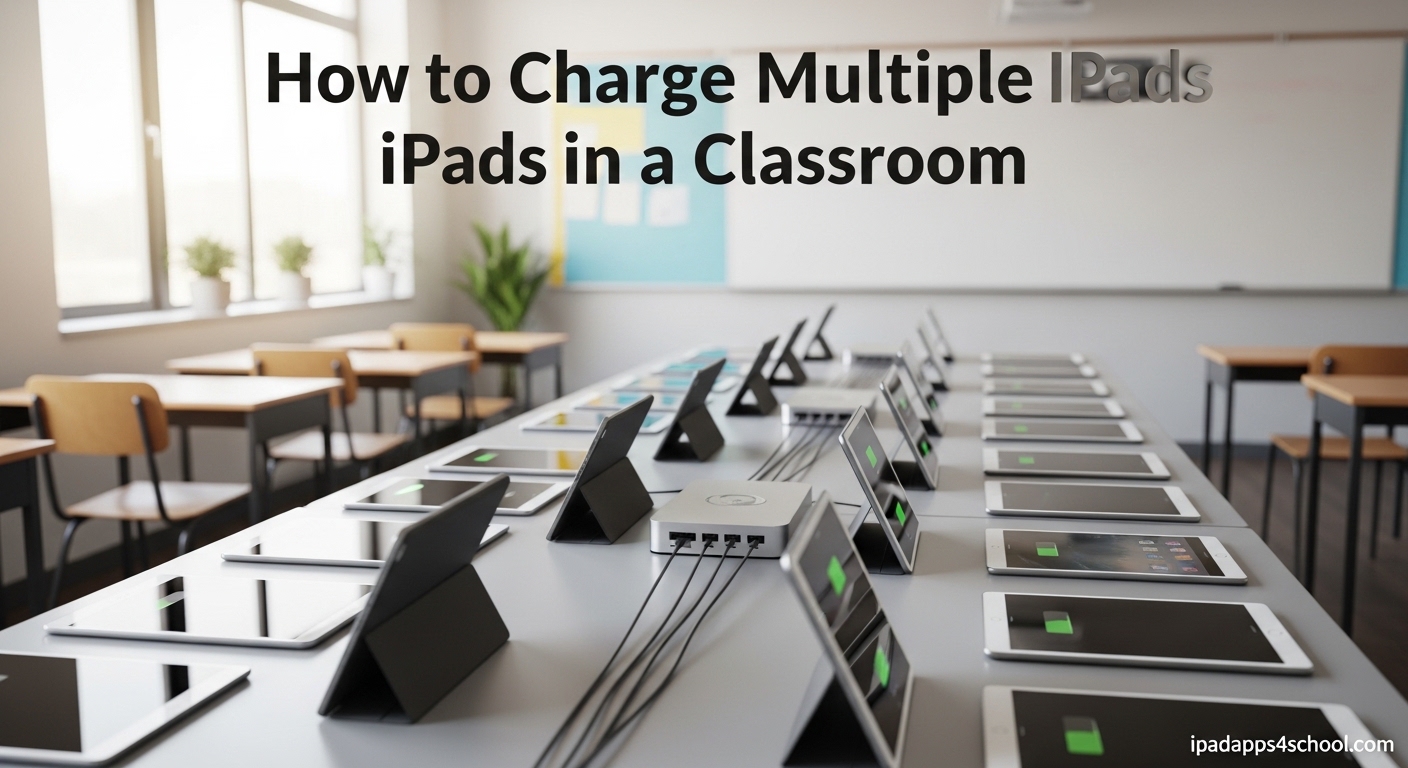
Walking into a classroom with 25 iPads scattered across desks, all needing to be charged before tomorrow’s lesson, is a scenario every teacher with a 1:1 device program knows too well. You need a reliable system to charge multiple iPads in a classroom without creating chaos or breaking your budget. After talking with dozens of teachers and IT administrators, I have gathered practical solutions that work in real classrooms, from commercial charging carts to DIY builds that cost under $50.
This guide covers everything you need to know about classroom iPad charging. Whether you are managing 10 devices or 40, working with a tight budget or ready to invest in premium equipment, you will find a solution that fits your situation.
I have organized this into clear categories so you can quickly find what matches your needs. By the end, you will have a concrete plan for keeping every device charged and ready for learning.
Table of Contents
Quick Assessment: Find Your Ideal Charging Solution
Before diving into specific solutions, take 5 minutes to assess your situation. This quick framework will save you from buying the wrong equipment.
Step 1: Count Your Devices
Start with an exact count of iPads you need to charge simultaneously. Do not forget to account for teacher devices, spare units, and any growth planned for next year.
Most teachers find they need capacity for 20-30% more devices than they currently have. Future-proofing now prevents another purchase in 12 months.
Step 2: Evaluate Your Space
Measure the area where you plan to keep your charging station. A full-sized charging cart needs about 3×2 feet of floor space plus clearance for the door to swing open.
Wall-mounted stations work better in classrooms with limited floor space. Countertop solutions fit well on bookshelves or cabinet tops if you have the horizontal surface available.
Step 3: Check Your Electrical Capacity
Count available outlets and understand your circuit limits. A standard 15-amp circuit can safely handle about 1800 watts total.
Most iPad chargers draw 10-12 watts each. Charging 30 iPads simultaneously needs a circuit that can handle 360 watts dedicated to devices, plus headroom for safety.
Step 4: Set Your Budget Range
Commercial charging carts run $500 to $3000 depending on capacity and features. DIY solutions can cost $45 to $150 for materials and components.
Hybrid approaches, combining basic commercial components with teacher-built organization, often hit the sweet spot of function and affordability.
Step 5: Decide on Mobility Needs
Will this charging solution stay in one classroom or move between rooms? Mobile carts with quality wheels cost more but add flexibility for shared resource programs.
Fixed installations work well for dedicated device classrooms but require permanent space allocation.
How to Charge Multiple iPads in a Classroom: Solution Types
Once you have assessed your needs, it is time to explore the three main approaches to classroom iPad charging. Each has distinct advantages depending on your specific constraints.
Commercial Charging Carts
Charging carts are the heavy-duty solution designed for maximum capacity and security. These rolling units typically hold 20 to 40 devices in individual slots with built-in cable management.
Quality carts feature locking doors, ventilation systems to prevent overheating, and surge protection built into the power distribution. Most include both USB-C and Lightning cable compatibility to handle mixed device generations.
The main advantage is professional-grade organization. Every device has a dedicated slot, cables stay tidy, and the whole unit locks for security during lunch breaks or after school. The downside is cost, with premium carts running $1500 to $3000.
Leading manufacturers like LocknCharge, Bretford, and CaseCruzer have established track records in educational settings. Their carts often last 8-10 years with proper care, making the per-year cost more reasonable than it first appears.
If your school has the budget and you need to charge 25 or more devices in one location, a commercial cart is worth serious consideration.
Charging Stations and Cabinets
Charging stations offer a middle-ground solution between full carts and DIY builds. These desktop or wall-mounted units typically charge 10 to 16 devices simultaneously.
Stations like the Belkin Secure and Charge series feature individual device bays, cable management channels, and locking front panels. Many are stackable, letting you expand capacity as your device fleet grows.
At $200 to $600 per unit, stations cost significantly less than carts while still providing professional organization. They work well for classrooms with 15-20 iPads or as satellite charging points in libraries and computer labs.
The compact footprint makes stations ideal for classrooms where floor space is at a premium. Many teachers mount them on walls near existing outlets, keeping counters clear for other uses.
DIY Charging Solutions
For teachers working with minimal budgets, DIY charging stations provide surprising functionality at a fraction of commercial costs. With creativity and basic materials, you can build effective solutions for $50 to $150.
The classic DIY approach uses a large Rubbermaid container with foam inserts cut to hold devices upright. Teachers cut slits in the foam to route cables, creating individual charging slots for 10 to 20 iPads. A power strip mounted inside handles the electrical distribution.
Another popular method uses letter trays or document organizers from office supply stores. Each tray holds one device, with cables running behind the unit. Hair bands or velcro straps keep cables tidy and prevent the fraying that happens when students yank devices free.
For the woodworking-inclined, building a plywood charging dock provides a permanent, custom solution. One teacher documented a build using two sheets of plywood that holds 20 devices with built-in cable channels and a finished appearance that rivals commercial products.
The trade-off with DIY is time investment and lack of security features. You will not get locking doors or surge protection built in. But for the budget-conscious teacher, the savings often outweigh these limitations.
Cable Management That Actually Works
Anyone who has managed multiple iPads knows that cables become a nightmare without proper organization. Here are battle-tested strategies from real classrooms.
The Braiding Technique
One elementary teacher with 24 iPads swears by braiding cables in sets of five. She groups cables by table assignment, loosely braiding them together from the power source to about 18 inches from the connector end.
This prevents the rat’s nest that develops when 20+ loose cables tangle together. Students can still pull out their group’s braided set without disturbing others. The teacher reports this simple trick cut her cable replacement rate by 70%.
Labeling Systems
Color-coded cables make distribution and collection faster. Assign each device a number and match the cable color to device groups.
Heat-shrink tubing or colored electrical tape works better than labels that peel off. Some teachers use washi tape for a more attractive look that students respect more than plain tape.
Student-Proofing Your Setup
Students, especially younger ones, will pull devices by the cable if you let them. Position your charging station where you can supervise distribution, or assign a student tech helper to manage checkout.
Velcro cable ties at each slot let students remove just enough slack to connect their device without pulling the entire cable loose. This small addition saves hours of rethreading cables each month.
Damage Prevention
Cable strain relief prevents the most common failure point where cables meet connectors. Commercial stations include this in their design, but DIY builders should add foam padding or cable clips to prevent sharp bends.
Replace damaged cables immediately. Frayed cables create fire hazards and will eventually fail completely, usually right before an important lesson.
Workflow Integration: Making Charging Part of Your Routine
The best charging solution fails if it does not fit your daily teaching flow. Here is how successful teachers integrate device management into their classroom routines.
Establishing Check-In and Check-Out Procedures
Create a consistent routine for device distribution and collection. Many teachers use a numbered system where students always take the same device, making accountability straightforward.
A simple sign-out sheet or digital check-in system tracks who has which device. This proves invaluable when devices go missing or get damaged.
Consider assigning device management as a classroom job. A “tech helper” can supervise charging station access, ensuring proper connection and reporting any issues immediately.
Optimizing Your Charging Schedule
Full classroom sets of iPads rarely need nightly charging if managed well. Many teachers rotate which devices charge each night, cutting their power needs and extending battery health.
For classrooms with limited outlet capacity, stagger charging by half the devices during lunch and the other half during planning periods. This keeps everything powered without overloading circuits.
Some teachers use the last 15 minutes of the day for organized charging. Students return devices in a specific order, connecting them as part of the cleanup routine.
Integration with Lesson Planning
Plan activities knowing your device availability. If you have 25 students but only 20 iPads, design activities in rotation stations where not everyone needs a device simultaneously.
Organizing iPads for classroom use goes hand-in-hand with charging planning. When devices are properly configured and charged, transitions between activities happen smoothly.
Budget Breakdown: What You Can Expect to Spend
Understanding real costs helps you advocate for appropriate funding. Here is what teachers actually spend on charging solutions.
Commercial Cart Investments
Entry-level charging carts from reputable manufacturers start around $800 for 20-device capacity. Mid-range units with better cable management and locking systems run $1200 to $1800.
Premium carts with advanced features like individual device monitoring, USB-C Power Delivery, and rugged construction exceed $2500. These often include 5-year warranties and dedicated support.
When calculating value, consider the cart’s lifespan. A $2000 cart serving a classroom for 10 years costs $200 annually. Spread across 30 devices, that is under $7 per device per year for professional charging.
Station Costs
Desktop charging stations offer a middle price point. Quality 10-device stations range from $250 to $500. Stackable units let you add capacity incrementally rather than buying everything upfront.
For a classroom with 20 iPads, two mid-range stations at $350 each provides $700 total investment. This often proves more manageable than a single large cart purchase.
DIY Budget Options
The classic Rubbermaid and foam solution costs approximately $45 to $75. A 50-quart container runs $25, foam sheets add $15, and a quality power strip with surge protection costs $15 to $35.
Letter tray setups cost $30 to $60 depending on the tray quality and how many you need. Add cable ties and labels for another $10.
Woodworking projects vary widely based on material choices. A basic plywood dock using construction-grade materials costs $50 to $100. Using hardwood and quality hardware can push this to $150 or more, though still far below commercial alternatives.
Hidden Costs to Consider
Factor in replacement cables, which fail regularly in classroom environments. Budget $5 to $15 per cable annually depending on student age and usage intensity.
Power strips and surge protectors wear out over time. Quality units last 3-5 years but should be replaced proactively rather than waiting for failure.
If your solution requires installation, consider labor costs. Wall mounting stations or assembling carts takes time, whether you do it yourself or involve district maintenance staff.
Key Features to Look For in Any Charging Solution
Whether you buy commercial or build your own, certain features determine success in classroom environments.
Connector Compatibility
Check what charging ports your iPads use. Newer iPads use USB-C while older models use Lightning connectors. Some charging stations accommodate both, while others require you to specify during purchase.
If your district has mixed device generations, prioritize solutions that handle both connector types. This prevents needing multiple charging systems or adapter hassles.
Ventilation and Heat Management
Overheating is the most reported problem with classroom charging setups. Multiple devices charging in enclosed spaces generate significant heat that can damage batteries and create safety hazards.
Quality commercial units include ventilation fans or heat-dissipating designs. For DIY solutions, ensure adequate air circulation and avoid completely sealed containers during active charging.
One teacher reported eliminating overheating issues by simply drilling ventilation holes in her Rubbermaid container and keeping the lid propped open during charging sessions.
Security Features
Device theft and tampering are real concerns in many school environments. Locking mechanisms provide peace of mind, especially for overnight charging or shared spaces.
Commercial carts offer the best security with keyed or combination locks securing the entire unit. Stations typically have front-panel locks that protect against casual access.
For DIY solutions, consider placing your charging container in a locking cabinet or closet during unattended periods. This adds security without the cost of built-in locks.
Power Distribution Quality
Not all USB charging is equal. Standard USB ports provide 5 watts, fine for overnight charging but slow for quick top-ups between classes.
USB-C Power Delivery ports can provide 18 to 30 watts, charging devices significantly faster. This matters when you have limited charging windows during the school day.
Commercial solutions should specify total power output and per-port capacity. DIY builders should use quality power strips rated for the total wattage they will carry.
Troubleshooting Common Charging Problems
Even the best setup encounters issues. Here is how to handle the most common classroom charging problems.
Devices Not Charging
When a single device refuses to charge, start with the cable. Swap it with a known-good cable to isolate whether the problem is the cable or the device.
If multiple devices fail simultaneously, check your power source. Tripped breakers, overloaded circuits, or failed power strips often cause widespread charging failures.
Sometimes devices simply need a hard reset. Teach students the button combination for restarting their specific iPad model before assuming hardware failure.
Slow Charging Issues
Older iPads charge slowly by modern standards, but noticeable slowdowns often indicate problems. Check for debris in charging ports, a common issue in classroom environments.
Using underpowered chargers significantly extends charging time. Ensure your power sources provide adequate wattage for your device models.
Background apps and poor cellular or WiFi signal drain batteries while devices charge. Have students close all apps and enable airplane mode during charging periods for faster results.
Overheating Warnings
If devices display temperature warnings during charging, immediately disconnect power and allow cooling. Continuing to charge hot devices damages batteries and creates safety risks.
Improve ventilation by spacing devices further apart or adding airflow. Avoid charging in direct sunlight or near heating vents.
Charging overnight often works better than midday sessions because ambient temperatures are lower. The reduced time pressure also lets you use slower, cooler charging methods.
FAQ: Common Questions About Classroom iPad Charging
Conclusion: Your Path to Organized iPad Charging
Figuring out how to charge multiple iPads in a classroom does not require a massive budget or complex technical knowledge. Whether you invest in a premium charging cart, assemble a mid-range station setup, or build your own DIY solution, the key is matching your choice to your actual classroom needs.
Start by assessing your device count, space constraints, and budget honestly. Then implement the cable management strategies and workflow procedures that keep your system running smoothly. The teachers I spoke with who report the most success did not necessarily spend the most money. They simply thought through their daily routines and built charging into their classroom culture.
With the solutions outlined in this guide, you can keep every device charged and ready for learning without the daily frustration of dead batteries and tangled cables. Your classroom technology should support your teaching, not create additional stress. Take the first step today by assessing your current setup and choosing the path that works best for your students and your budget.