
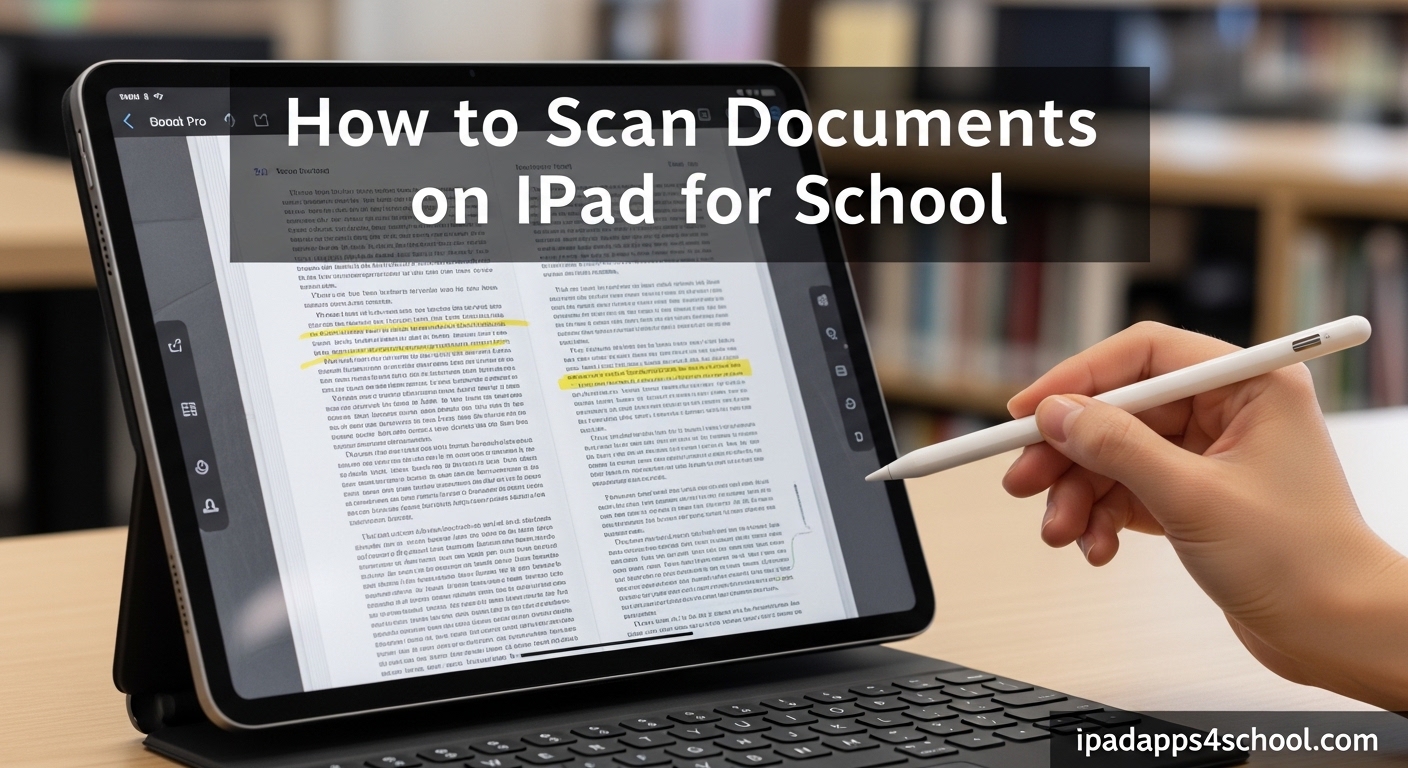
Yes, your iPad has a built-in document scanner that works without downloading any extra apps. Every iPad running iOS 11 or later can scan documents using the Notes app, Files app, or Camera app directly. I have helped hundreds of students digitize their homework, worksheets, and class notes using these built-in tools. If you are new to using your iPad for schoolwork, you might also benefit from learning about iPad hidden features for students that can streamline your workflow.
In this guide, you will learn three different ways to scan documents on your iPad for school. I will show you which method works best for different situations and share school-specific tips I wish I knew earlier. These include file naming tricks that keep your classes organized and accessibility features that help with reading comprehension.
Whether you need to submit homework through Google Classroom, email a worksheet to your teacher, or save handwritten notes for studying, this guide covers everything you need to know.
Table of Contents
Method 1: Scan Documents Using the Notes App (Best for Quick Scans)
The Notes app is the fastest way to scan single documents when you are in a hurry. I use this method most often because the scans save directly into my notes where I can add annotations later.
Here is exactly how to scan a document using Notes on your iPad:
Step 1: Open the Notes app and create a new note or open an existing one.
Step 2: Tap the Camera icon above the keyboard.
Step 3: Select “Scan Documents” from the menu that appears.
Step 4: Position your document on a flat surface with good lighting.
Step 5: Hold your iPad so the entire document appears within the camera view.
Step 6: The iPad will automatically detect the document edges with a yellow box.
Step 7: In Auto mode, the scan captures automatically when the document is in focus. Tap the shutter button if you prefer Manual mode.
Step 8: Adjust the corners if the crop is not perfect, then tap “Keep Scan” to continue or “Retake” if needed.
Step 9: Tap “Save” when finished. Your scanned document appears in the note.
Auto Mode vs Manual Mode in Notes
Auto mode works best for clean, high-contrast documents on light backgrounds. I recommend it for standard white printer paper with black text. The iPad automatically captures when it detects a stable document, which saves time when scanning multiple pages.
Manual mode gives you more control over when the capture happens. I switch to Manual mode when scanning wrinkled worksheets, pages from textbooks with curved spines, or documents on dark surfaces. Tap the “Auto” button at the top to switch to “Manual” before you start scanning.
Adding Multiple Pages to One Scan
You can scan multiple pages into a single document in Notes. After tapping “Keep Scan” on your first page, simply position the next page in view. The camera stays active and captures additional pages until you tap “Save.” I use this for scanning multi-page handouts or short book chapters.
Markup and Annotation Features
Once your scan saves to a note, tap the document to open it. Tap the Markup icon (a pen tip inside a circle) to draw, highlight, or add text directly on the scanned document. This is perfect for filling out forms or highlighting important sections of a worksheet before submitting it.
Method 2: Scan Documents Using the Files App (Best for Organization)
The Files app is my preferred method when I need to organize scanned documents by class or subject. Scans save directly to folders you create, making them easy to find later when studying for finals or submitting late assignments.
Follow these steps to scan using the Files app:
Step 1: Open the Files app on your iPad.
Step 2: Navigate to the location where you want to save the scan. I create a folder called “School Scans” with subfolders for each class.
Step 3: Tap the More button (three dots) in the top-right corner.
Step 4: Select “Scan Documents” from the dropdown menu.
Step 5: Position your document and let the iPad detect the edges automatically.
Step 6: Capture the document using Auto or Manual mode.
Step 7: Adjust the corners if needed, then tap “Keep Scan.”
Step 8: Add more pages or tap “Save” to finish.
Step 9: Name your file immediately using a clear naming convention.
Creating a School Folder Structure
Good organization starts with your folder setup. I recommend creating a folder structure like this:
School 2026 /
– Fall Semester /
— Math /
— English /
— Science /
– Spring Semester /
— Math /
— English /
This structure keeps your scans organized by time period and class. When you save scans directly into these folders using the Files app, everything stays organized from the start.
Method 3: Scan Documents Using the Camera App (Fastest Method)
The Camera app offers the fastest path from paper to digital when you just need a quick capture. This method works on iPads running iPadOS 15.4 or later. I use this when I am in class and need to quickly capture a diagram or assignment posted on the board.
Here is how to scan directly from the Camera app:
Step 1: Open the Camera app on your iPad.
Step 2: Point the camera at your document.
Step 3: Wait for the yellow document detection box to appear around your paper.
Step 4: Tap the “Scan Document” button that appears in the bottom corner.
Step 5: The iPad automatically captures and processes the document.
Step 6: Review the scan and tap “Save” to add it to your Photos library.
Step 7: From Photos, tap the Share button to send the scan to Files, Notes, or directly to your teacher.
Limitations of Camera App Scanning
Scans from the Camera app save as images first, not PDFs. You will need to convert them to PDF if your teacher requires that format. The edge detection is also less precise than Notes or Files scanning. I only recommend this method for quick captures when speed matters more than perfect quality.
Comparing the Three Scanning Methods
Each scanning method has strengths depending on your situation. Notes works best for documents you want to annotate. Files is ideal for organized storage by class. Camera is fastest but requires extra steps for PDF conversion.
Use Notes when you need to fill out forms or add highlights to scanned worksheets. Use Files when you are organizing study materials by subject. Use Camera when you just need a quick capture and will sort it later.
For school submissions, I recommend Notes or Files because they automatically create PDFs in the correct format most teachers expect.
School-Specific Tips: Naming and Organizing Your Scans
Scanning is only half the battle. Finding your scans later when you need to submit them or study is what matters. After three years of using iPad for school, I developed a file naming system that keeps everything organized.
File Naming Conventions That Work
Name your files so you can identify them instantly. I use this format: Class-AssignmentType-Date-Description
For example: Math-Worksheet-2026-05-13-QuadraticEquations
This naming system sorts alphabetically by class, then by assignment type, then by date. You will always know what a file contains without opening it. Avoid spaces in filenames because some learning management systems replace them with odd characters.
Organizing by Semester and Class
Create a new folder structure at the start of each semester. Move last semester’s folders into an archive folder so your active files stay manageable. I keep current semester folders on iCloud Drive and move completed semesters to local storage to save space.
Within each class folder, create subfolders for different assignment types. I use Homework, Notes, Handouts, and Projects. When you scan a worksheet in the Files app, save it directly to the appropriate folder immediately.
Submission-Ready Format Tips
Most teachers prefer PDF format for submissions. Both Notes and Files apps create PDFs automatically. Before submitting, check that your scan is readable by opening it and zooming in. If text looks blurry, rescan with better lighting.
Rename your file to include your last name before submitting. Teachers receive many files named “Document” or “Scan.” A filename like Smith-John-Math-Homework-05-13 makes you look professional and helps your teacher keep track.
Accessibility Feature: Scan Text for Reading Aloud
One of the most powerful but underused features is Scan Text, which reads documents aloud using your iPad’s accessibility features. This helps students with dyslexia, visual impairments, or those who simply learn better by listening.
To use Scan Text:
Step 1: Open the Notes app and start a new note.
Step 2: Tap the Camera icon and select “Scan Text.”
Step 3: Position your document in the camera view.
Step 4: The iPad recognizes text in real-time and displays it on screen.
Step 5: Tap “Insert” to add the recognized text to your note.
Step 6: Use Speak Screen or Speak Selection to have the iPad read the text aloud.
Benefits for Different Learning Styles
Scan Text converts printed worksheets into editable text you can modify. Students who need larger fonts can paste scanned text into a note and increase the size. Students who process information better auditorily can have their iPad read study materials aloud while they follow along.
I have seen students use this feature to convert textbook passages into notes they can highlight and annotate. The text recognition works best with printed materials and clear fonts. Handwriting recognition is available but less accurate.
Best Practices for Quality Scans
Getting crisp, readable scans requires attention to lighting and positioning. After scanning hundreds of documents, I learned what works and what creates frustration. One thing that helps is making sure your iPad has enough battery before a scanning session – consider reviewing these iPad battery life tips for students to avoid running out of power mid-scan.
Lighting Tips That Make a Difference
Position your document near a window or under even overhead lighting. Avoid casting shadows from your hands or the iPad itself. Dark rooms cause grainy scans even if the image looks fine on screen. I scan during daylight hours whenever possible.
If you must scan at night, use two light sources from different angles. A desk lamp on one side and overhead light on the other eliminates shadows. Never use only flash photography as it creates glare and hot spots on the page.
Positioning for Consistent Results
Hold your iPad directly above the document, not at an angle. The camera should be parallel to the paper surface. Tilted angles create keystoning where one side of the document appears larger than the other.
Place your document on a contrasting background. White paper on a dark desk scans better than white paper on a white table. The edge detection relies on seeing the document boundary clearly.
Ensuring Consistent Page Sizes
One common frustration is scanned pages having different sizes in the final PDF. This happens when the iPad detects document edges differently on each page. To fix this, use Manual mode and position the camera the same distance from each page. Check that the yellow detection box shows the same amount of margin around each page before capturing.
When scanning multi-page documents, keep your setup stationary. Move only the pages, not the iPad. This creates consistent positioning and page sizes throughout your document.
Troubleshooting Common Scanning Issues
Even with good technique, scanning sometimes produces unexpected results. Here is how to fix the most common problems students encounter.
Blurry or Grainy Scans
Blur usually means insufficient light or camera shake. Rest your elbows on the table to steady the iPad. Tap the screen to focus before capturing. If the document is glossy, tilt it slightly to avoid reflections.
Edge Detection Failures
When the yellow box does not appear around your document, try these fixes. Add a darker background under light paper. Smooth out wrinkles that confuse the detection algorithm. For book pages, flatten the spine as much as possible or use a book weight to hold pages open.
Different Page Sizes in Multi-Page Scans
If pages in your saved PDF have different dimensions, rescan with consistent positioning. Use Manual mode for better control. The Auto mode sometimes crops aggressively on pages with less content, creating smaller page sizes.
Low Light Scanning Problems
The iPad warns you when light is too low. Do not ignore this warning. Move to better lighting rather than trying to push through. Grainy scans become unreadable when printed or viewed on other devices.
Third-Party Scanner Apps Worth Considering
Built-in scanning works for most students, but some situations benefit from specialized apps. I tested several popular options to see what they offer beyond the free built-in tools.
Adobe Scan
Adobe Scan offers superior edge detection for wrinkled documents and curved book pages. It automatically converts scans to PDF and offers OCR (text recognition) for free. The app connects directly to Adobe Document Cloud if you use other Adobe products. I recommend it for students who scan textbooks frequently or need the best possible edge detection.
Microsoft Lens
Microsoft Lens (formerly Office Lens) integrates well with OneNote and OneDrive. It offers a whiteboard mode that cleans up photos of whiteboards or blackboards. Students in Microsoft-centric schools may prefer this for seamless integration with their existing workflow.
CamScanner
CamScanner provides batch scanning features and advanced sharing options. The free version includes watermarks, so this app works best for students willing to pay for premium features. The batch processing saves time when digitizing entire notebooks at the end of a semester.
When to Consider Third-Party Apps
Try built-in scanning first. Only download third-party apps if you encounter specific limitations. Adobe Scan helps with difficult documents. Microsoft Lens helps if you live in the Microsoft ecosystem. CamScanner helps for heavy batch processing needs.
FAQ
What is the best way to scan documents on an iPad?
The Notes app offers the best balance of speed and features for most students. It creates PDFs automatically, allows multi-page scanning, and includes markup tools for annotation. Use the Files app instead if you need to organize scans into folders by class immediately.
Where is the scan button on my iPad?
The scan button location depends on which app you use. In Notes, tap the Camera icon above the keyboard and select Scan Documents. In Files, tap the three-dot More button and choose Scan Documents. In the Camera app, point at a document and tap the Scan Document button that appears.
Does an iPad have a built-in scanner?
Yes, every iPad running iOS 11 or later has a built-in document scanner. You can access it through the Notes app, Files app, or Camera app without downloading any additional software. These scanners create PDFs automatically and offer both automatic and manual capture modes.
How to scan and make a PDF on iPad?
Open the Notes app, tap the Camera icon, and select Scan Documents. Position your document and let the iPad capture it. The scan saves automatically as a PDF in your note. You can then tap the Share button to export the PDF to email, Messages, or any learning management system your school uses.
You now have three reliable methods to scan documents on your iPad for school assignments and organization. The Notes app works best for quick scans and annotation. The Files app keeps your documents organized by class from the start. The Camera app offers the fastest capture when speed matters most.
Start with the Notes app for your first few scans to get comfortable with the process. Once you understand the basics, experiment with the Files app to create an organized folder structure for your classes. Remember to use descriptive file names that include your class, assignment type, and date.
With these tools and the school-specific tips in this guide, you will never worry about losing a worksheet or scrambling to submit homework again. Your iPad becomes a powerful document management system that keeps you organized throughout the school year.