
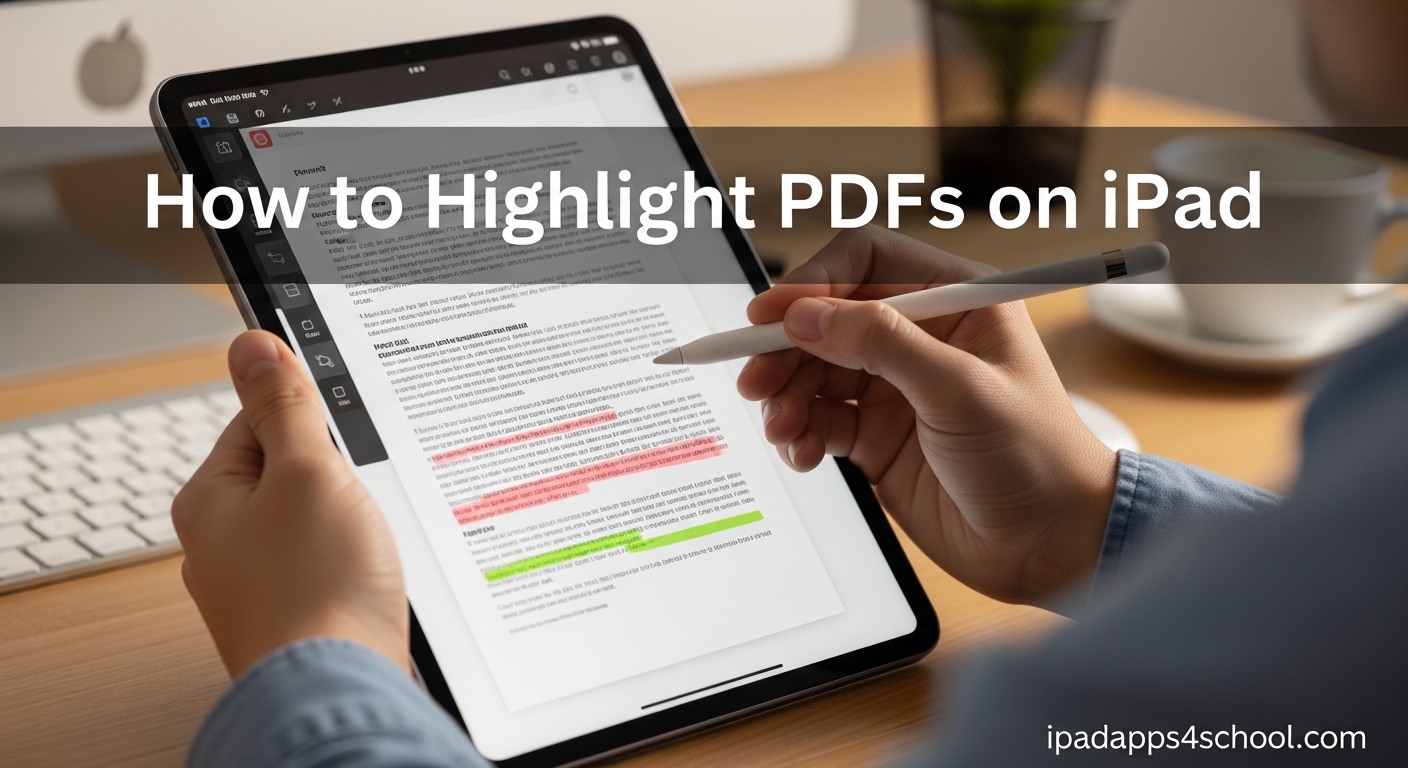
Learning how to highlight PDFs on iPad can transform how you study, review documents, and annotate research papers. Whether you are a student marking up lecture slides or a professional reviewing contracts, your iPad offers multiple built-in ways to add highlights without downloading any extra apps.
In this guide, I will walk you through every native method for PDF annotation on iPad. You will learn how to use the Preview app, Files app Markup, and Apple Books for highlighting. I will also share the best free and paid third-party options when you need more advanced features.
By the end, you will know exactly which method works best for your specific needs and how to avoid common frustrations like your Apple Pencil triggering drawing mode instead of selecting text.
Table of Contents
How to Highlight PDFs on iPad
The easiest way to highlight PDFs on iPad is using the built-in Preview app. Open any PDF file, drag to select the text you want to highlight, then tap the Highlight button in the popover menu. You can choose from five highlight colors or switch to underline and strikethrough options.
This method requires no downloads, no subscriptions, and works entirely offline. Apple has refined this feature over multiple iPadOS updates, making it surprisingly powerful for a built-in tool.
Built-in iPad Methods Overview
Your iPad comes with three native ways to highlight PDFs without spending a penny on apps. Each method has its own strengths depending on where your PDFs are stored and how you prefer to work.
The Preview app offers the most straightforward highlighting experience with automatic text detection. The Files app provides quick access through the Markup toolbar for PDFs stored in iCloud Drive or local storage. Apple Books works best when you want to organize your PDFs like a digital library with persistent highlighting.
All three methods support Apple Pencil input, though finger touch works just as well for basic highlighting tasks. Let us explore each method in detail.
Method 1: Using the Preview App
The Preview app is your go-to solution for quick PDF markup on iPad. It opens automatically when you tap a PDF file from Safari, Mail, or Messages.
Step 1: Open Your PDF in Preview
Tap any PDF file on your iPad. The Preview app launches automatically and displays your document. If you have saved the PDF to the Files app, navigate to it and tap to open in Preview.
The document renders at full quality with smooth scrolling. Pinch to zoom in on specific sections if you need to see smaller text more clearly.
Step 2: Select the Text You Want to Highlight
Touch and hold on any word in the PDF until the text selection handles appear. Drag the blue handles to expand your selection across sentences, paragraphs, or entire sections.
The selection popover appears automatically once you have text selected. This is where all your annotation magic happens.
Step 3: Tap Highlight and Choose Your Color
Tap the Highlight button in the selection popover. Five color options appear: yellow, green, blue, pink, and purple. Tap your preferred color to apply it instantly.
The highlight appears as a semi-transparent overlay that preserves text readability. Your highlight saves automatically to the PDF file.
Step 4: Try Underline or Strikethrough
The same selection popover offers underline and strikethrough options right next to the highlight button. These work identically to highlighting but apply different visual styles.
I find underlining works better for definitions and key terms, while strikethrough helps when reviewing drafts or marking completed sections of a study guide.
Pro Tips for Preview App Highlighting
Use two fingers to scroll while keeping your text selection active. This helps when highlighting text that spans multiple pages or sections.
Tap any existing highlight to change its color or remove it entirely. A quick tap brings up the same popover menu for easy edits.
Method 2: Using the Files App with Markup
The Files app offers another built-in path for PDF annotation iPad users should know about. This method works great when browsing documents stored in iCloud Drive, external drives, or local iPad storage.
Accessing the Markup Toolbar
Open the Files app and locate your PDF. Tap to open it, then look for the Markup button in the top-right corner. It looks like a pen tip inside a circle.
The Markup toolbar slides up from the bottom of your screen with multiple annotation tools displayed.
Highlighting with the Markup Highlighter
Tap the highlighter icon in the Markup toolbar. You can now drag your finger or Apple Pencil across any text to apply highlighting.
Unlike the Preview method, Markup highlighting is freehand. This means you trace over the text rather than selecting it first. It offers more precision but requires a steadier hand.
Switching Between Finger and Apple Pencil
The Markup toolbar detects whether you are using your finger or Apple Pencil automatically. With Pencil, you get pressure sensitivity for variable highlight thickness.
Some users find the finger method more reliable for straight lines, while the Pencil excels at detailed highlighting of complex layouts.
Method 3: Using Apple Books
Apple Books handles PDFs differently than e-books, but it still offers solid highlighting capabilities. This method shines when you want to keep all your reading materials in one organized place.
Importing PDFs to Books
Tap a PDF from any app and choose the Share button. Select Books from the share sheet to import your document. The PDF appears in your Books library under the PDFs collection.
Books creates a thumbnail preview and indexes the file for quick access later.
Highlighting Gestures in Books
Open your PDF in Books and tap to display the controls. Touch and hold any word to begin text selection, just like in Preview.
The same highlight popover appears with color options. Books also saves your highlights and lets you access them through the table of contents menu.
Accessing Your Highlights Later
Tap the table of contents button in Books, then switch to the Bookmarks tab. Every highlight appears as a navigable entry with a snippet of the highlighted text.
This makes Books ideal for research papers and textbooks where you need to review your marks frequently.
Apple Pencil Highlighting Techniques
Apple Pencil elevates PDF annotation on iPad with precision that finger touch cannot match. However, many users struggle with one frustrating issue: the Pencil sometimes enters drawing mode instead of text selection mode.
Pencil vs Finger: Key Differences
When using Apple Pencil, your iPad interprets input differently than finger touch. The Pencil activates markup and drawing tools by default in many apps.
To highlight text with your Pencil, you must first use finger touch to select text, then the selection popover appears. Alternatively, some apps require you to explicitly switch from drawing mode to text selection mode.
Avoiding Drawing Mode
In the Preview app, avoid tapping the Markup button before highlighting. This activates the drawing toolbar which overrides text selection.
Instead, use your finger to select text first, then tap Highlight in the popover. If you prefer using Pencil for everything, tap the text with the Pencil nib and hold briefly to trigger selection mode rather than drawing.
Precision Highlighting Tips
For dense academic papers with small fonts, zoom in to at least 150% before highlighting with Apple Pencil. This gives you finer control over exactly which words get marked.
Use the double-tap gesture on Apple Pencil 2 to quickly switch between tools if your PDF app supports it. Configure this in Settings > Apple Pencil > Double Tap.
Best Third-Party Apps for PDF Highlighting
Sometimes the built-in methods fall short. You might need batch export of highlights, cross-device sync, or advanced annotation features. Here are the best options based on forum discussions and user recommendations.
Free Options
Xodo stands out as the top free PDF highlighting app. It offers full annotation features without ads or subscription requirements. Users praise its clean interface and reliable text selection.
LiquidText takes a unique approach by letting you pull highlights out into a separate workspace. This visual connection between highlights helps researchers see relationships in complex documents.
Paid Professional Apps
GoodNotes and Notability dominate the note-taking space with excellent PDF import and annotation. Both offer handwriting recognition alongside traditional highlighting.
PDF Expert provides the most comprehensive toolset for professional document review. It supports sound annotations, stamps, stickers, and advanced export options.
When to Upgrade from Built-in Tools
Consider a paid app when you need cloud sync across multiple devices, collaboration features, or batch processing of large document collections. Students writing dissertations and professionals handling contract reviews find the investment pays off quickly.
For occasional highlighting of single documents, the built-in iPad methods remain perfectly adequate.
Changing Highlight Colors and Styles
Color coding your highlights adds another layer of organization to your PDF annotation iPad workflow. Different colors can represent different types of information.
Default Color Options
The built-in Preview and Books apps offer five colors: yellow, green, blue, pink, and purple. Yellow works best for general important points. Green suits definitions and key terms. Blue indicates action items or follow-up questions.
Some third-party apps add orange, red, and custom color options through a color picker.
Creating a Color System
I use a consistent color scheme across all my documents: yellow for main ideas, green for supporting evidence, blue for quotes to reference, pink for questions, and purple for personal notes.
Developing your own system makes reviewing highlighted documents much faster. You can scan by color rather than reading every highlight.
Exporting and Sharing Highlighted PDFs
Once you have marked up your document, you will likely want to share it or save it permanently. Each method handles exports slightly differently.
Exporting from Preview
Tap the Share button in Preview to send your highlighted PDF via email, Messages, or AirDrop. The recipient sees all your highlights exactly as they appear on your screen.
Choose Save to Files if you want to create a permanent copy with your annotations in iCloud Drive or local storage.
Sharing from Books
Books keeps your highlights within its library system. To share a highlighted PDF, use the Share button from within the document. You can send the full PDF or just a summary of your highlights.
The export summary feature creates a new document containing only your highlighted text snippets with page references.
Cross-Device Sync Considerations
Highlights made in Preview and saved to iCloud Drive sync automatically to your other Apple devices. Open the same PDF on your Mac or iPhone to see identical annotations.
Third-party apps vary in sync capabilities. Check whether your chosen app uses iCloud, its own cloud service, or manual file export for cross-device access.
Troubleshooting Common Highlighting Issues
Based on forum discussions, users encounter several recurring problems when highlighting PDFs on iPad. Here are the solutions.
Fix: Pencil Triggers Drawing Instead of Highlighting
This is the most reported frustration. Your Apple Pencil enters drawing mode instead of selecting text for highlighting.
Solution: Do not tap the Markup button before trying to select text. Use your finger to select text first, bringing up the highlight popover. Alternatively, configure your PDF app to treat Pencil input as finger input in the app settings.
Fix: Cannot Select Text in Scanned PDFs
Scanned documents are images, not text files. The standard text selection and highlighting will not work.
Solution: Use the Markup highlighter tool in Files app, which draws over the image rather than selecting text. Alternatively, run the PDF through an OCR app first to convert it to selectable text.
Fix: Highlights Disappearing After Export
Some users report highlights vanishing when sending PDFs to Windows computers or certain email clients.
Solution: Ensure you are exporting as PDF, not a proprietary format. Flatten the PDF before sharing if your app offers this option, which bakes annotations into the document permanently.
FAQ
Can I highlight a PDF on my iPad?
Yes, you can highlight PDFs on iPad using the built-in Preview app, Files app Markup feature, or Apple Books. All three methods are free and require no additional downloads. The Preview app offers the easiest experience with automatic text detection and multiple highlight colors.
How do I highlight text in a PDF on my iPad?
Open your PDF in the Preview app, touch and hold any word to activate text selection, drag the handles to select your desired text, then tap Highlight in the popover menu. Choose from yellow, green, blue, pink, or purple highlight colors. You can also select underline or strikethrough options from the same menu.
What is the best PDF highlighter app for iPad?
For free highlighting, the built-in Preview app works best for most users. For advanced features, Xodo offers excellent free highlighting with no ads. PDF Expert and GoodNotes are top paid options for professionals and students who need sync, export, and advanced annotation features.
How do I use Apple Pencil to highlight PDFs?
Use your finger to select text first, which brings up the highlight popover, then tap your preferred color. Avoid tapping the Markup button before highlighting, as this activates drawing mode. Some apps allow you to configure Apple Pencil to behave like finger touch in settings. Zoom in for better precision when highlighting small text.
Why can’t I highlight on my iPad PDF?
If you cannot highlight, your PDF may be a scanned image rather than text. Try using the Markup highlighter tool in the Files app instead, which draws over images. Another common issue is tapping Markup before trying to select text, which activates drawing mode. Close and reopen the PDF if highlighting tools are unresponsive.
How do I change highlight colors on iPad PDF?
Tap any existing highlight to bring up the annotation menu, then select a different color from the palette. In Preview and Books apps, you have five colors: yellow, green, blue, pink, and purple. Third-party apps like PDF Expert offer custom color pickers with unlimited options.
Can I underline or strikethrough in PDFs on iPad?
Yes, the Preview app and most third-party PDF apps support underline and strikethrough. Select text with your finger to bring up the selection popover, then tap the underline or strikethrough button instead of highlight. These markup options appear right next to the highlight button for quick access.
How do I export highlighted PDFs from iPad?
Tap the Share button in Preview, Files, or Books to export your highlighted PDF. Choose Save to Files for iCloud storage, or select Mail, Messages, or AirDrop to share directly. The recipient will see all your highlights exactly as they appear on your screen. Some apps also offer export summary features that create a document of just your highlights.
Tips for Effective PDF Annotation
Mastering how to highlight PDFs on iPad involves more than just knowing which buttons to tap. Developing good habits makes your annotations more useful over time.
Create a color coding system and stick to it across all your documents. This consistency pays off when reviewing months later.
Combine highlighting with notes where possible. Many apps let you add text comments to highlighted sections for context.
Regularly export and backup your highlighted PDFs. While iCloud sync is reliable, having a local copy prevents any potential data loss.
Conclusion
You now know exactly how to highlight PDFs on iPad using multiple built-in methods and third-party options. The Preview app remains the simplest solution for quick text highlighting with automatic color selection. For freehand markup or scanned documents, the Files app Markup tool provides the flexibility you need.
Apple Pencil users should remember to select text with their finger first to avoid triggering drawing mode. Those needing advanced features like batch export, cloud sync, or collaboration should explore Xodo for free use or PDF Expert for professional workflows.
Start with the Preview app for your next document. Open any PDF, select some text, and tap Highlight. Within minutes, you will have a fully annotated document ready for study or sharing.
Looking for more ways to use your iPad for schoolwork? Check out our guide on iPad hidden features for students to discover more productivity tricks.