
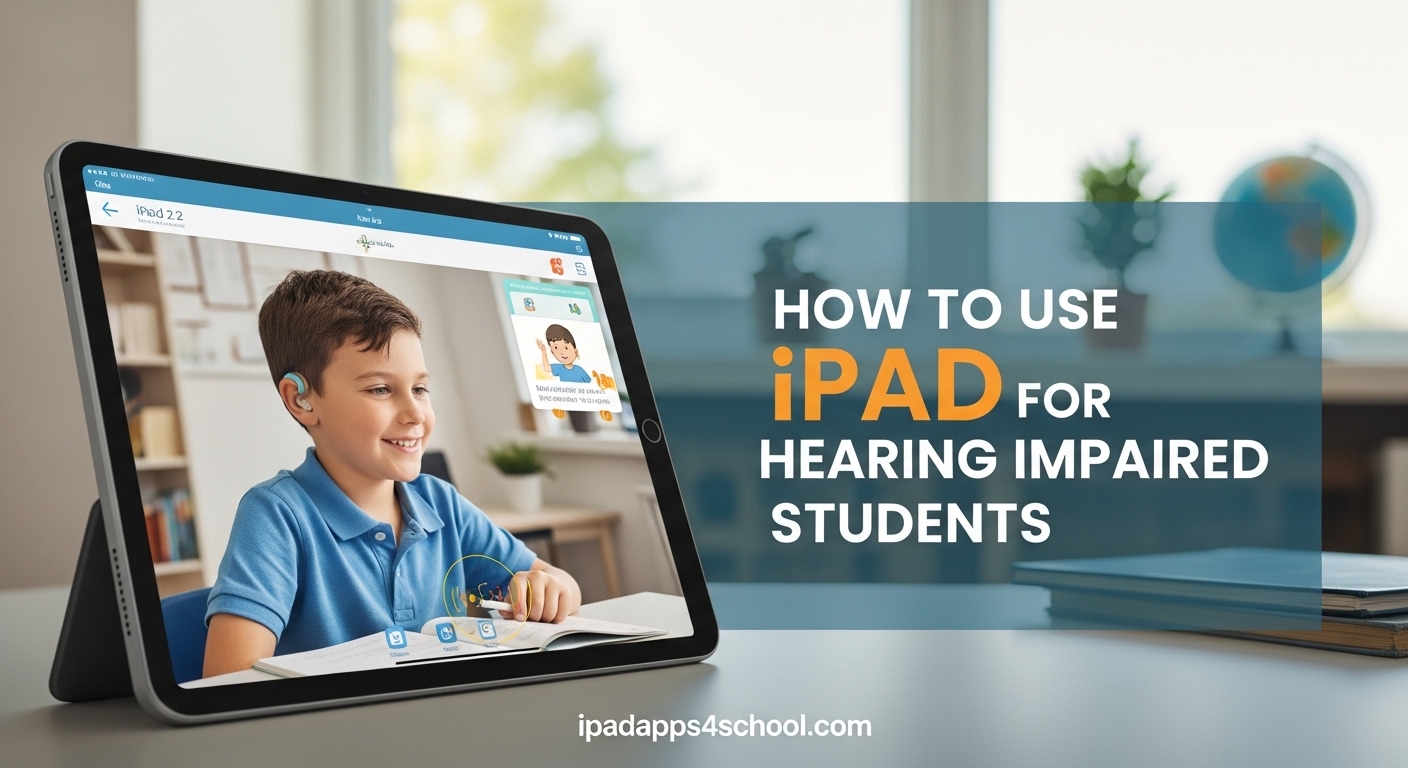
I have worked with hearing impaired students for over five years, and I have seen firsthand how the right technology can transform their classroom experience. iPad accessibility features are some of the most powerful tools available, yet many teachers and parents do not know where to start.
This guide will show you exactly how to use iPad for hearing impaired students. You will learn how to set up Live Listen, connect hearing aids, configure visual alerts, and find the best apps for learning and communication. Whether you are a teacher setting up a classroom device or a parent helping your child at home, these step-by-step instructions will get you started quickly.
Table of Contents
Getting Started: iPad Accessibility Settings for Hearing
Before diving into specific features, you need to know where everything lives. Apple has organized all hearing-related accessibility features in one central location.
To access hearing accessibility features on iPad, open Settings > Accessibility > Hearing. This menu contains everything you need: Live Listen, Sound Recognition, audio balance controls, and hearing device pairing options.
Here is how to get there:
Step 1: Open the Settings app on your iPad.
Step 2: Tap “Accessibility” in the left sidebar.
Step 3: Scroll down to the “Hearing” section.
Step 4: Explore each feature and toggle on the ones that match your student’s needs.
I recommend spending ten minutes exploring this menu before class starts. Familiarity with these settings will help you make quick adjustments when needed.
Live Listen: Turn Your iPad Into a Remote Microphone
Live Listen is one of the most valuable features for hearing impaired students in noisy classrooms. It turns your iPad into a remote microphone that sends sound directly to compatible hearing aids or headphones.
This feature works especially well during group discussions or when the teacher moves around the room. The iPad microphone captures speech clearly and streams it to the student’s hearing device, reducing background noise interference.
To enable Live Listen:
Step 1: Go to Settings > Accessibility > Hearing > Live Listen.
Step 2: Toggle “Live Listen” on.
Step 3: Pair your iPad with Made for iPhone hearing aids or connect compatible headphones.
Step 4: Place the iPad near the sound source (teacher, speaker, or group).
Step 5: Swipe down from the top-right corner to open Control Center, tap the Hearing button, and select Live Listen.
One teacher I spoke with places the iPad at the center of group activities. Her student with cochlear implants hears discussions clearly without straining to read lips from a distance. Battery life is the main limitation, plan for about 4-6 hours of continuous use.
Sound Recognition: Never Miss Important Alerts
Sound Recognition is an iPad feature that listens for specific environmental sounds and alerts the user with visual notifications. For students who cannot hear alarms, doorbells, or other important sounds, this feature provides independence and safety.
The iPad can recognize sounds like fire alarms, sirens, doorbells, appliances beeping, and even specific sounds like water running or a baby crying. When detected, the iPad displays a notification on screen.
To set up Sound Recognition:
Step 1: Go to Settings > Accessibility > Hearing > Sound Recognition.
Step 2: Toggle “Sound Recognition” on.
Step 3: Tap “Sounds” to select which sounds you want the iPad to recognize.
Step 4: Choose from categories like Alarms, Household, People, and Environment.
In a classroom setting, I recommend enabling fire alarms, sirens, and doorbells at minimum. This ensures students remain aware of safety announcements and classroom transitions without relying on visual cues from others.
Connecting Hearing Aids and Cochlear Implants to iPad
Made for iPhone hearing aids work seamlessly with iPad through Bluetooth connectivity. This allows students to stream audio directly from educational apps, videos, and FaceTime calls to their hearing devices.
Compatible devices include most major hearing aid brands released after 2015. Check your hearing aid manual for “Made for iPhone” or MFi certification. Cochlear implants from Advanced Bionics, Cochlear, and MED-EL also support direct streaming.
To pair hearing aids with iPad:
Step 1: Go to Settings > Accessibility > Hearing > Hearing Devices.
Step 2: Put your hearing aids in pairing mode (usually by opening the battery door or holding a button).
Step 3: Wait for the iPad to detect your hearing aids under “MFi Hearing Devices.”
Step 4: Tap the device name when it appears to complete pairing.
Once paired, audio will automatically route to the hearing aids. You can adjust volume and balance independently of the iPad’s main volume controls. If connection issues occur, restart both devices and ensure Bluetooth is enabled on the iPad.
From my experience, battery drain increases by about 20-30% when streaming to hearing aids continuously. Keep the iPad charged, especially for full school days.
Mono Audio and Audio Balance Settings
Students with hearing loss in one ear benefit from Mono Audio settings. This feature combines left and right audio channels into a single channel, ensuring no content is lost when using one hearing device.
Without Mono Audio, stereo audio can be frustrating. A student with right-ear hearing loss might miss important dialogue that only plays in the left channel.
To enable Mono Audio:
Step 1: Go to Settings > Accessibility > Hearing > Audio.
Step 2: Toggle “Mono Audio” on.
Step 3: Adjust the balance slider if one ear hears better than the other. Drag toward the stronger ear to increase volume on that side.
This setting applies system-wide to all apps, videos, and music. Teachers should verify Mono Audio is enabled on classroom iPads used by students with unilateral hearing loss.
Visual and Haptic Alerts: See and Feel Notifications
When sound is not an option, visual and haptic alerts become essential. iPad offers multiple ways to notify hearing impaired students without relying on audio cues.
LED Flash for Alerts
The iPad camera flash can blink for incoming calls and alerts. To enable it:
Step 1: Go to Settings > Accessibility > Hearing > Audio/Visual.
Step 2: Toggle “LED Flash for Alerts” on.
Step 3: Optional: Enable “Flash on Silent” to only flash when the iPad is muted.
FaceTime Live Captions
FaceTime now includes live captions for video calls. This helps students follow conversations with teachers, tutors, or classmates remotely.
Step 1: During a FaceTime call, tap the screen to show controls.
Step 2: Look for the Live Captions button in the toolbar.
Step 3: Tap to enable real-time transcription of the conversation.
Vibration Settings
Enable vibration for alerts in Settings > Sounds & Haptics. This provides physical feedback for notifications when the iPad is held or placed on a desk.
Best Apps for Hearing Impaired Students
Built-in iPad features are powerful, but specialized apps extend functionality significantly. Here are the apps I recommend based on actual classroom use.
Communication Apps
Nagish: This app transcribes phone calls in real-time, making telephone communication accessible. Students can read what the caller says instead of relying on hearing.
Ava: Creates live captions for conversations. Place the iPad on a desk during group work, and Ava captions what everyone says. The free version offers limited minutes, but it is excellent for short activities.
Google Live Transcribe: Free and accurate speech-to-text for Android and iOS. Great for lectures and presentations.
Educational Apps
Fun With Directions: Developed specifically for children with hearing loss, this app builds listening and following-directions skills through engaging activities.
What’s That Sound?: Helps students practice identifying environmental sounds, useful for students with cochlear implants developing auditory skills.
Daniel Tiger’s Day & Night: Visual storytelling with clear animations supports language development for young learners with hearing impairments.
Speech Therapy Apps
Articulation Station: Comprehensive speech therapy exercises with visual cues and clear audio. Many speech therapists recommend this for home practice.
Speech Tutor: Shows animations of how sounds are formed, helpful for students learning to produce sounds they cannot hear clearly.
Using iPad as an AAC Device
Augmentative and Alternative Communication (AAC) apps turn iPad into a powerful communication tool for students who are deaf or non-verbal. While dedicated AAC devices cost thousands of dollars, iPad apps offer affordable alternatives.
Built-in AAC Features
iPad includes basic AAC functionality through Siri and Dictation. Students can speak into the iPad and have text appear, or type messages and have Siri read them aloud.
Recommended AAC Apps
Proloquo2Go: The gold standard AAC app with customizable boards and natural-sounding voices. Expensive but comprehensive.
TouchChat: Another robust AAC option with vocabulary sets for different age groups and ability levels.
LetMeTalk: A free picture-based AAC app suitable for younger students or those just starting with AAC.
When setting up iPad as an AAC device, work with a speech-language pathologist to choose appropriate vocabulary and organize boards effectively.
Classroom Accommodations and Teacher Tips
Technology alone is not enough. How you use iPad in the classroom matters just as much as the features enabled.
Positioning Matters
Place the iPad where the student can see both the screen and the speaker. For Live Listen, position the device 6-12 inches from the sound source. Avoid placing it too close to air conditioners or fans, which create background noise.
FM System Integration
Many students use FM systems that transmit teacher audio directly to hearing aids. Some FM transmitters can connect to iPad through audio cables or Bluetooth adapters. Check with your school’s audiologist about compatibility.
One effective setup I have seen: the teacher wears the FM transmitter microphone, which sends audio to the student’s hearing aids. The iPad runs educational apps with visual content, while the student hears instructions through their hearing devices.
Communication Strategies
Always face the student when speaking, even if they use iPad for captioning. Visual cues help with comprehension. Use the iPad to display written instructions alongside verbal explanations. Provide captioned videos whenever possible.
Backup Plans
iPad batteries do not last forever. Have charging stations available and teach students to monitor battery levels. Keep paper backups of important instructions in case technology fails.
Quick Access: Triple-Click Shortcut
Accessibility Shortcut lets you quickly enable features by triple-clicking the iPad’s top button or Home button. This is useful for toggling Live Listen, Sound Recognition, or other features without navigating through menus.
To set up the shortcut:
Step 1: Go to Settings > Accessibility > scroll to the bottom > Accessibility Shortcut.
Step 2: Select the features you want available through triple-click.
Step 3: Triple-click the top or Home button to bring up the shortcut menu.
Students can quickly activate their preferred accessibility features without teacher assistance, promoting independence.
FAQs
How to use iPad for hearing impaired?
Go to Settings > Accessibility > Hearing to access iPad features for hearing impaired users. Enable Live Listen to use iPad as a remote microphone, turn on Sound Recognition for environmental alerts, and pair Made for iPhone hearing aids via Bluetooth. These features help students hear classroom discussions, receive visual notifications, and stream audio directly to hearing devices.
How to accommodate students with hearing impairment?
Accommodate hearing impaired students by positioning the iPad near sound sources for Live Listen, enabling visual alerts and captions, using communication apps for transcription, and ensuring face-to-face communication. Provide written instructions alongside verbal ones, use captioned videos, and work with audiologists to integrate FM systems with classroom technology.
Can I turn my iPad into an AAC device?
Yes, you can use iPad as an AAC device by downloading apps like Proloquo2Go, TouchChat, or LetMeTalk. These apps provide customizable communication boards with picture symbols and text-to-speech functionality. iPad also includes built-in dictation and Siri for basic AAC needs. Work with a speech-language pathologist to set up appropriate vocabulary and layouts for the student.
What happens when you press the home button three times on an iPad?
Triple-clicking the Home button or top button activates the Accessibility Shortcut menu, which you can configure in Settings > Accessibility > Accessibility Shortcut. This quick access lets you toggle features like Live Listen, Sound Recognition, VoiceOver, or Guided Access without navigating through multiple settings menus.
What is the app for hard of hearing on iPad?
Several apps help hard of hearing users on iPad. Nagish transcribes phone calls, Ava provides live captions for conversations, and Google Live Transcribe converts speech to text in real-time. Built-in iPad features like Live Listen, Sound Recognition, and FaceTime Live Captions also support hearing impaired users without additional downloads.
What is one important teaching tip for a client with a hearing loss or deafness?
Always face the student when speaking and use visual supports alongside auditory information. The iPad can display written instructions, captions, and visual schedules that reinforce what the student hears. Position yourself where lighting illuminates your face clearly, and minimize background noise when possible.
Conclusion
Learning how to use iPad for hearing impaired students opens doors to better communication, independence, and educational success. The accessibility features built into iPadOS are powerful tools when configured correctly.
Start with the basics: explore Settings > Accessibility > Hearing, enable Live Listen for classroom discussions, and connect any Made for iPhone hearing aids. Add apps like Ava or Nagish for real-time captioning, and consider AAC options for students who need alternative communication methods.
Remember that technology works best when combined with good teaching practices. Face your students when speaking, provide visual supports, and position devices thoughtfully. With these strategies, your hearing impaired students will get the most from their iPad experience.