
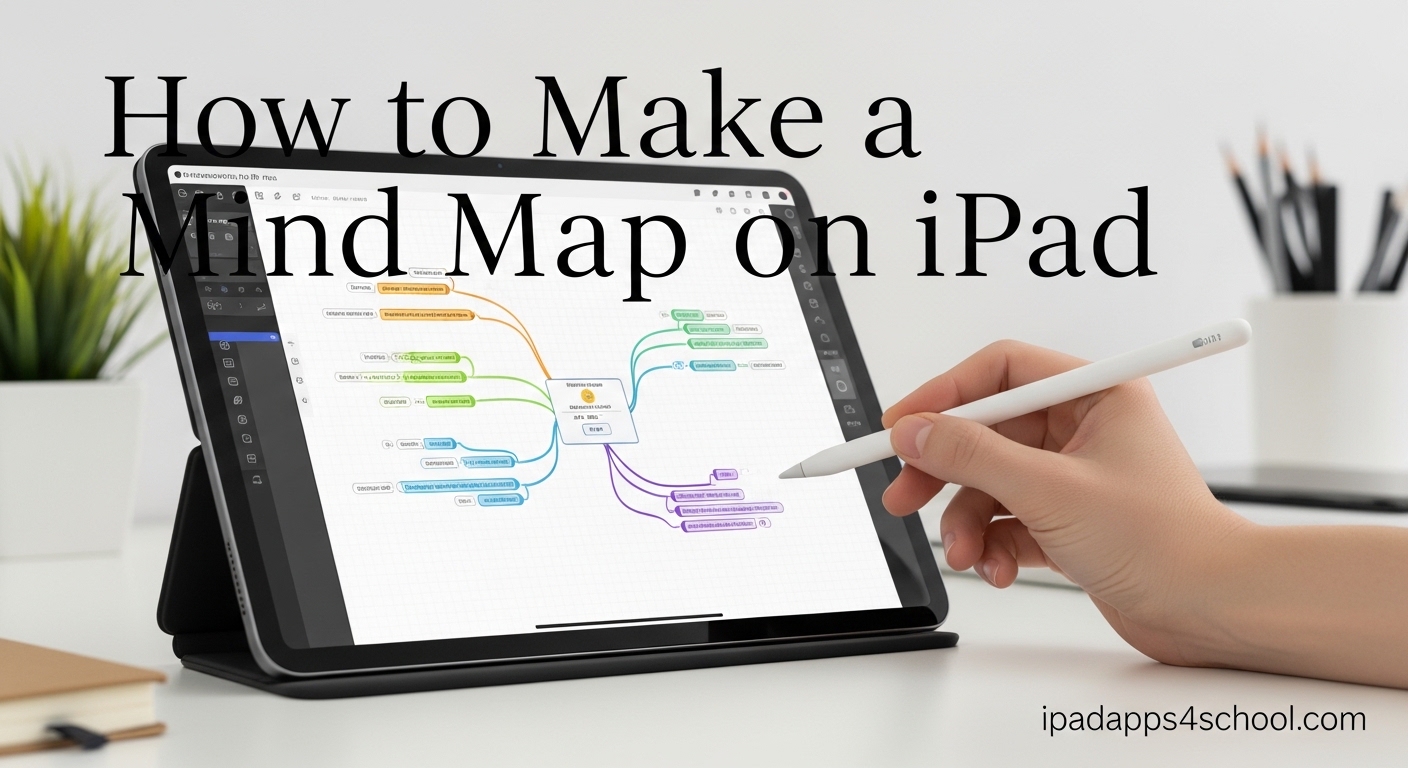
Learning how to make a mind map on iPad transformed the way I organize my thoughts. Whether you are a student preparing for exams, a professional brainstorming project ideas, or someone who simply wants to capture ideas visually, the iPad offers the perfect combination of portability and creative tools for mind mapping.
In this guide, I will walk you through everything you need to know about creating mind maps on your iPad in 2026. You will learn the exact steps to build your first mind map, discover the best free and paid apps available, and pick up tips I have gathered from months of daily mind mapping practice. By the end, you will have the confidence to turn any jumble of thoughts into a clear, organized visual map.
Table of Contents
What Is a Mind Map?
A mind map is a visual diagram that organizes information around a central topic. Think of it as a tree where the trunk represents your main idea, and branches extend outward to show related concepts, details, and connections.
The structure follows how your brain naturally processes information. Instead of writing notes in a straight line, a mind map radiates outward from a central point. This radiating structure helps you see relationships between ideas that you might miss in traditional linear notes.
Key Mind Mapping Terms You Should Know
Before diving into the tutorial, let me explain a few terms you will encounter:
Central Topic: This is the main subject placed at the center of your mind map. Everything else connects back to this core idea.
Nodes: These are the boxes or bubbles that contain individual ideas. Your central topic sits in the main node.
Branches: The lines connecting nodes together. Primary branches extend directly from the central topic. Secondary branches connect child nodes to primary branches.
Child Nodes: These are sub-topics or details that branch off from main categories. They help you break down big ideas into manageable pieces.
Why Make Mind Maps on iPad?
The iPad is uniquely suited for mind mapping. After testing mind maps on paper, laptops, and various tablets, I keep returning to the iPad for these reasons.
Portability Meets Screen Real Estate
The iPad strikes the perfect balance. It is light enough to carry everywhere, yet the screen gives you plenty of space to expand your ideas. Unlike a phone screen that feels cramped, an iPad lets you see the full picture of complex mind maps without constant zooming.
Apple Pencil Integration
The Apple Pencil changes everything. You can write by hand, draw custom branches, sketch icons, and annotate your maps with a natural feel that typing cannot match. The precision of the Pencil makes connecting nodes feel intuitive, almost like working on paper but with unlimited undo.
Touch Interface for Quick Rearranging
Need to move a branch? Just drag it. Want to expand a section? Pinch to zoom. The touch interface makes reorganizing your thoughts faster than keyboard and mouse alternatives. You can literally push ideas around until they click into place.
iCloud Sync Across Devices
Start a mind map on your iPad during a meeting, review it on your iPhone while commuting, and finalize it on your Mac at home. iCloud keeps everything in sync automatically. This seamless workflow is hard to beat.
How to Make a Mind Map on iPad: Step-by-Step Guide
Now let me show you exactly how to make a mind map on iPad. I will use Freeform for this tutorial since it is free and already installed on your device. The steps apply to any mind mapping app you choose.
Step 1: Choose Your App and Set Up Your Canvas
Open Freeform from your iPad. Tap the plus button to create a new board. You now have an infinite canvas to work with. Unlike a physical page, this canvas expands in every direction as your ideas grow.
Freeform is ideal for beginners because there is no learning curve. You can start immediately without watching tutorials or navigating complex menus. If you prefer dedicated mind mapping apps, I cover the best options later in this guide.
Step 2: Create Your Central Topic
Tap the text box tool and type your main idea in the center of the screen. This is your central topic. Make it clear and specific. Instead of “History Project,” write “Causes of World War II.” Specificity helps your brain make better connections.
Make your central topic visually distinct. Use a larger font size, bold text, or a different color. This helps your eye return to the center when the map grows complex.
Step 3: Add Primary Branches
Identify 4 to 6 main categories related to your central topic. These become your primary branches. In Freeform, tap the shape tool to create boxes or bubbles for each category. Position them around your central topic like spokes on a wheel.
For a history project about World War II, your primary branches might be: Political Causes, Economic Factors, Military Buildup, Treaty of Versailles, and Rise of Dictatorships. Each branch gets its own box positioned around the center.
Draw lines connecting each primary branch to your central topic. In Freeform, use the pen tool or line tool. The visual connection reinforces the relationship between ideas.
Step 4: Add Child Nodes for Details
Now drill down into each primary branch. What specific details belong under each category? These become your child nodes. Position them as sub-branches extending from your primary branches.
Under “Economic Factors,” you might add child nodes for: German Hyperinflation, Great Depression Impact, Trade Barriers, and War Reparations. Connect each child node to its parent branch with a line.
Keep child nodes concise. One to three words per node works best. The goal is to trigger your memory, not write complete sentences.
Step 5: Use Colors and Visual Elements
Color coding transforms a boring diagram into a memorable visual tool. Assign one color to each primary branch and use that color for all its child nodes. Your brain will start associating ideas with colors, making recall easier.
Freeform makes color selection simple. Tap any shape or text box, then choose a color from the palette. I recommend using high-contrast colors that are easy to distinguish at a glance.
Add icons, stickers, or simple drawings to important nodes. A small sketch of a tank next to your “Military Buildup” branch creates a stronger memory anchor than text alone.
Step 6: Refine and Organize Your Mind Map
Step back and look at your map. Does the flow make sense? Are related ideas grouped together? In Freeform, you can drag any element to reposition it. Move branches that feel out of place. Create space where things look crowded.
Look for connections between different branches. Can you draw a line showing how “Economic Factors” influenced “Rise of Dictatorships”? These cross-connections reveal insights that linear notes often miss.
Review your mind map for clarity. Remove duplicate ideas. Break down any nodes that contain too much information. The best mind maps are clean and scannable.
Best Mind Mapping Apps for iPad
While Freeform works well for basic mind mapping, dedicated apps offer features that power users appreciate. Here are the top options I have tested.
Freeform: The Best Free Option
Freeform comes pre-installed on iPads running iPadOS 16.2 or later. It offers an infinite canvas, Apple Pencil support, and real-time collaboration. The lack of structure is both its strength and weakness. You have complete freedom, but you must manually organize everything.
Best for: Casual users, quick brainstorming sessions, and anyone who wants to start immediately without spending money.
MindNode: Best Overall Experience
MindNode strikes the perfect balance between power and simplicity. The interface is beautiful and intuitive. Features like focus mode dim surrounding branches so you can concentrate on one section. The outline view shows your mind map as a traditional text outline, which is perfect for converting maps into essays or reports.
MindNode offers a free version with basic features. The Pro subscription unlocks unlimited nodes, images, and export options. At around $2.99 monthly or $24.99 yearly, it is reasonable for serious users.
Best for: Students, writers, and anyone who wants a polished mind mapping experience with strong Apple ecosystem integration.
SimpleMind: Best Free Tier
SimpleMind offers a genuinely useful free version that does not push you toward a paid upgrade immediately. The interface is straightforward, and the app works across iOS, Android, Windows, and Mac. Sync happens through Dropbox or Google Drive.
The paid version adds media attachments, custom styles, and additional layout options. At $9.99 for the full version, it is one of the more affordable paid options.
Best for: Users who need cross-platform access and want a free option that does not feel crippled.
iThoughts: Power User Choice
iThoughts packs more features than any other iPad mind mapping app. It supports dozens of import and export formats, including OPML for outliners and markdown for writers. Advanced features like task management, progress tracking, and relationship lines between unrelated branches make it ideal for project planning.
The learning curve is steeper than MindNode, but the depth is unmatched. At $11.99, it is a one-time purchase that rivals subscription apps in functionality.
Best for: Power users, project managers, and anyone who needs advanced export options or task management features.
Apple Pencil Tips for Mind Mapping
After hundreds of hours mind mapping with the Apple Pencil, here are the techniques that make the biggest difference.
Vary line thickness with pressure: Use light strokes for connecting lines and heavier pressure for underlining key concepts. The visual hierarchy helps your eye navigate the map.
Write at an angle: Instead of writing straight across, rotate your iPad and write at a comfortable angle. This reduces hand fatigue during long sessions.
Use the double-tap feature: Configure your Pencil to switch between tools when you double-tap the barrel. I switch between pen and eraser constantly, and this saves dozens of taps per session.
Sketch quick icons: You do not need artistic skill. A rough drawing of a lightbulb next to an idea, a book next to a reference, or a star next to a key point adds visual memory cues.
Enable palm rejection: All recommended apps have excellent palm rejection, but make sure you rest your hand naturally on the screen while writing. This improves comfort and precision.
Mind Mapping for Students: Practical Use Cases
Students are some of the biggest beneficiaries of mind mapping. Here are the specific ways I have seen students use mind maps effectively on their iPads.
Study Notes and Exam Revision
Instead of copying notes line by line, convert lecture content into mind maps. The process of organizing information into branches and connections helps you understand the material, not just memorize it. When exam time comes, review your maps instead of re-reading chapters.
Essay Planning
Start with your thesis statement as the central topic. Create branches for each argument you want to make. Under each argument, add child nodes for evidence, quotes, and examples. When it is time to write, your map becomes a detailed outline. MindNode’s outline view is particularly useful here.
Project Organization
Break down large assignments into manageable pieces. Your central topic is the project name. Primary branches represent phases: Research, Planning, Execution, Review. Child nodes detail specific tasks under each phase. Add due dates and check off completed items as you progress.
Brainstorming Group Projects
Use Freeform’s collaboration feature to mind map with classmates in real time. Everyone can add ideas simultaneously from their own devices. The shared canvas becomes your group’s collective brain, capturing contributions from every member.
Tips for Effective Mind Mapping
After creating hundreds of mind maps, I have learned what works and what does not. These tips will save you from common beginner mistakes.
Start simple: Your first mind map does not need to be elaborate. A central topic with three or four branches is enough. Complexity grows naturally as you become comfortable with the process.
Use single words or short phrases: Long sentences clutter your map and defeat the purpose of visual thinking. “Hyperinflation” is better than “The German economy suffered from hyperinflation after World War I.”
Prioritize with position: Place the most important branches at the top right of your central topic, where the eye naturally falls first. Less critical branches can sit at the bottom.
Leave white space: Crowded mind maps are hard to read. Leave room between branches for future additions. A spacious map invites more ideas.
Review and revise: The first version of your mind map is rarely the best. Come back after a break and rearrange elements that feel out of place. Good mind maps evolve.
Export and share: Most apps let you export mind maps as images or PDFs. Share them with study groups, embed them in presentations, or print them for offline review.
FAQ
How to create a mindmap on iPad?
To create a mindmap on iPad, open a mind mapping app like Freeform, place your central topic in the middle of the canvas, add primary branches radiating outward for main categories, then add child nodes for specific details. Connect everything with lines and use colors to organize related concepts.
What is the best mind mapping app for iPad?
The best mind mapping app depends on your needs. Freeform is best for free basic mind mapping. MindNode offers the best overall experience with beautiful design and iCloud sync. SimpleMind has the best free tier with cross-platform support. iThoughts is ideal for power users who need advanced features.
What is the easiest way to create a mind map?
The easiest way to create a mind map is using Freeform on iPad since it comes pre-installed and requires no setup. Write your main idea in the center, draw branches for main categories, and add smaller branches for details. The touch interface makes rearranging ideas intuitive.
Can you make a mind map on iPad without an app?
Yes, you can create a mind map on iPad without downloading a dedicated app by using Freeform, which comes pre-installed on iPads running iPadOS 16.2 or later. You can also use the Notes app with drawing tools, though it lacks dedicated mind mapping features.
Is mind mapping good for studying?
Yes, mind mapping is excellent for studying. It helps you organize information visually, see connections between concepts, and engage actively with material instead of passively reading. Research shows that creating mind maps improves retention and understanding compared to linear note-taking.
Conclusion
Learning how to make a mind map on iPad opens up a powerful way to organize your thoughts, study more effectively, and capture ideas as they flow. The combination of touch interface, Apple Pencil, and specialized apps makes the iPad the ideal device for visual thinking.
Start with Freeform if you are new to mind mapping. It costs nothing and gives you everything you need to begin. As you get more comfortable, explore dedicated apps like MindNode or SimpleMind to unlock advanced features.
The key is to start simple and build from there. Your first mind map does not need to be perfect. What matters is that you begin capturing your ideas visually. Open your iPad, launch Freeform, and create your first mind map today. Once you experience how mind mapping helps you think more clearly, you will wonder how you ever managed without it.